 When we moved into our new home, the first space I wanted to make my own was the kitchen.
Let me show you a quick before photo so you can get a sense of what we had to work with …
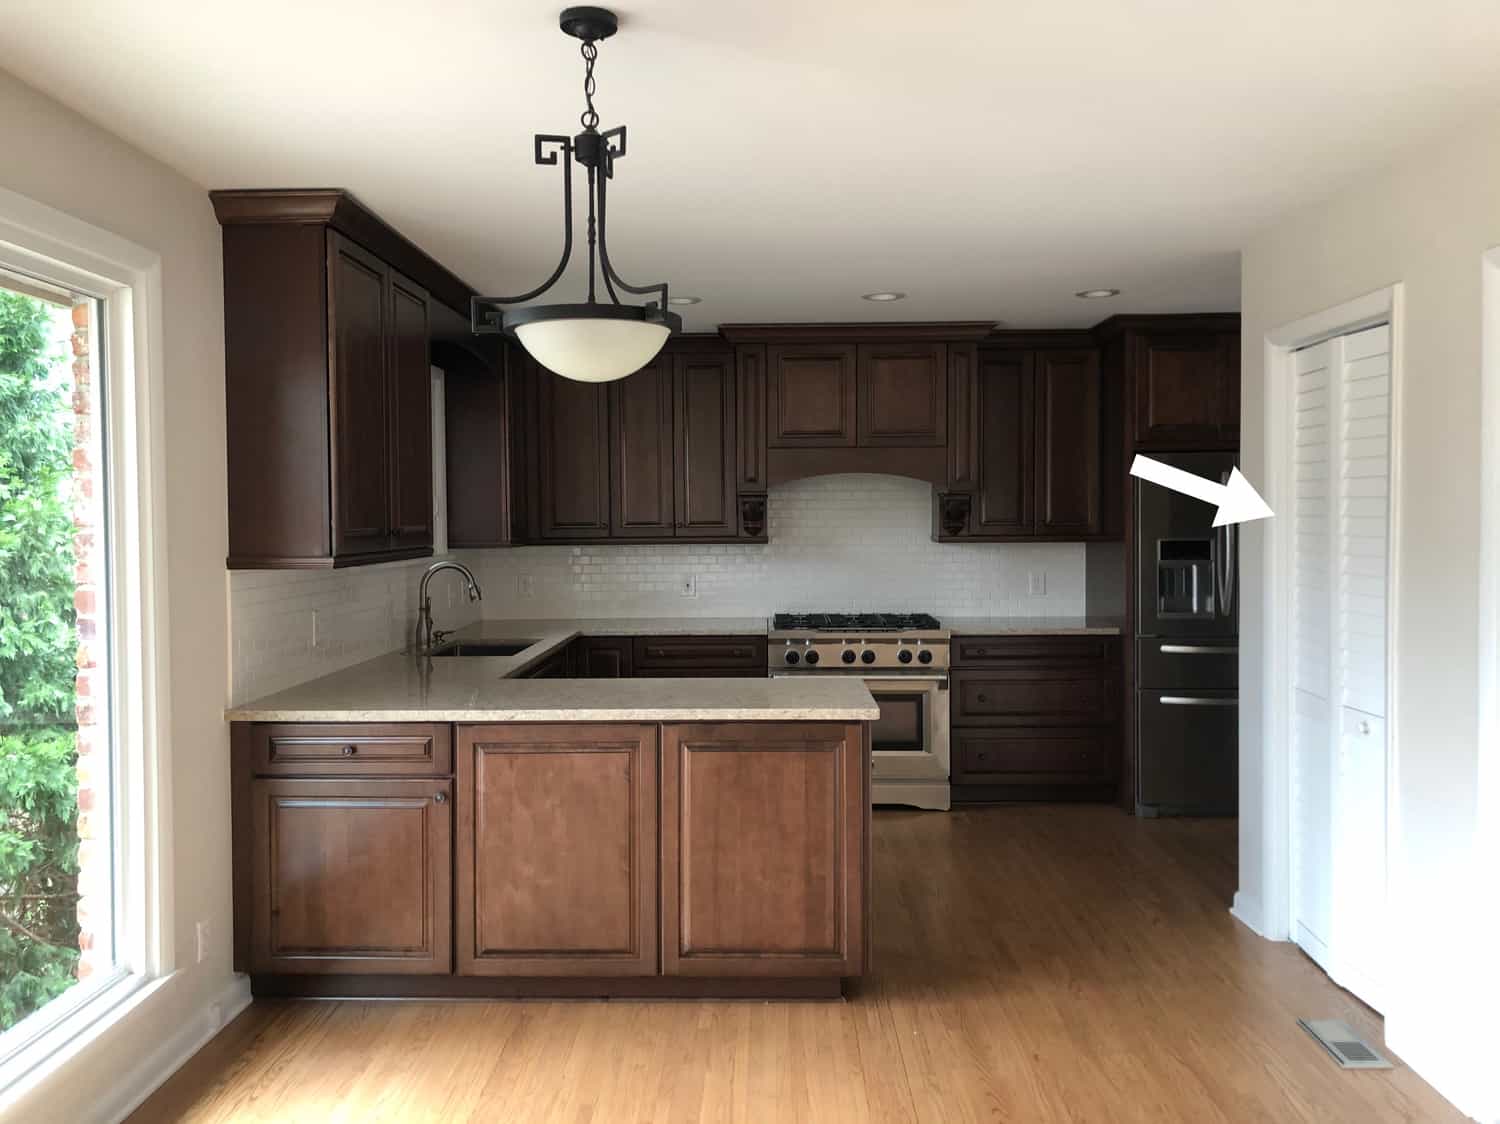 As you can see here, beside our kitchen there is a set of bifold doors (actually two sets) that cover our pantry and laundry closet. My goal was to modernize these doors, while also tying them in with the rest of the kitchen, so it felt like one large space and flowed together better. We used this hardware from Etsy in various sizes (mainly 5 inch and 10 inch) for both the kitchen cabinets and the doors. We also used cabinet paint color (White Mocha by Behr) to tie the bifold doors into the kitchen.
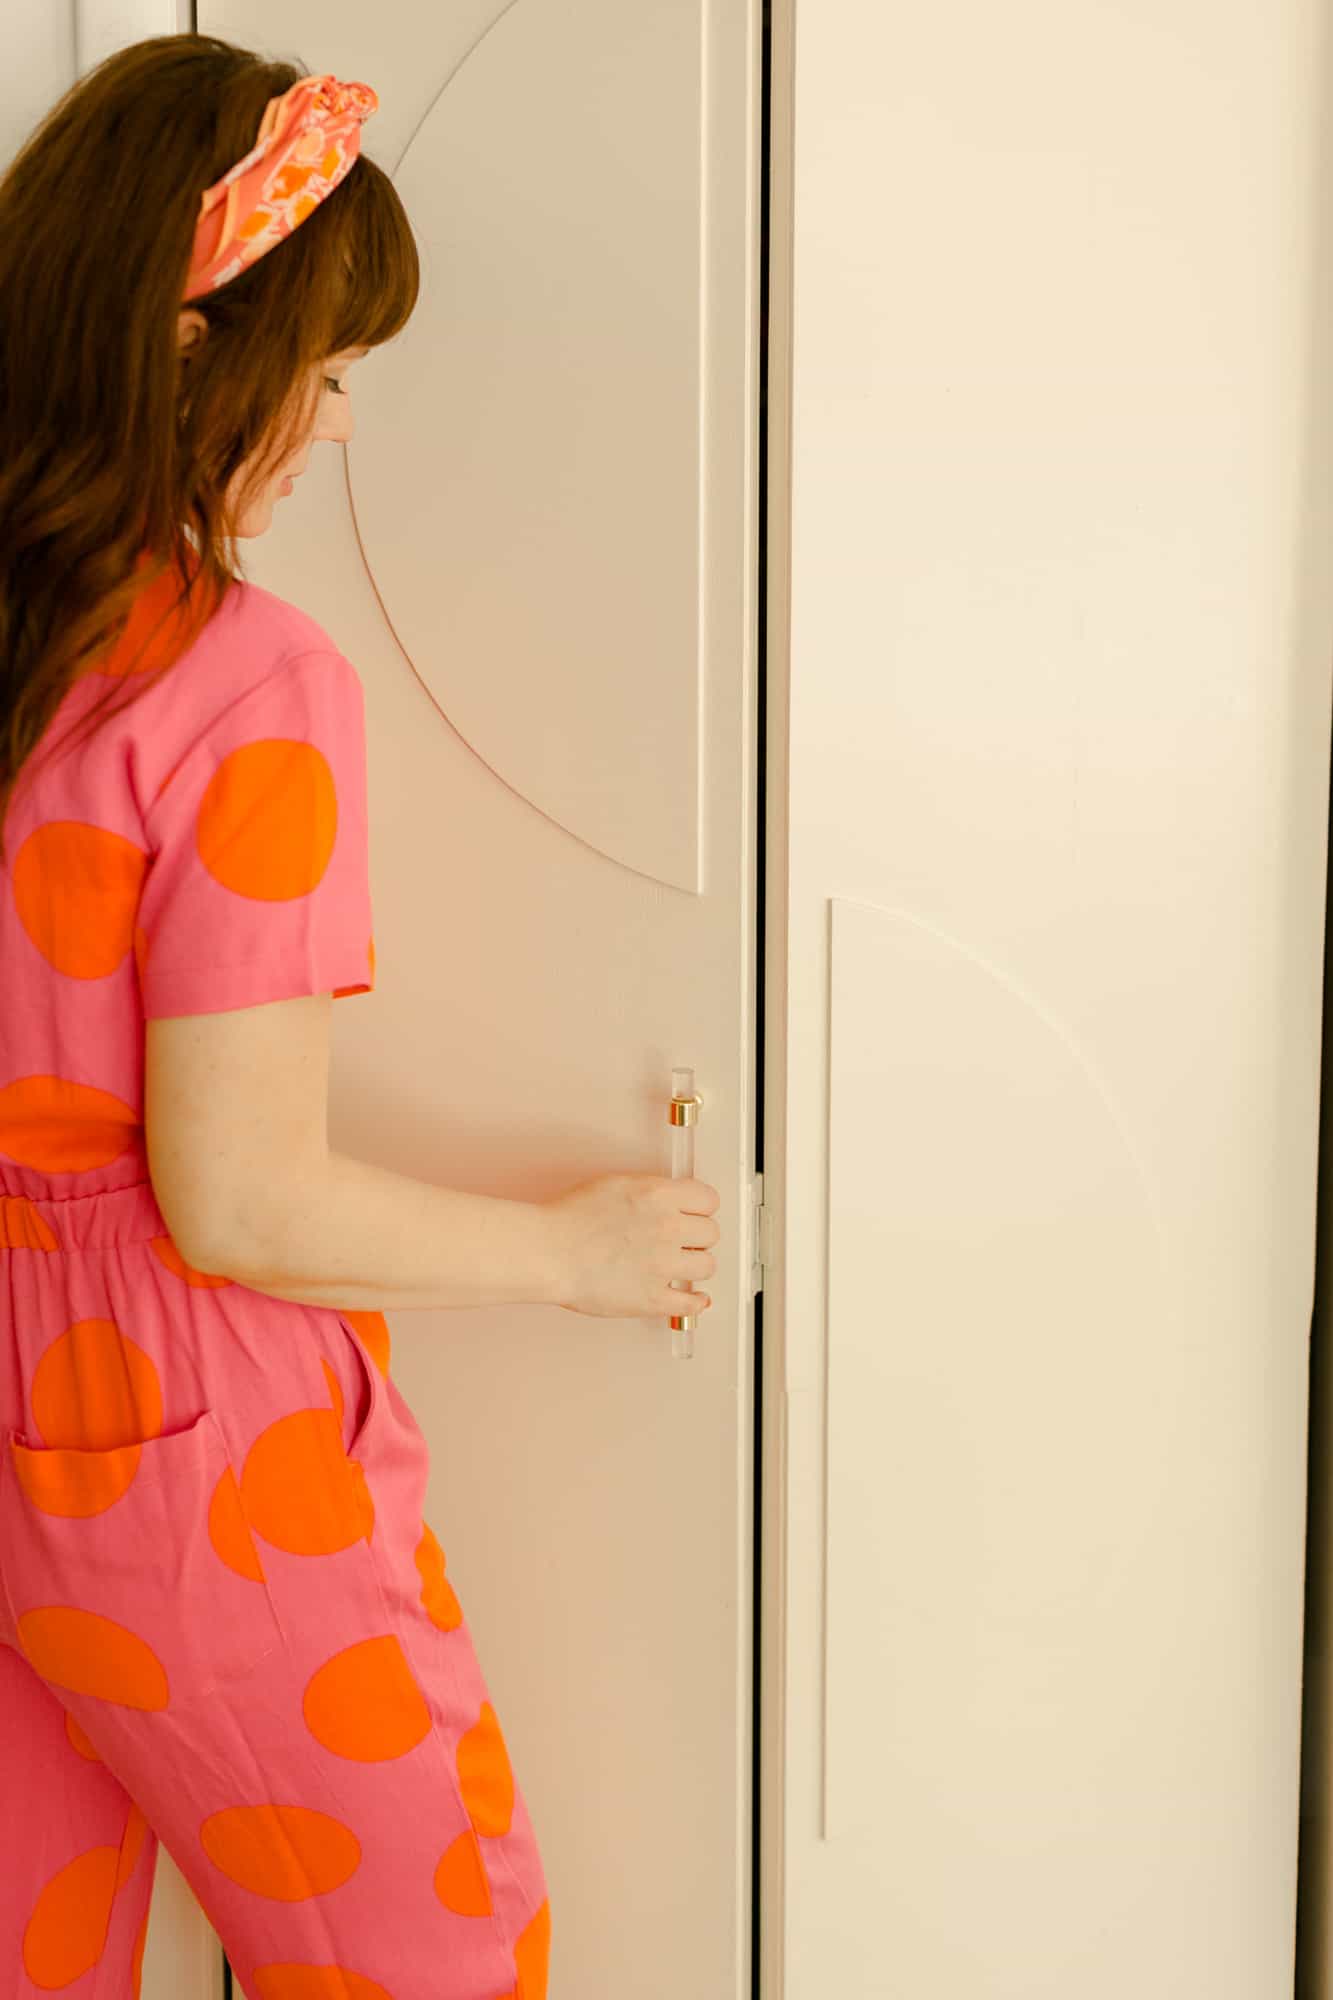
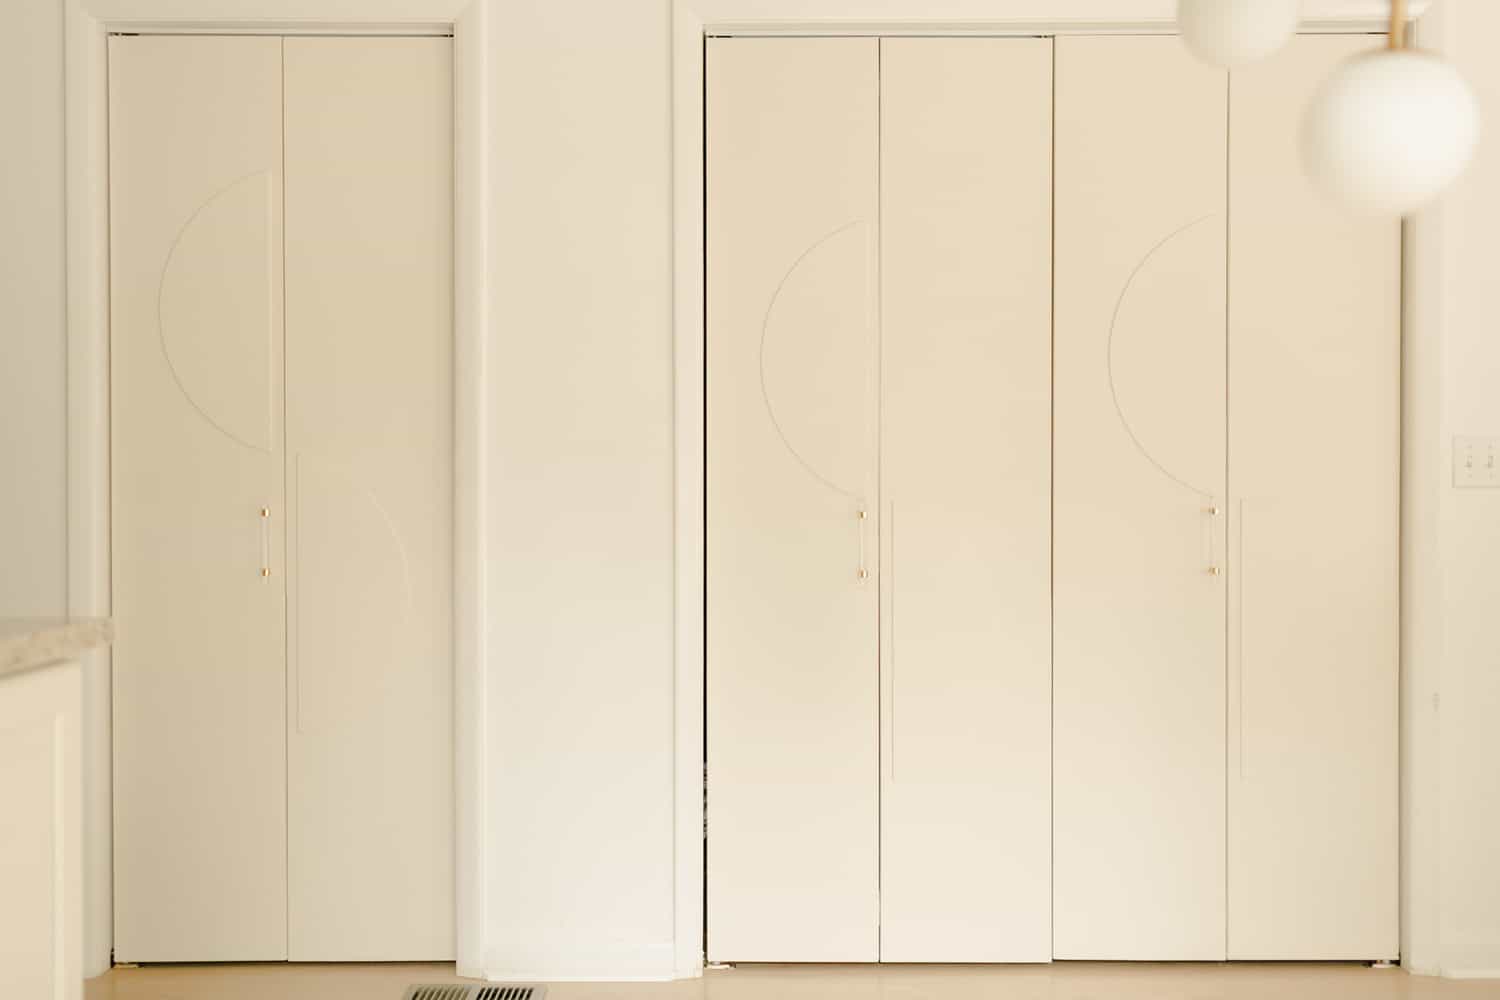
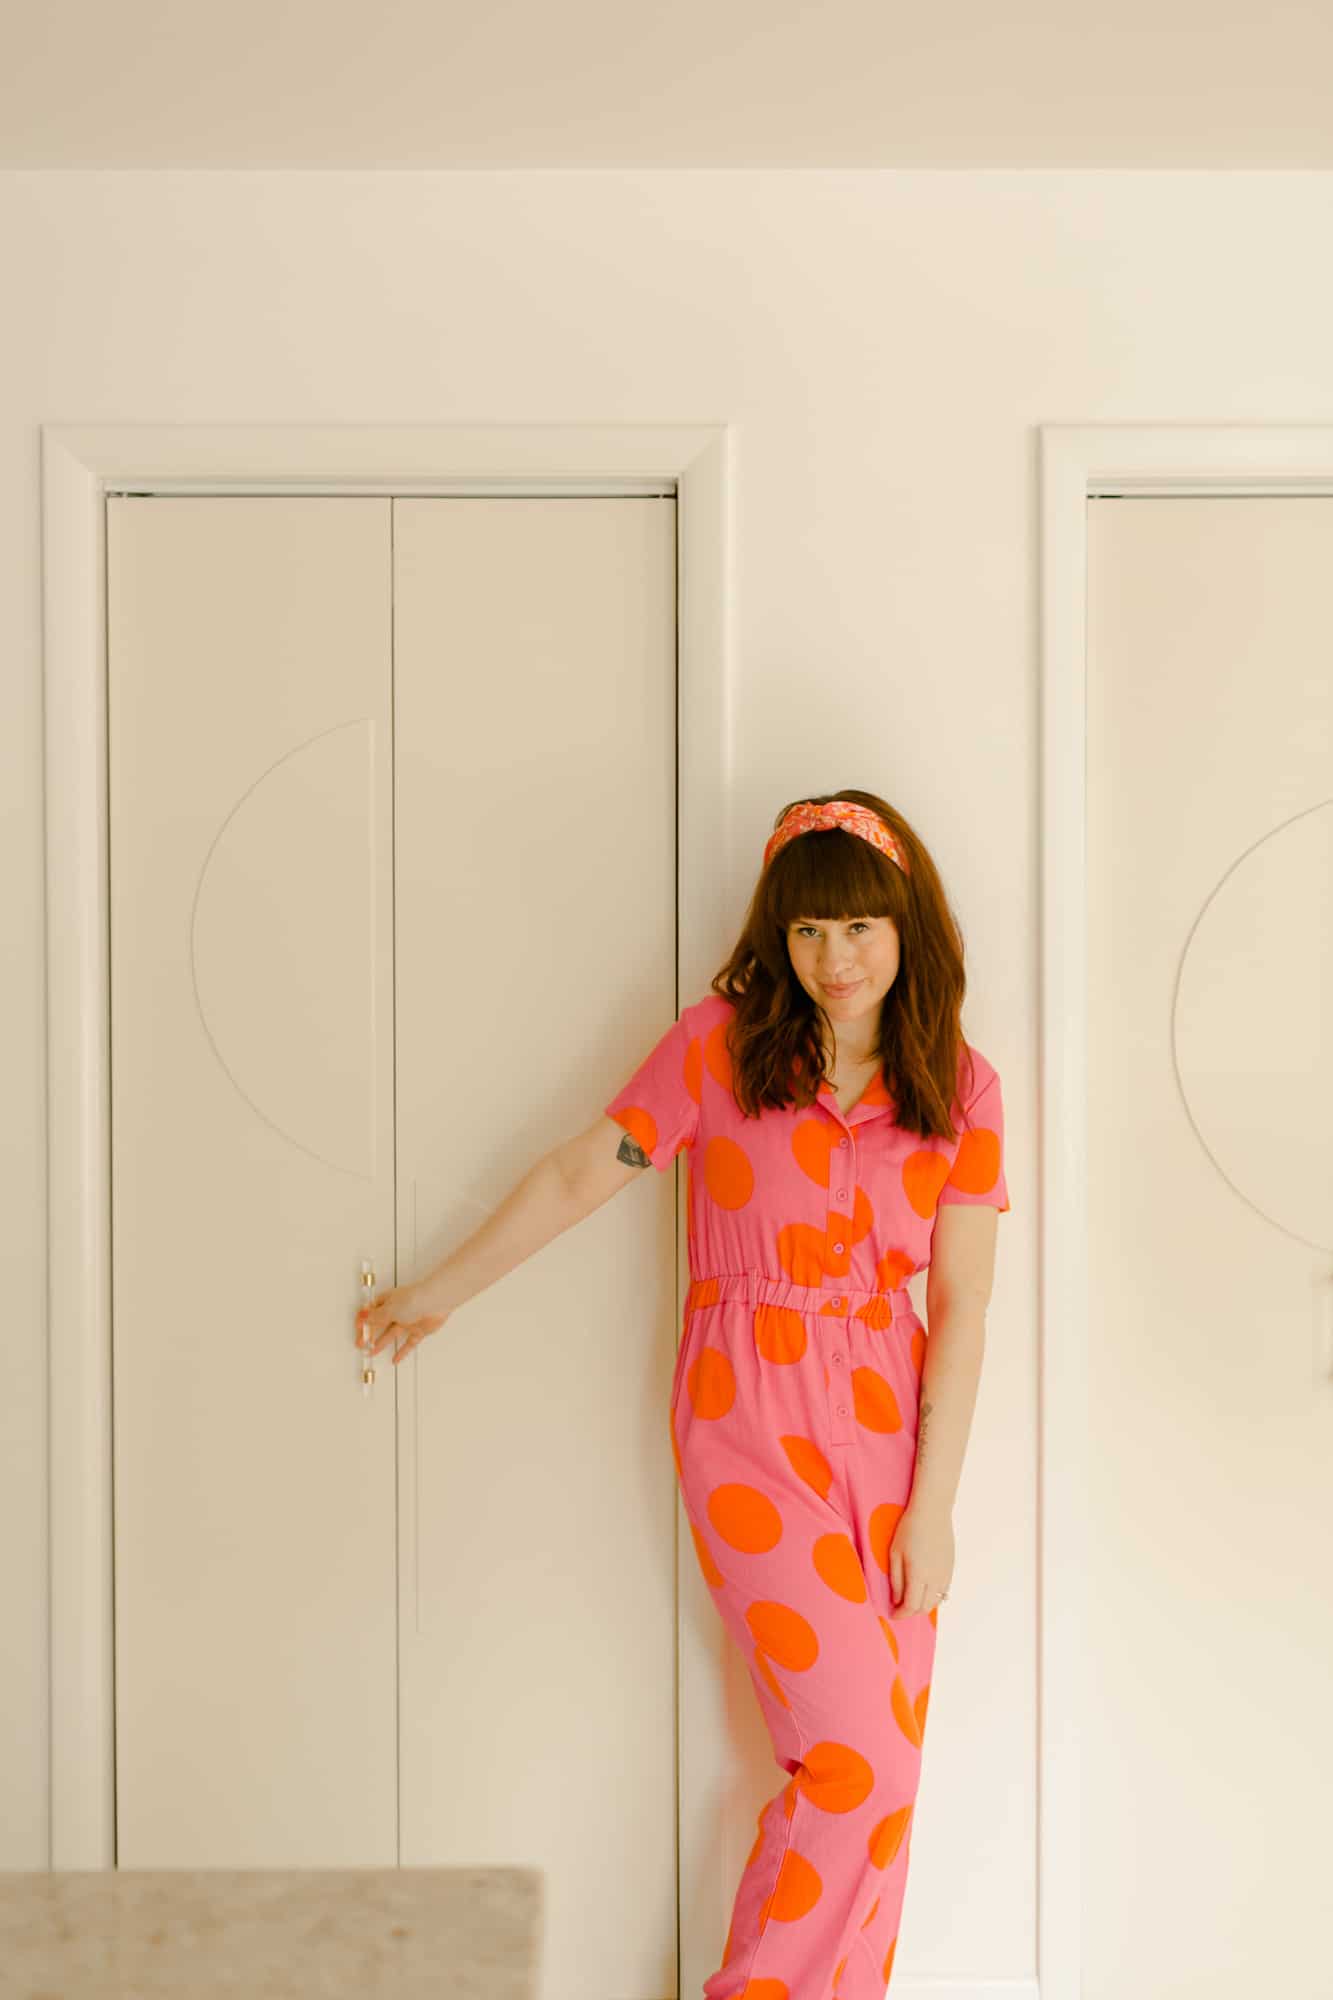
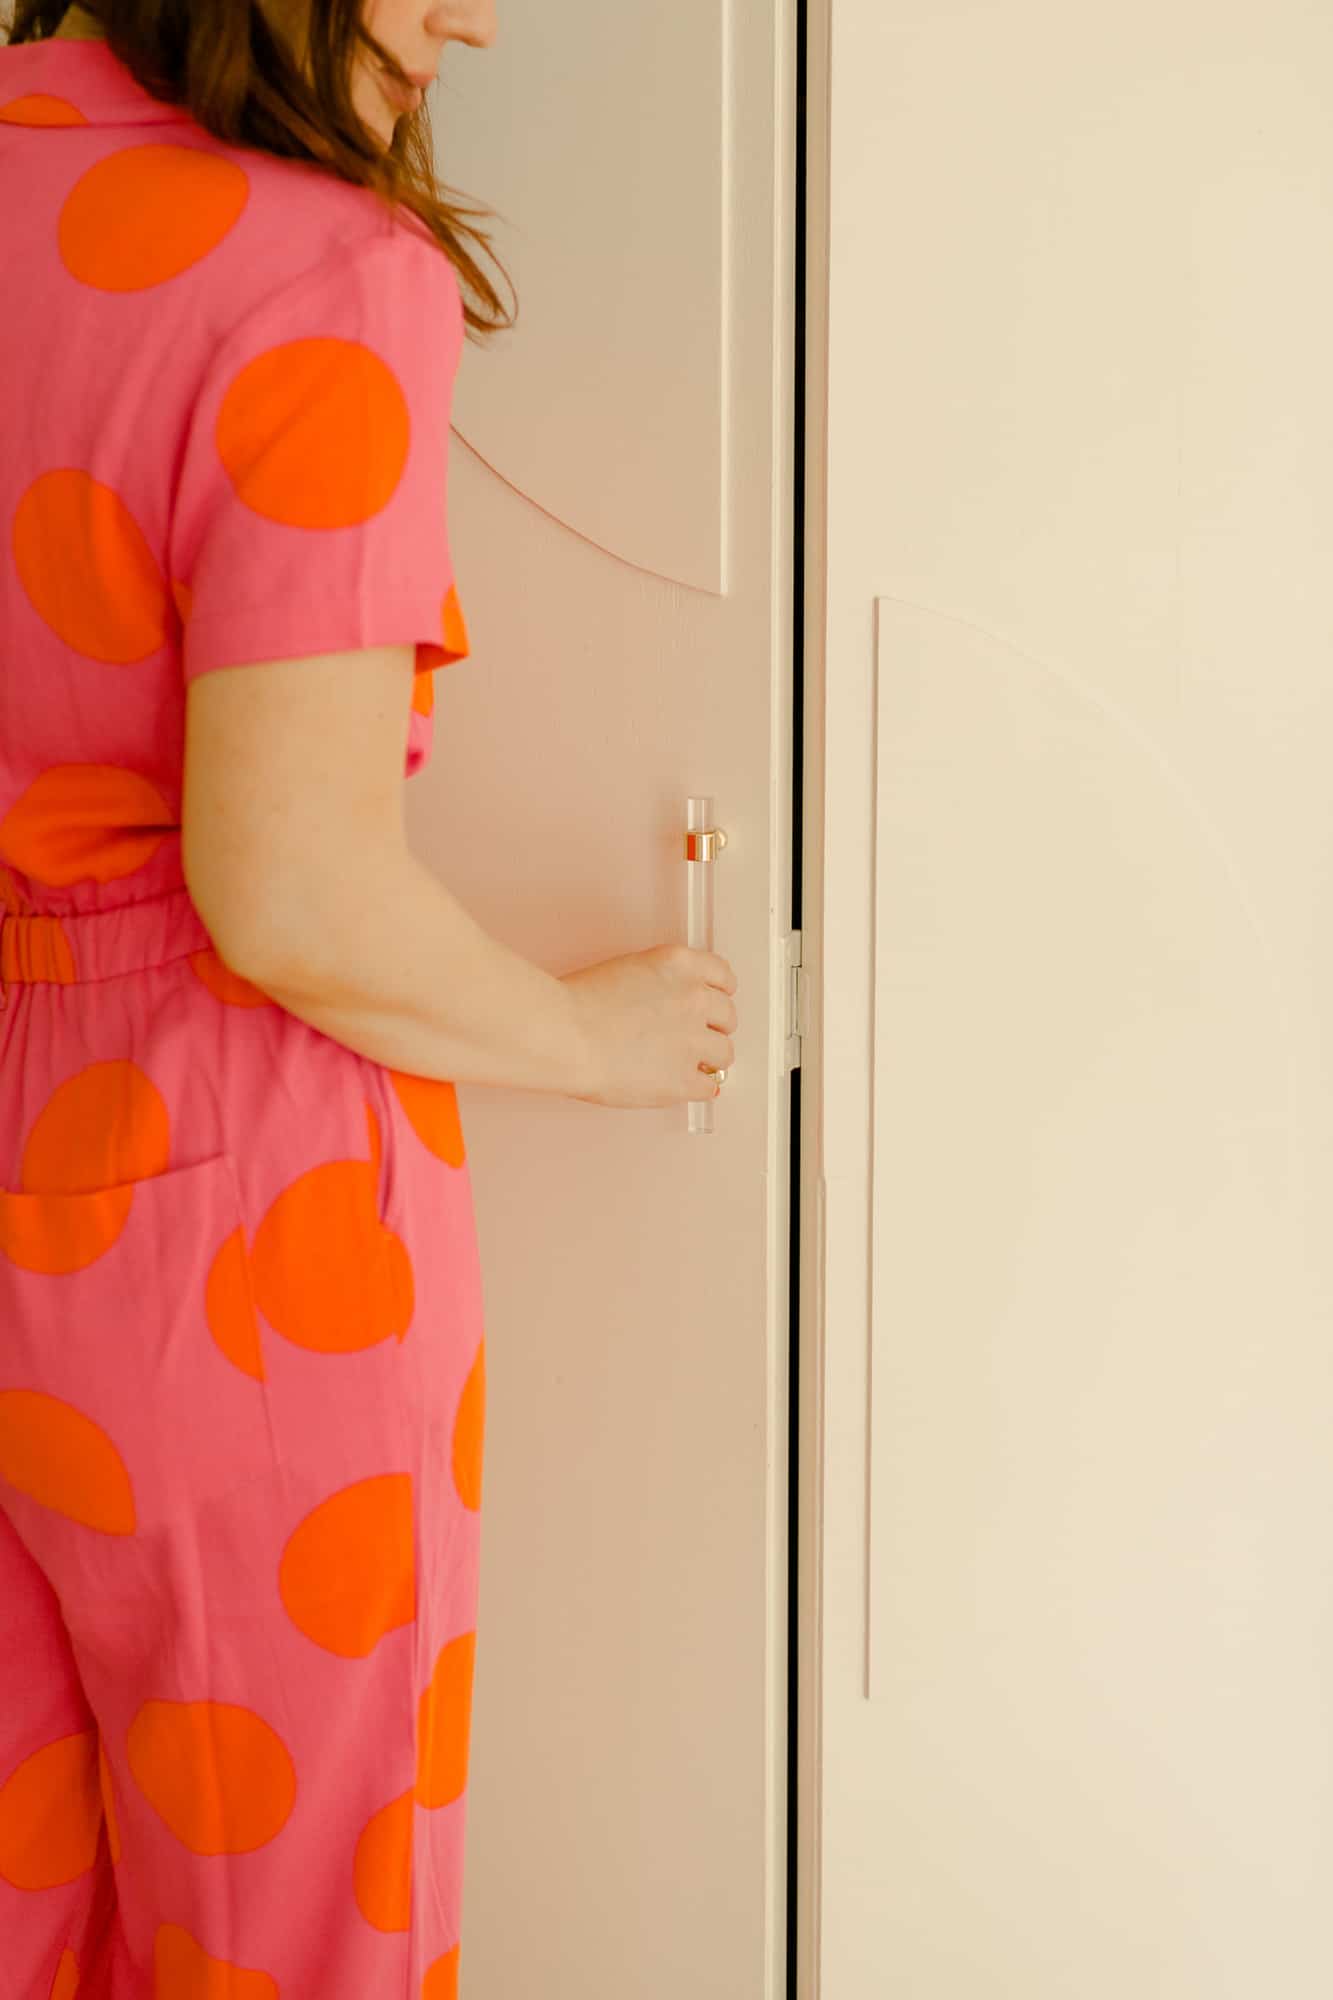
Here is the finished result …
 I’m passing the post over to Collin now to show you how he DIYed these doors!
Supplies:
-twelve 2′ x 4′ x 1/4″ plywood
-wood glue
-wood filler
-paint
Tools:
–circular saw
–jigsaw
-nail gun
-electric hand sander
-measuring tape
-pencil and piece of string
-two clamps
-4′ level (optional)
 First, cut your 1/4″ plywood into 4 pieces (8 total, 4 per door). The dimensions will depend on the size of your bifold doors, but since our doors are 30″ wide by 80″ long, I needed to cut 2 pieces of plywood to 15″ x 4′ and 2 pieces to 15″ x 32″ (to make the total length of 80″). To do this, lay down all of your pieces of plywood on top of each other and use a 4′ level (or any straight edge) and some clamps and clamp it to your plywood to use as a guide for your circular saw to ensure a perfectly straight cut. Use your sander to sand any rough edges before attaching.
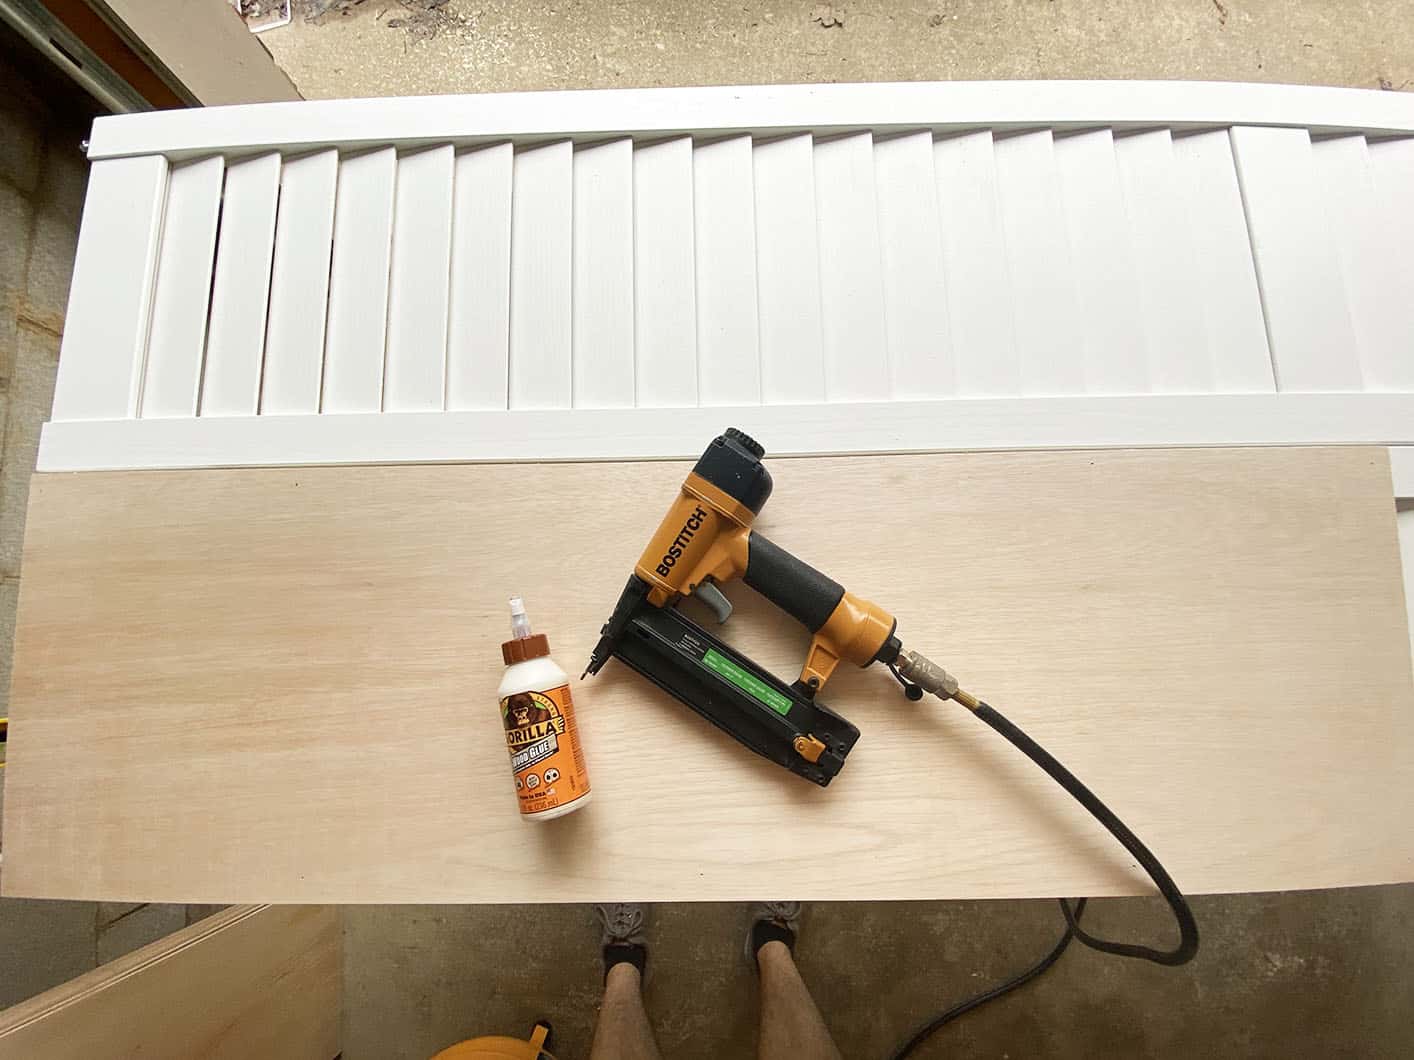 Attach the cut pieces of plywood to the fronts of your doors with glue and a nail gun, with the 15″ x 4′ pieces on the top half and the 15″ x 32″ pieces on the bottom half. Fill the line where the two pieces of plywood meet with wood filler.
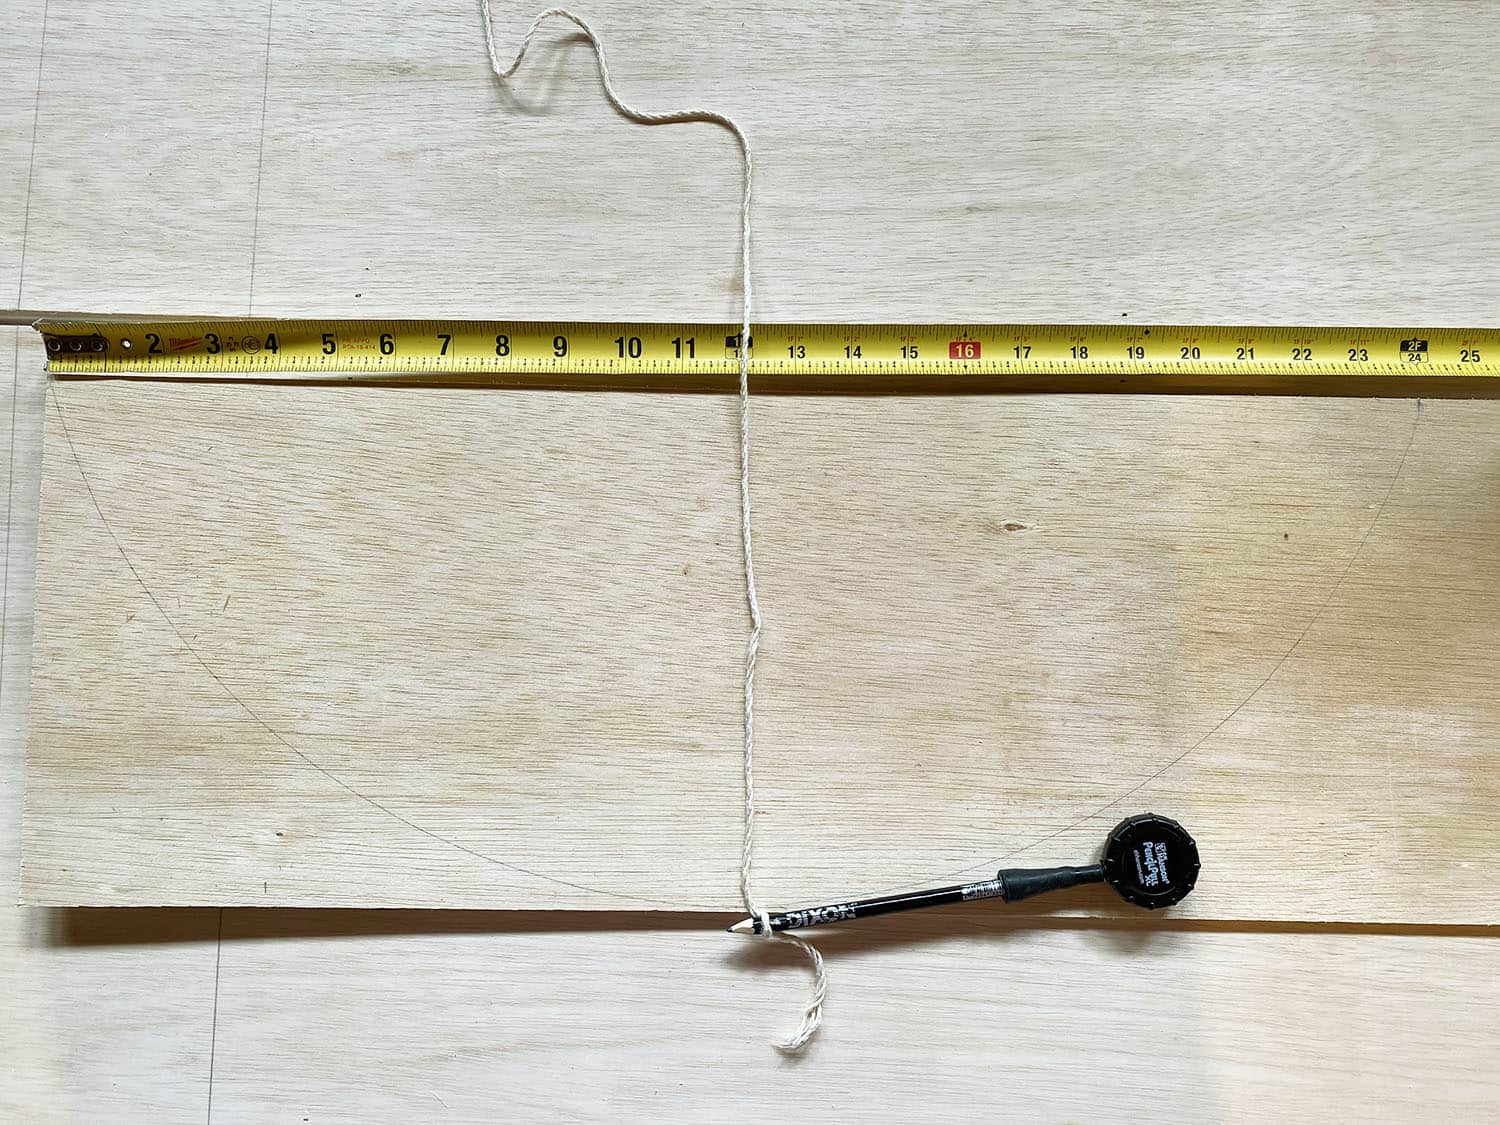 You will have leftover pieces of plywood that will be 9″ x 4′ from the cuts you made earlier. Take a pencil and make a mark at 1′ and then again at 2′. Tie a piece of string to your pencil and with one hand hold the string at the middle 1′ mark and trace a half circle with the other hand as shown above.
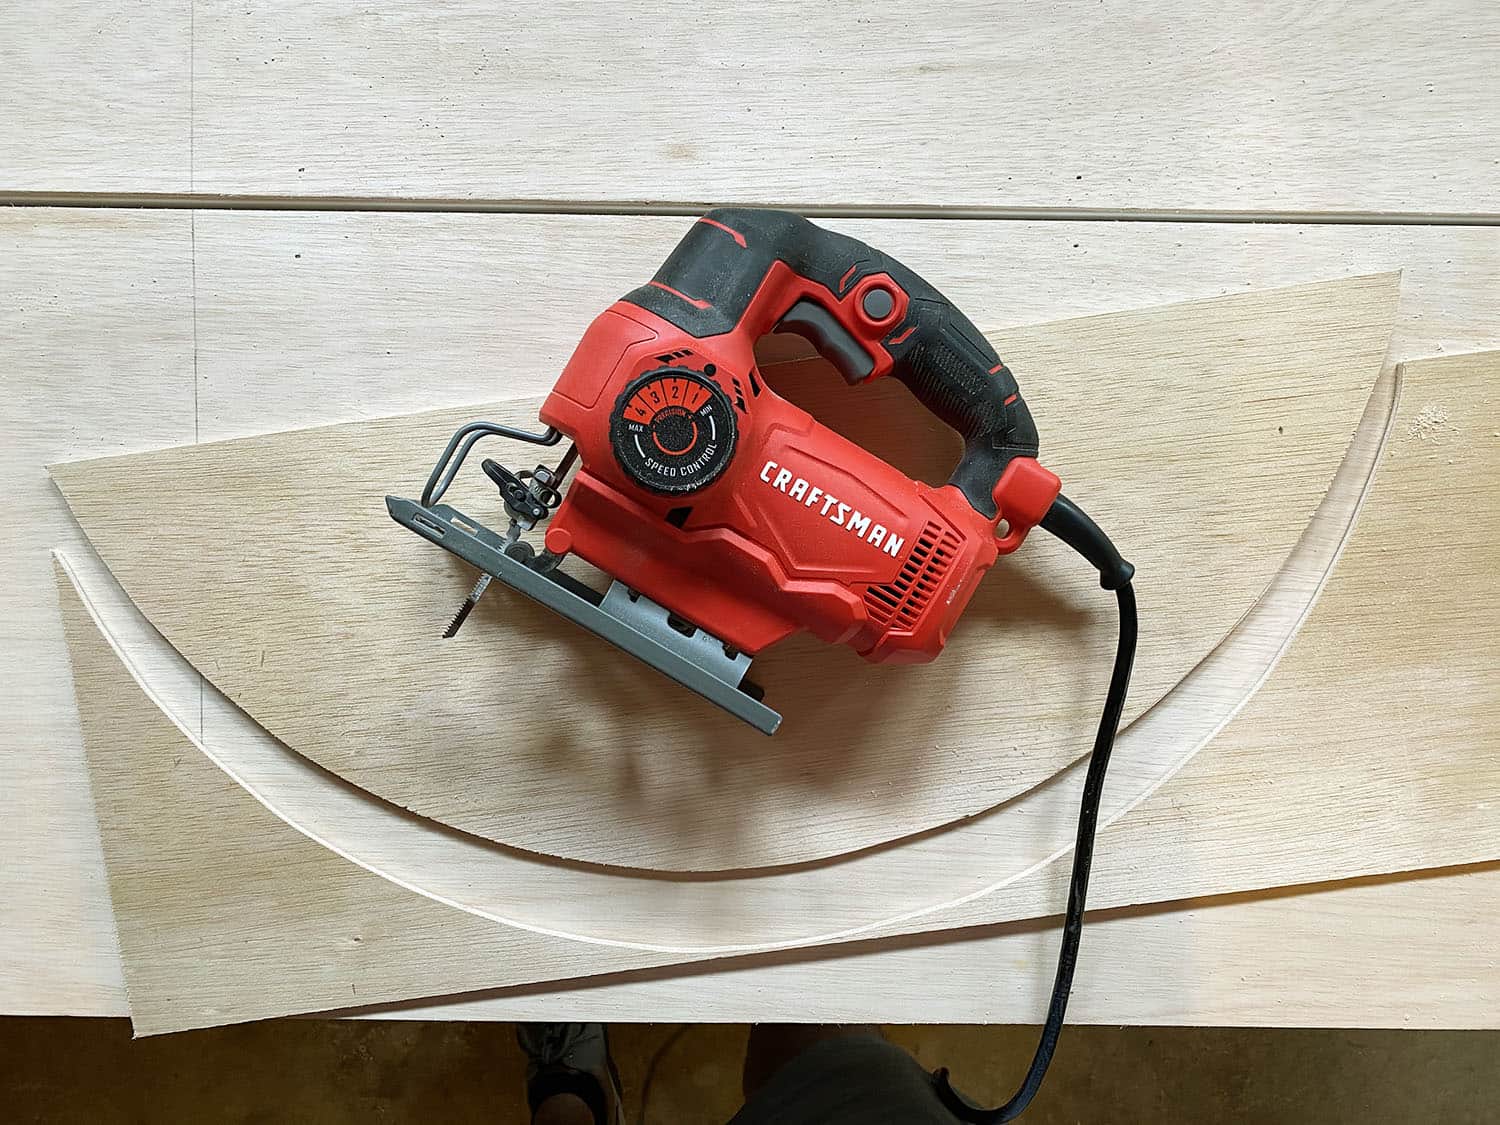 Now, take a jigsaw and cut out your half circle. Repeat this 8 times or less if you clamp multiple pieces of 9″ wide plywood together and cut all at one time. Make sure your jigsaw is set to its slowest speed and take your time to make sure to cut these perfectly! Use your hand sander to smooth out any rough edges and to also sand out any small mess ups from the jigsaw.
 Mark the middle of the doors with a pencil and attach the half circles opposite each other on either side of the door, with each end of the half circles meeting at the halfway point in the door. You also want them to be 1″ from the inside side of each door panel as shown above. Attach with glue and a nail gun and fill all of your nail holes with wood filler.
 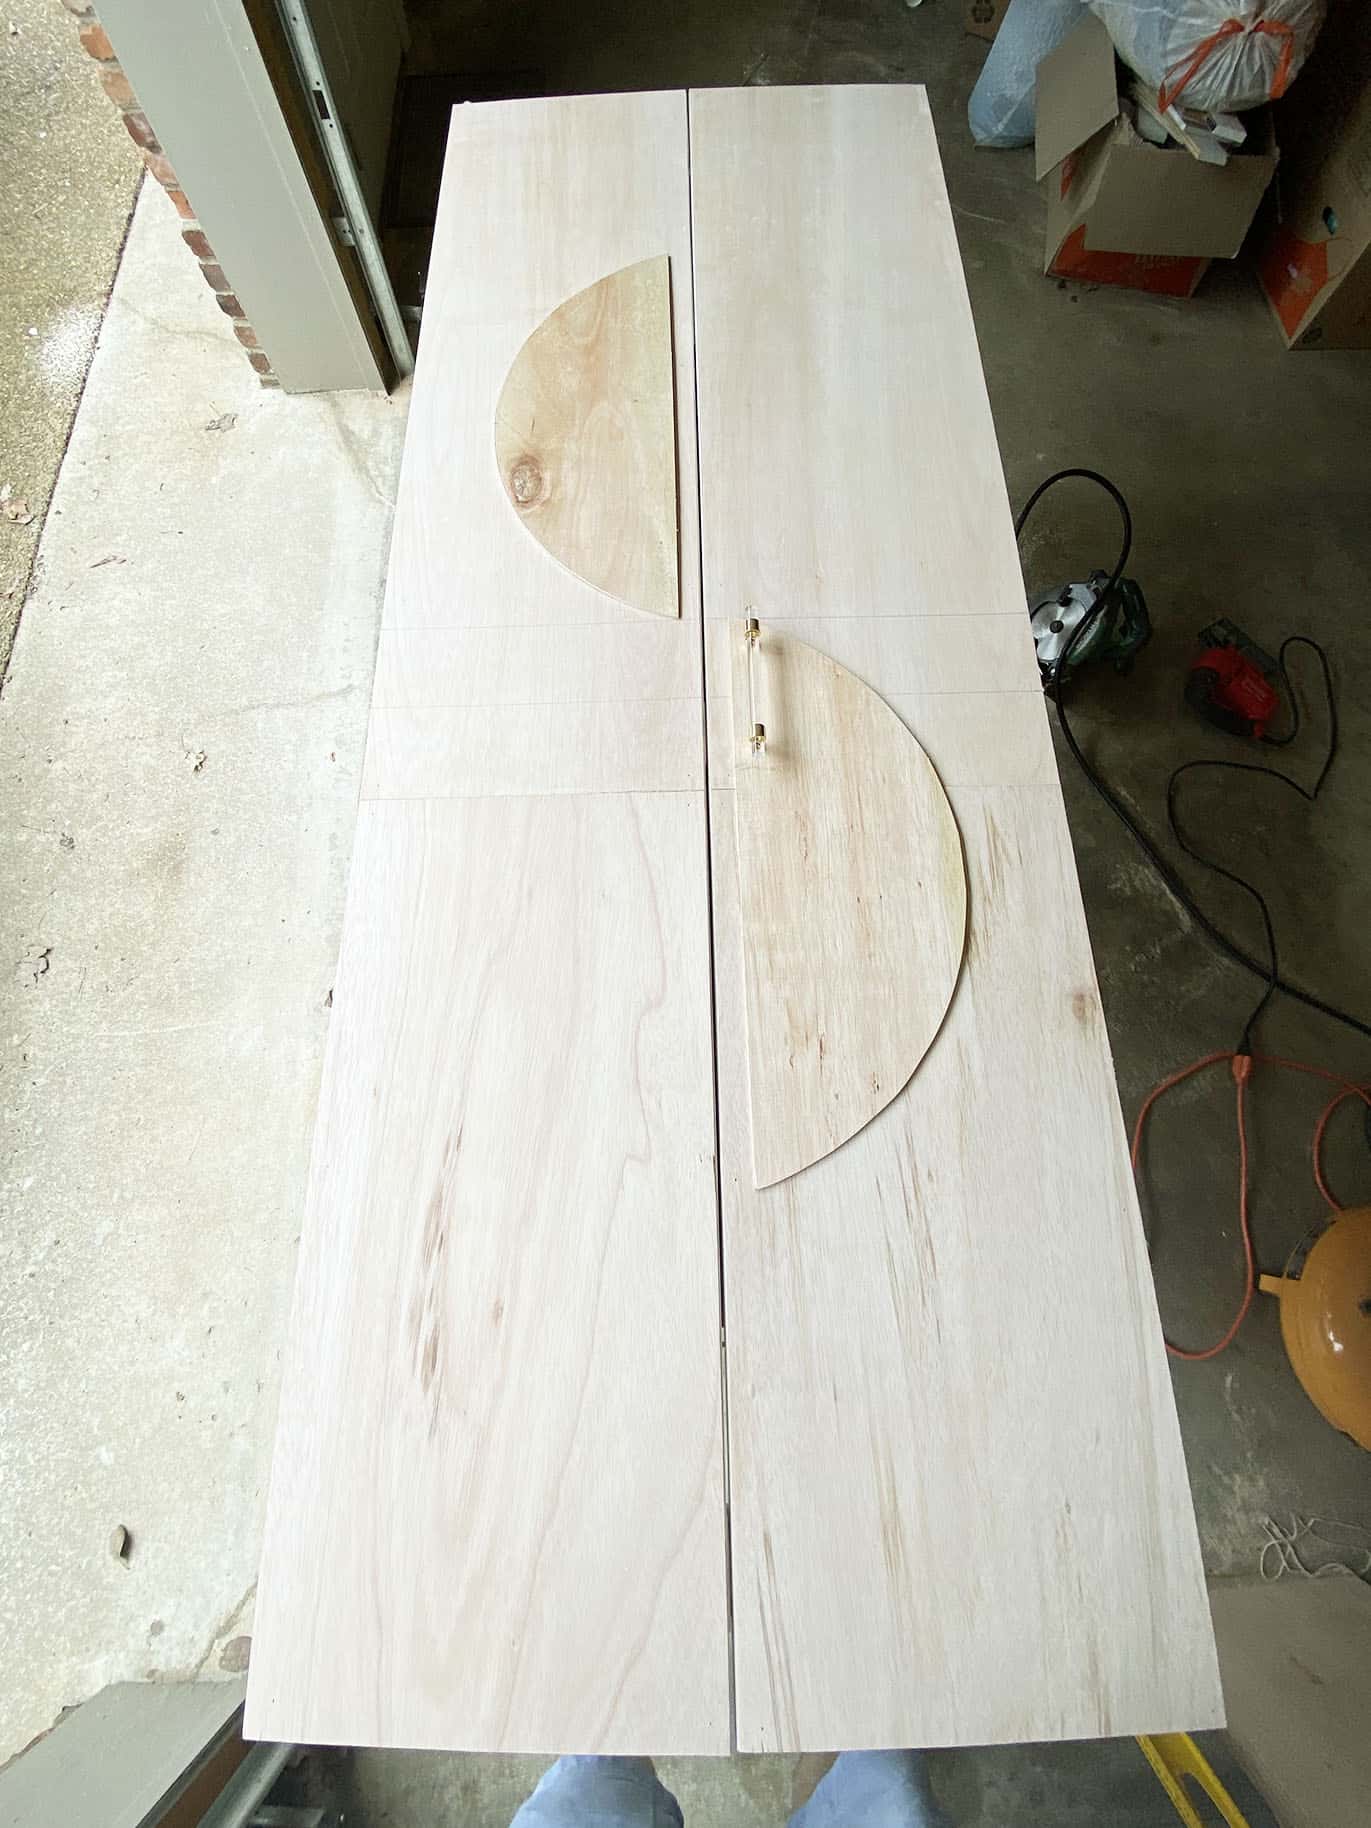 Lastly, paint them and add some handles/knobs and you’re done!

 Our home is FULL of these doors, so next we’ll be doing the closets and one in our bathroom as well. I love the chance to add a creative detail to something that is otherwise pretty boring.
Thanks so much for reading! Elsie + Collin
Credits//Author: Elsie Larson and Collin DuPree. Photography: Collin DuPree and Amber Ulmer. Photos edited with A Color Story Desktop.
from A Beautiful Mess https://ift.tt/31hLkDA
via IFTTT