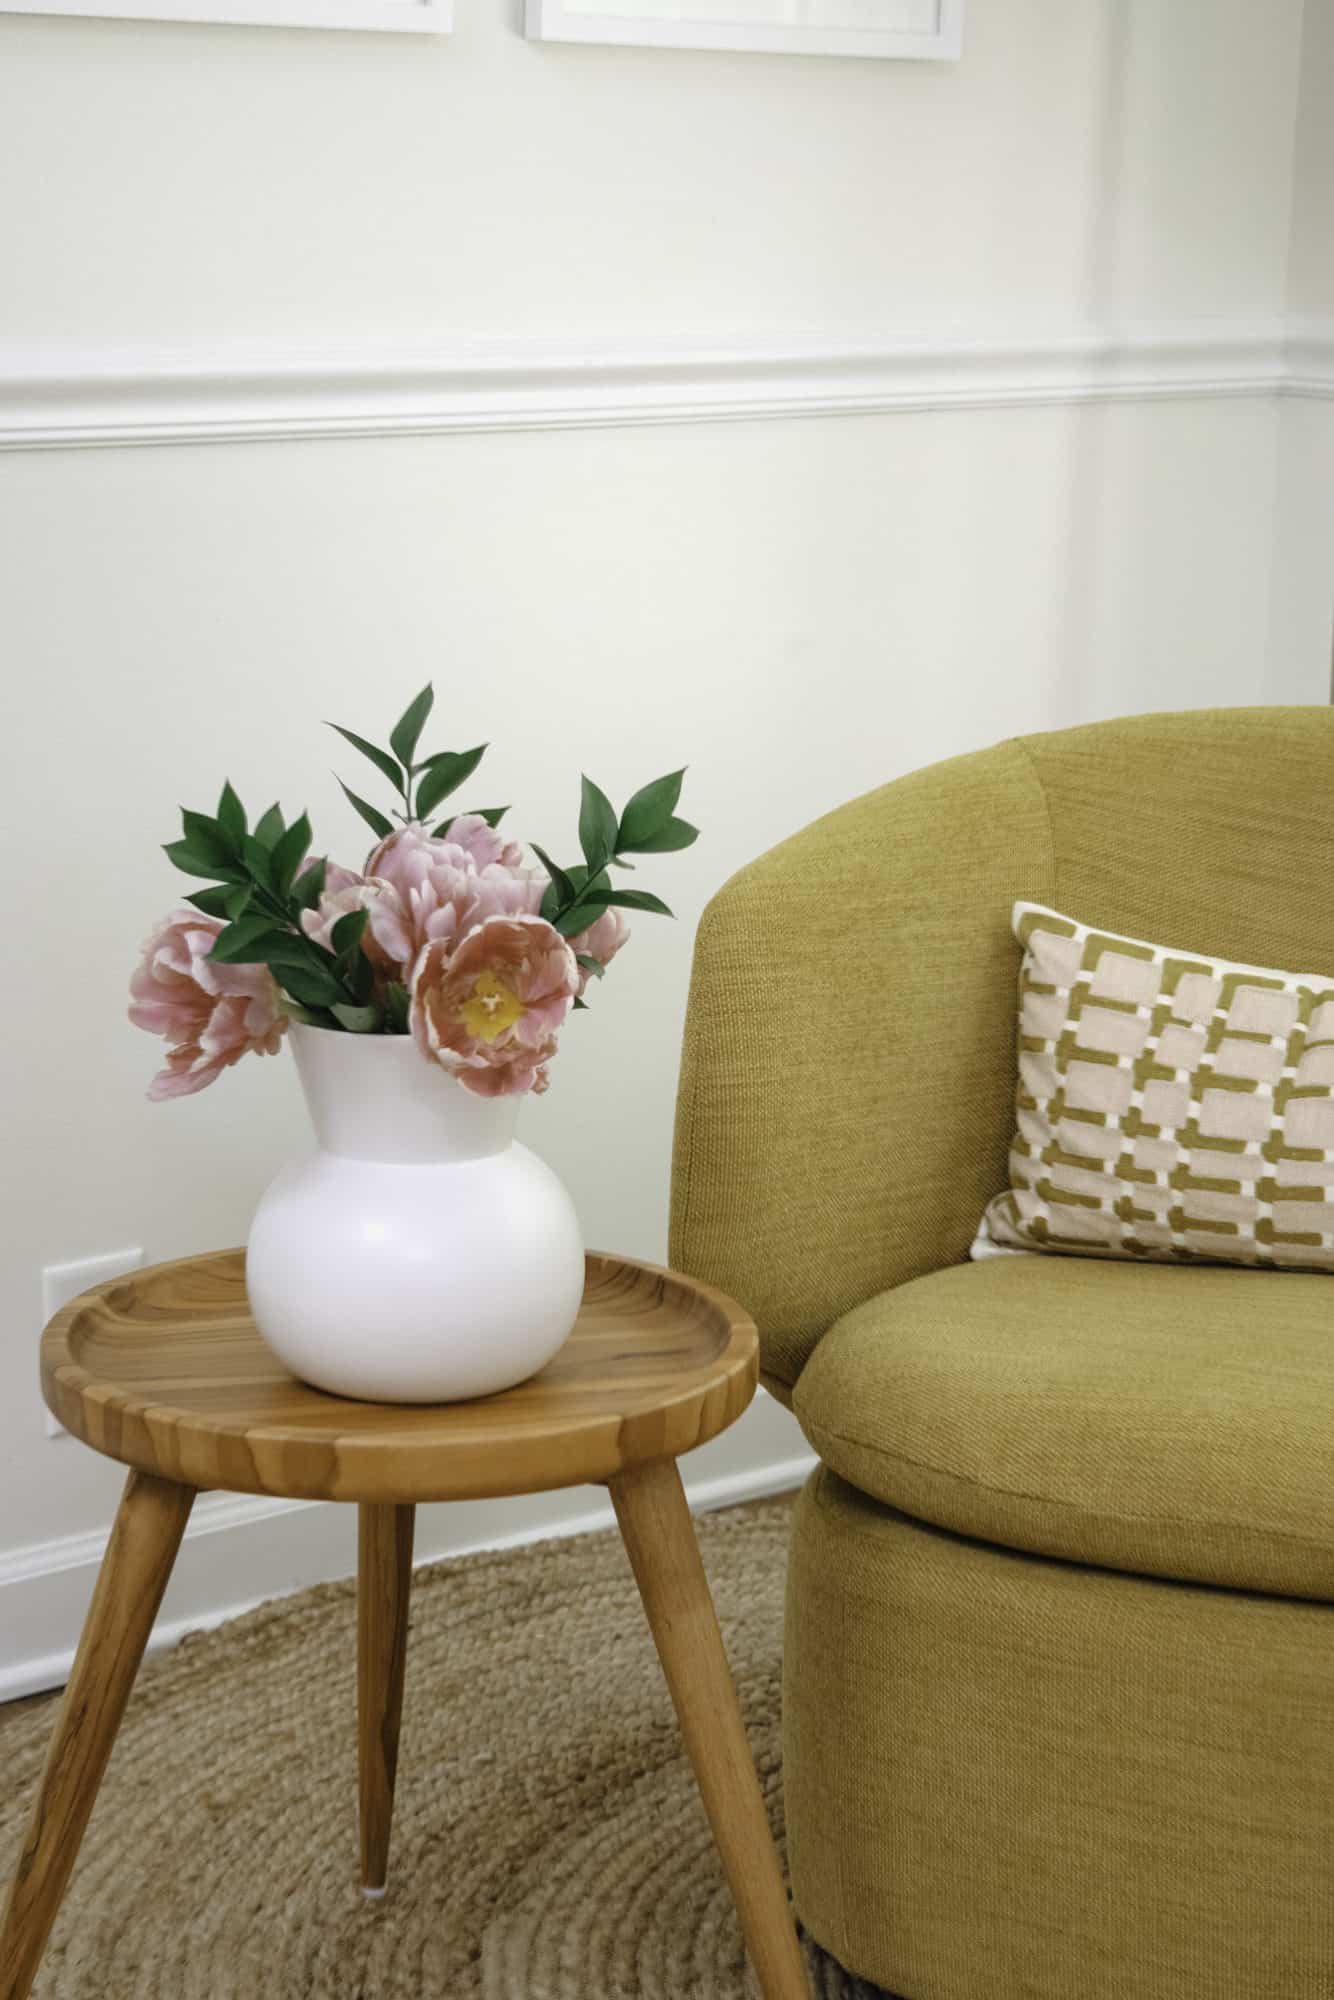
 While they’re popular for their presence in the Netherlands, they originated in Central Asia. They grow in just about every color, they’re usually perfectly symmetrical, and at one time they were the most expensive flower. If you guessed that we’re working with tulips today, you would be correct! I’m going to take you through a very simple tulip arrangement that anyone can do.
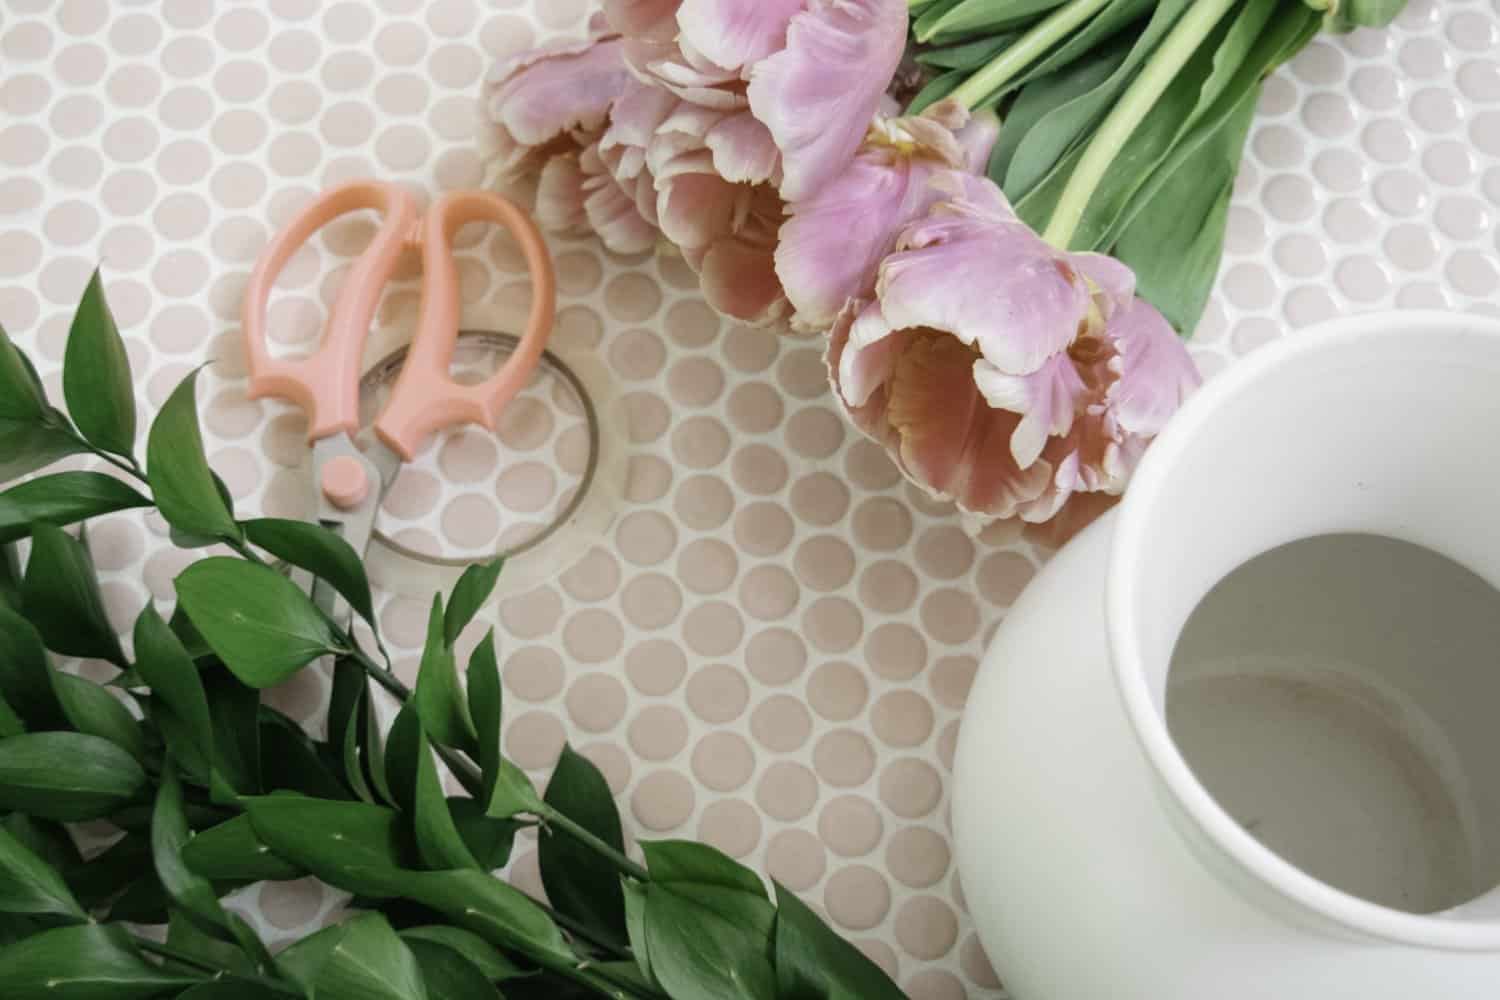 Supplies:
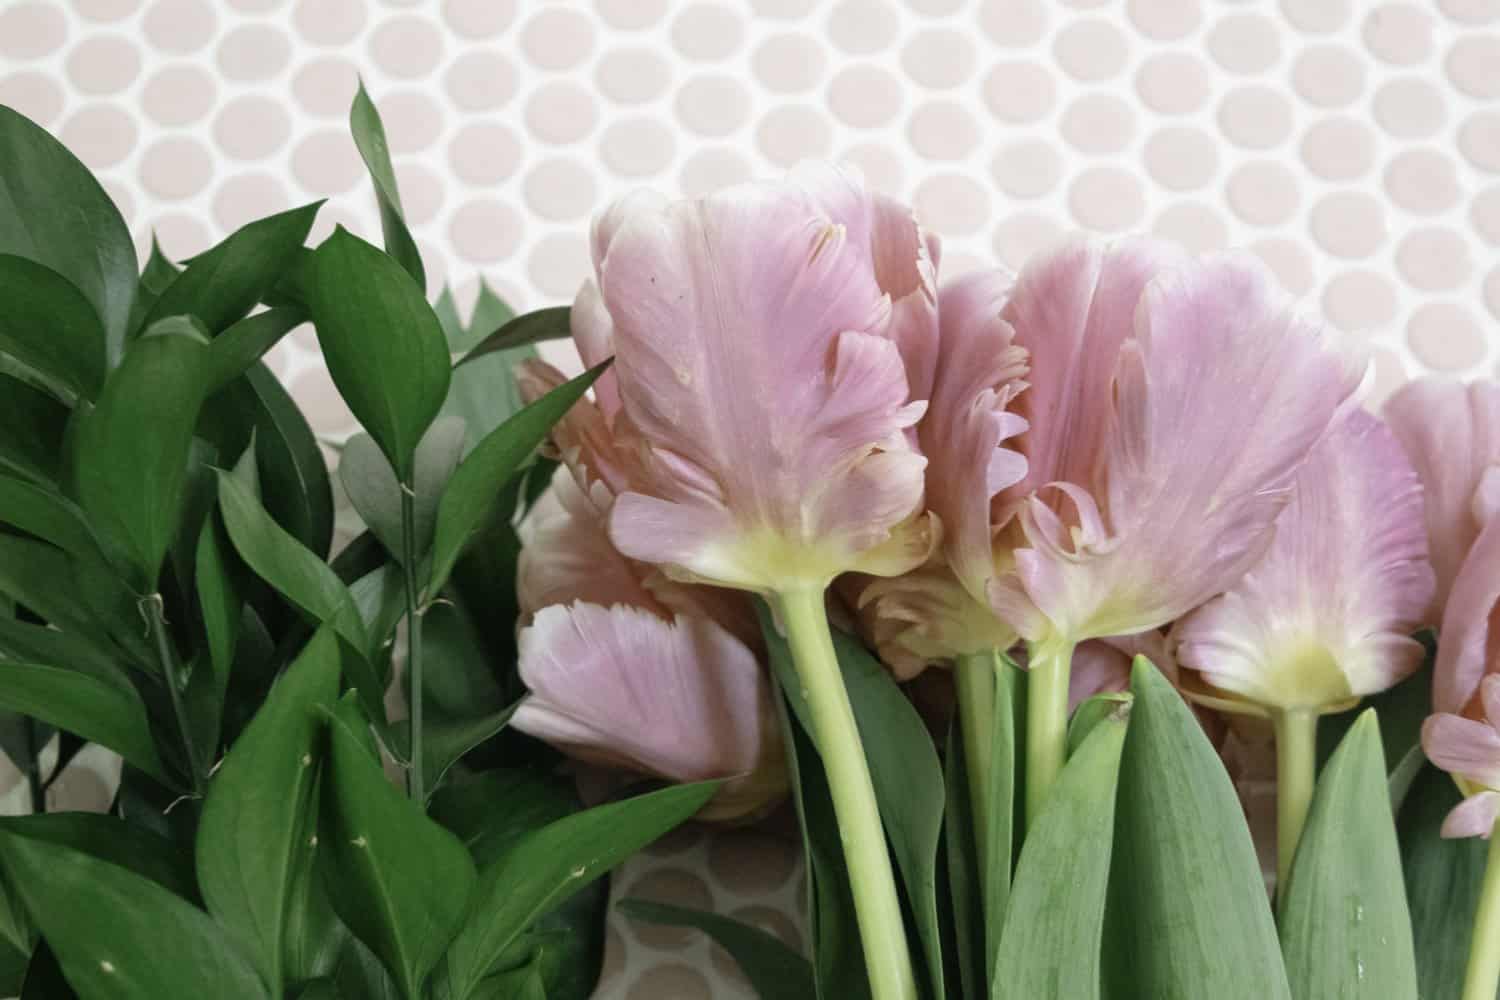
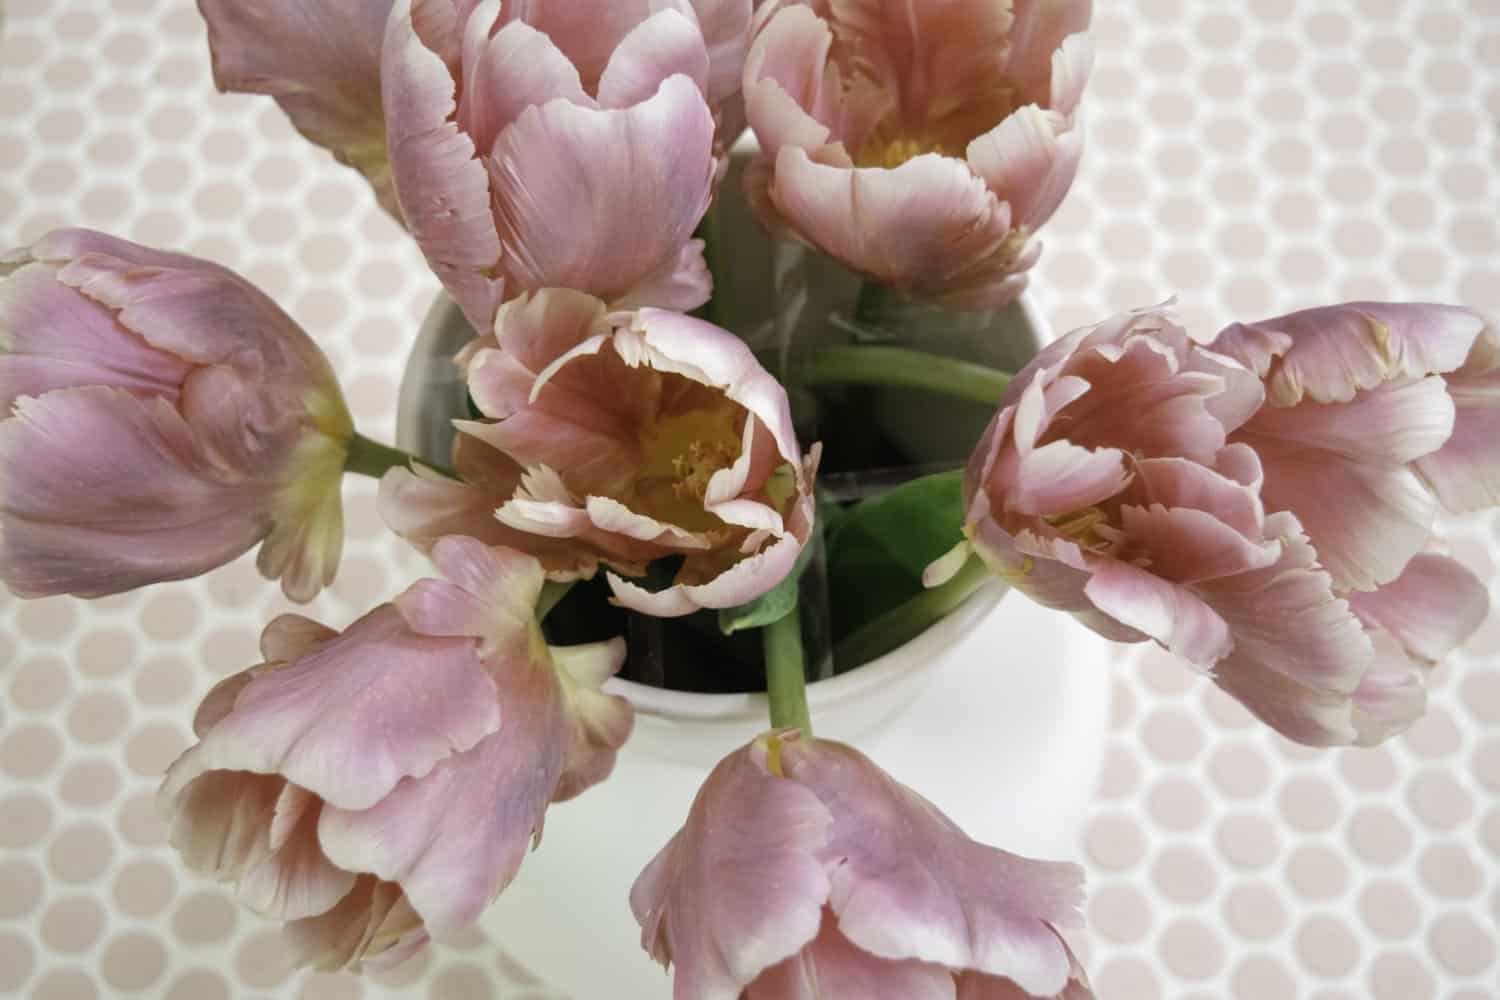
-I used a dozen tulips for this arrangement—they are parrot tulips for reference!
-Some greens, I used Israeli Ruscus here
-A taller vase, especially if you like your tulips to look taller and droopier
-Clear 1/4″ clear floral tape
-Floral shears
-Flower food
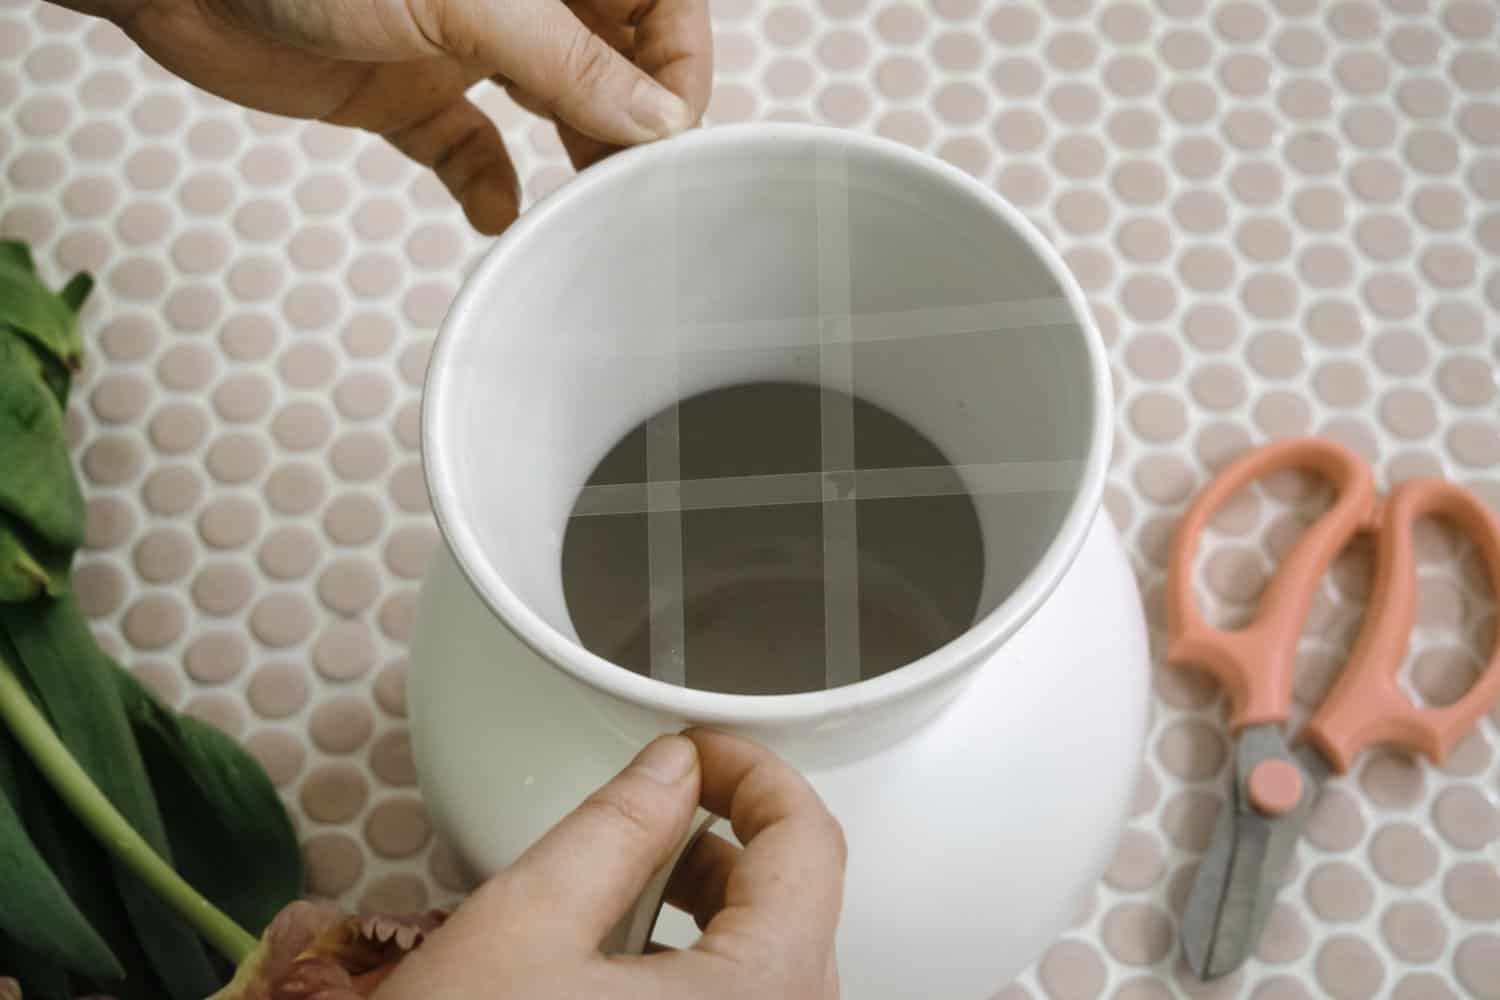 Use your clear floral tape to make a hashtag shape on the rim of your vase. This will help you get a little leverage on the positioning of your flowers later on, and it doesn’t have to be perfectly straight. I also like to put the flower food in on this step.
 Next, it’s time to trim your stems. Hold them up to your vase to determine how short you need to cut them. Remember that old rule: You can always cut shorter but you can’t make them longer, so err on the side of caution for your first few trims. Once you’re ready to snip, do so at a 45° angle—this allows for better water uptake. I opted for a more rounded look with this arrangement, but tulips have a beautiful elongated, droopy (for lack of a better word!) shape when you trim them longer, so it’s all personal preference!
One thing to note is that you really can’t arrange flowers “wrong.” You may need to try a few different placements while you’re arranging to get the look you’re going for, but it should be a fun, creative activity with no hard and fast rules as far as the artistic side goes. That’s what’s so soothing about it!
I use the tape grid to space things out. It helps guide the stems where they need to go, and I also fill the vase up with water on this step.
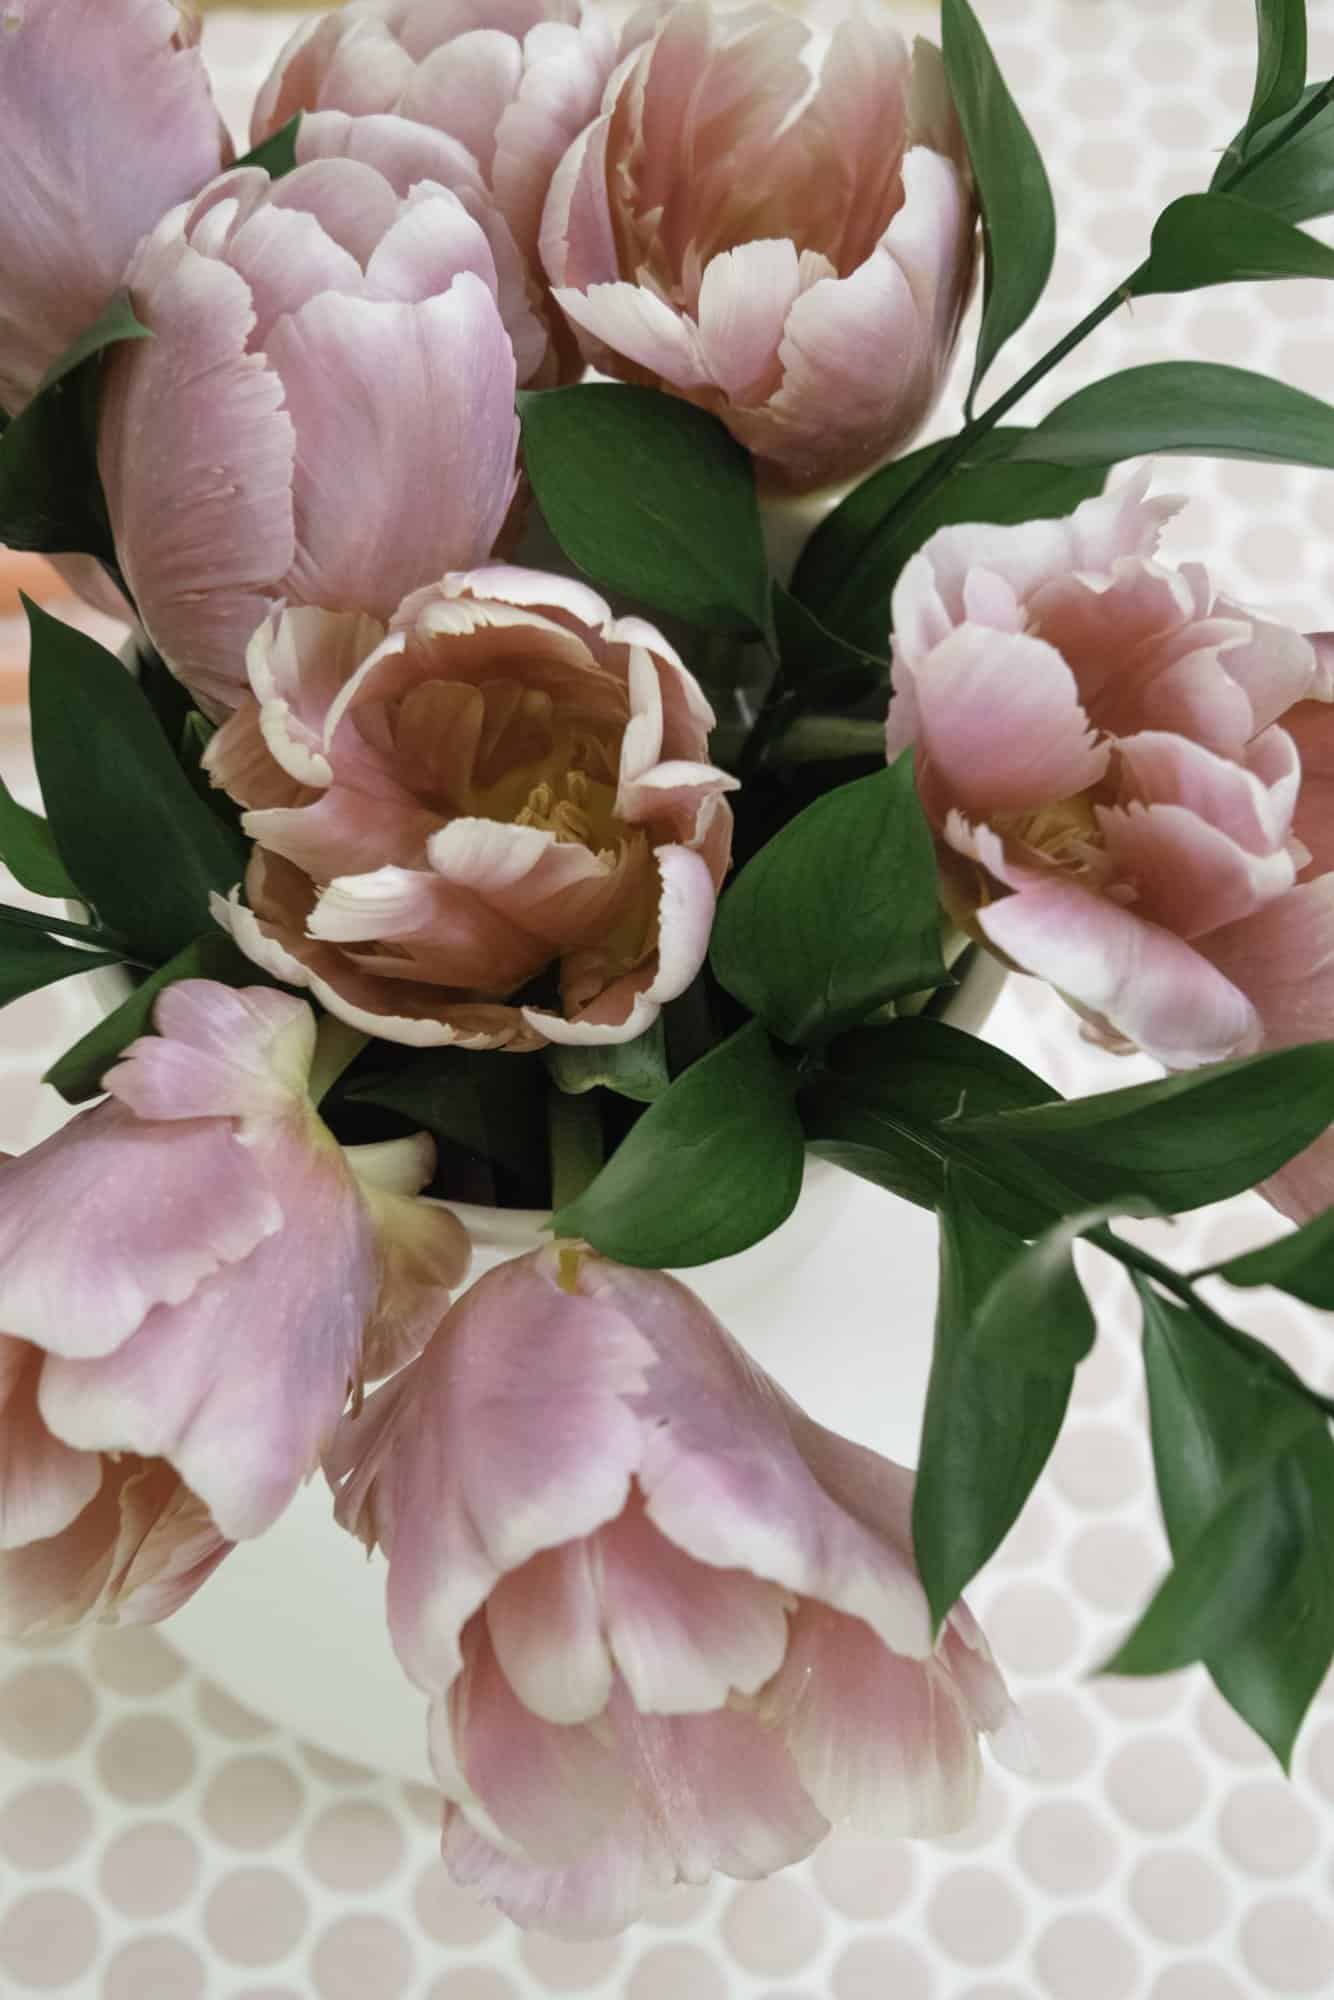 After I’m finished placing the tulips, I add a few sprigs of Ruscus to round out the arrangement and add some green.
 Once you’re done, place them somewhere you can really take them in and enjoy them. Replace the water each day and add some more flower food for maximum lifespan. Hope this has been a fun project for you! I know for me there’s nothing like some fresh blooms and an empty vase to zen out. xo Keely
Credits // Author and Photography: Keely Rust. Photos edited with ACS for Desktop Actions.
from A Beautiful Mess https://ift.tt/3h0Pg0b
via IFTTT