 I’m a sucker for a quick cute craft and last Christmas when I wanted to make a little photo display, I grabbed a few supplies to make a few fast photo holders that I still love today! I thought I’d make a few more of them for the shelves in our new home and I wanted to share the DIY since it’s really fast, but they are pretty cute once complete. It’s easy to forget to display all the best moments in life and just let photos sit on your phone or in an album, so this is a quick way to get them out for everyone to enjoy…let’s go!
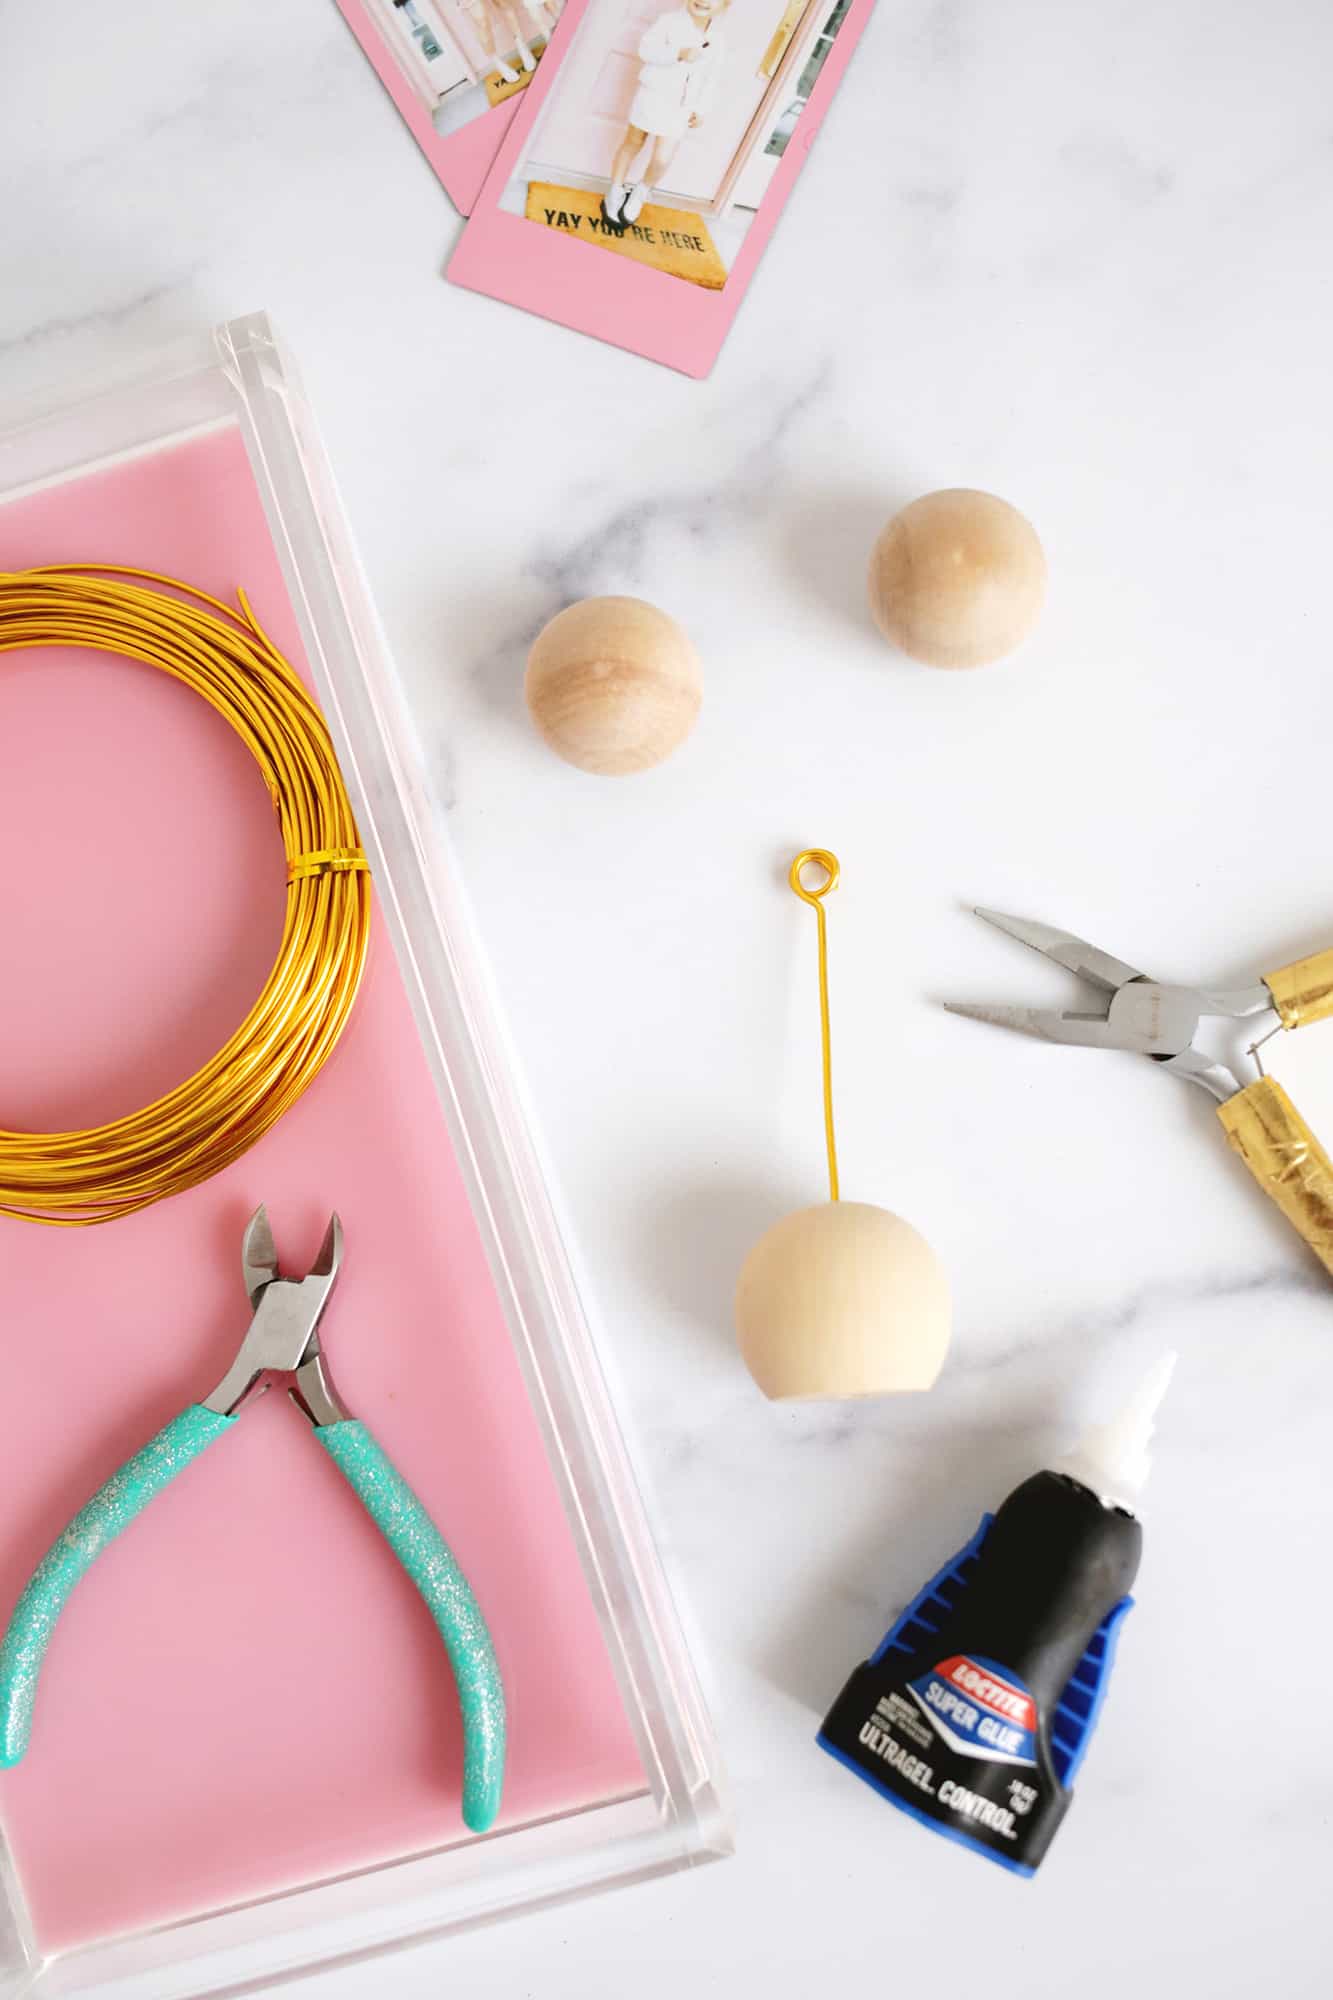
 Supplies:
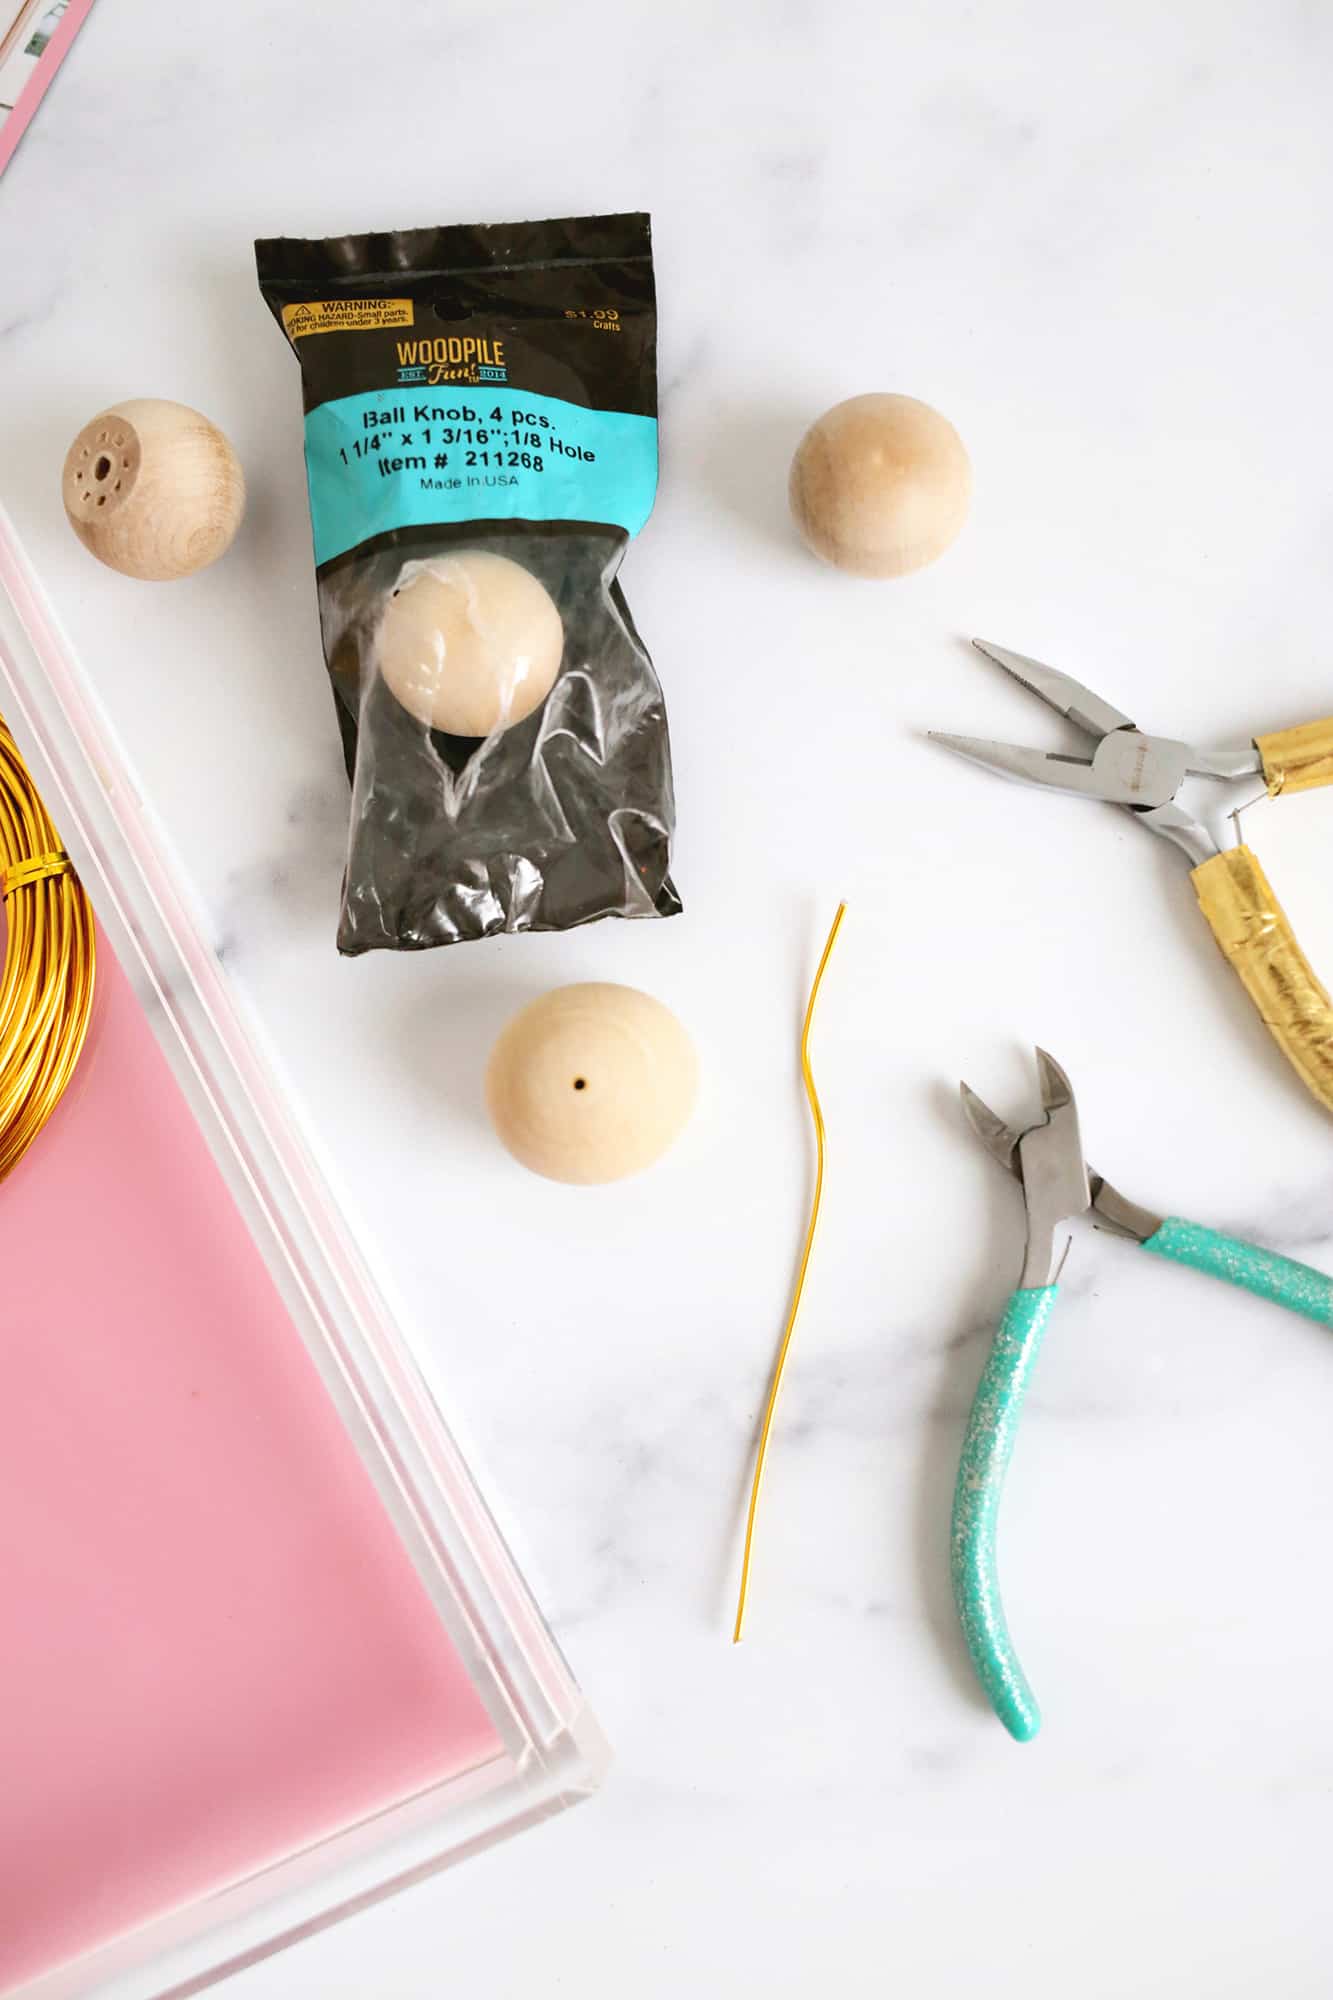
–1.5 mm bendable craft wire
–wooden ball knobs (I used 1 1/4″ wide but you can use whatever size you want)
–quick set super glue
–jewelry wire cutters and needle nose pliers
-pencil (optional)
–drill and 1/16″ drill bit
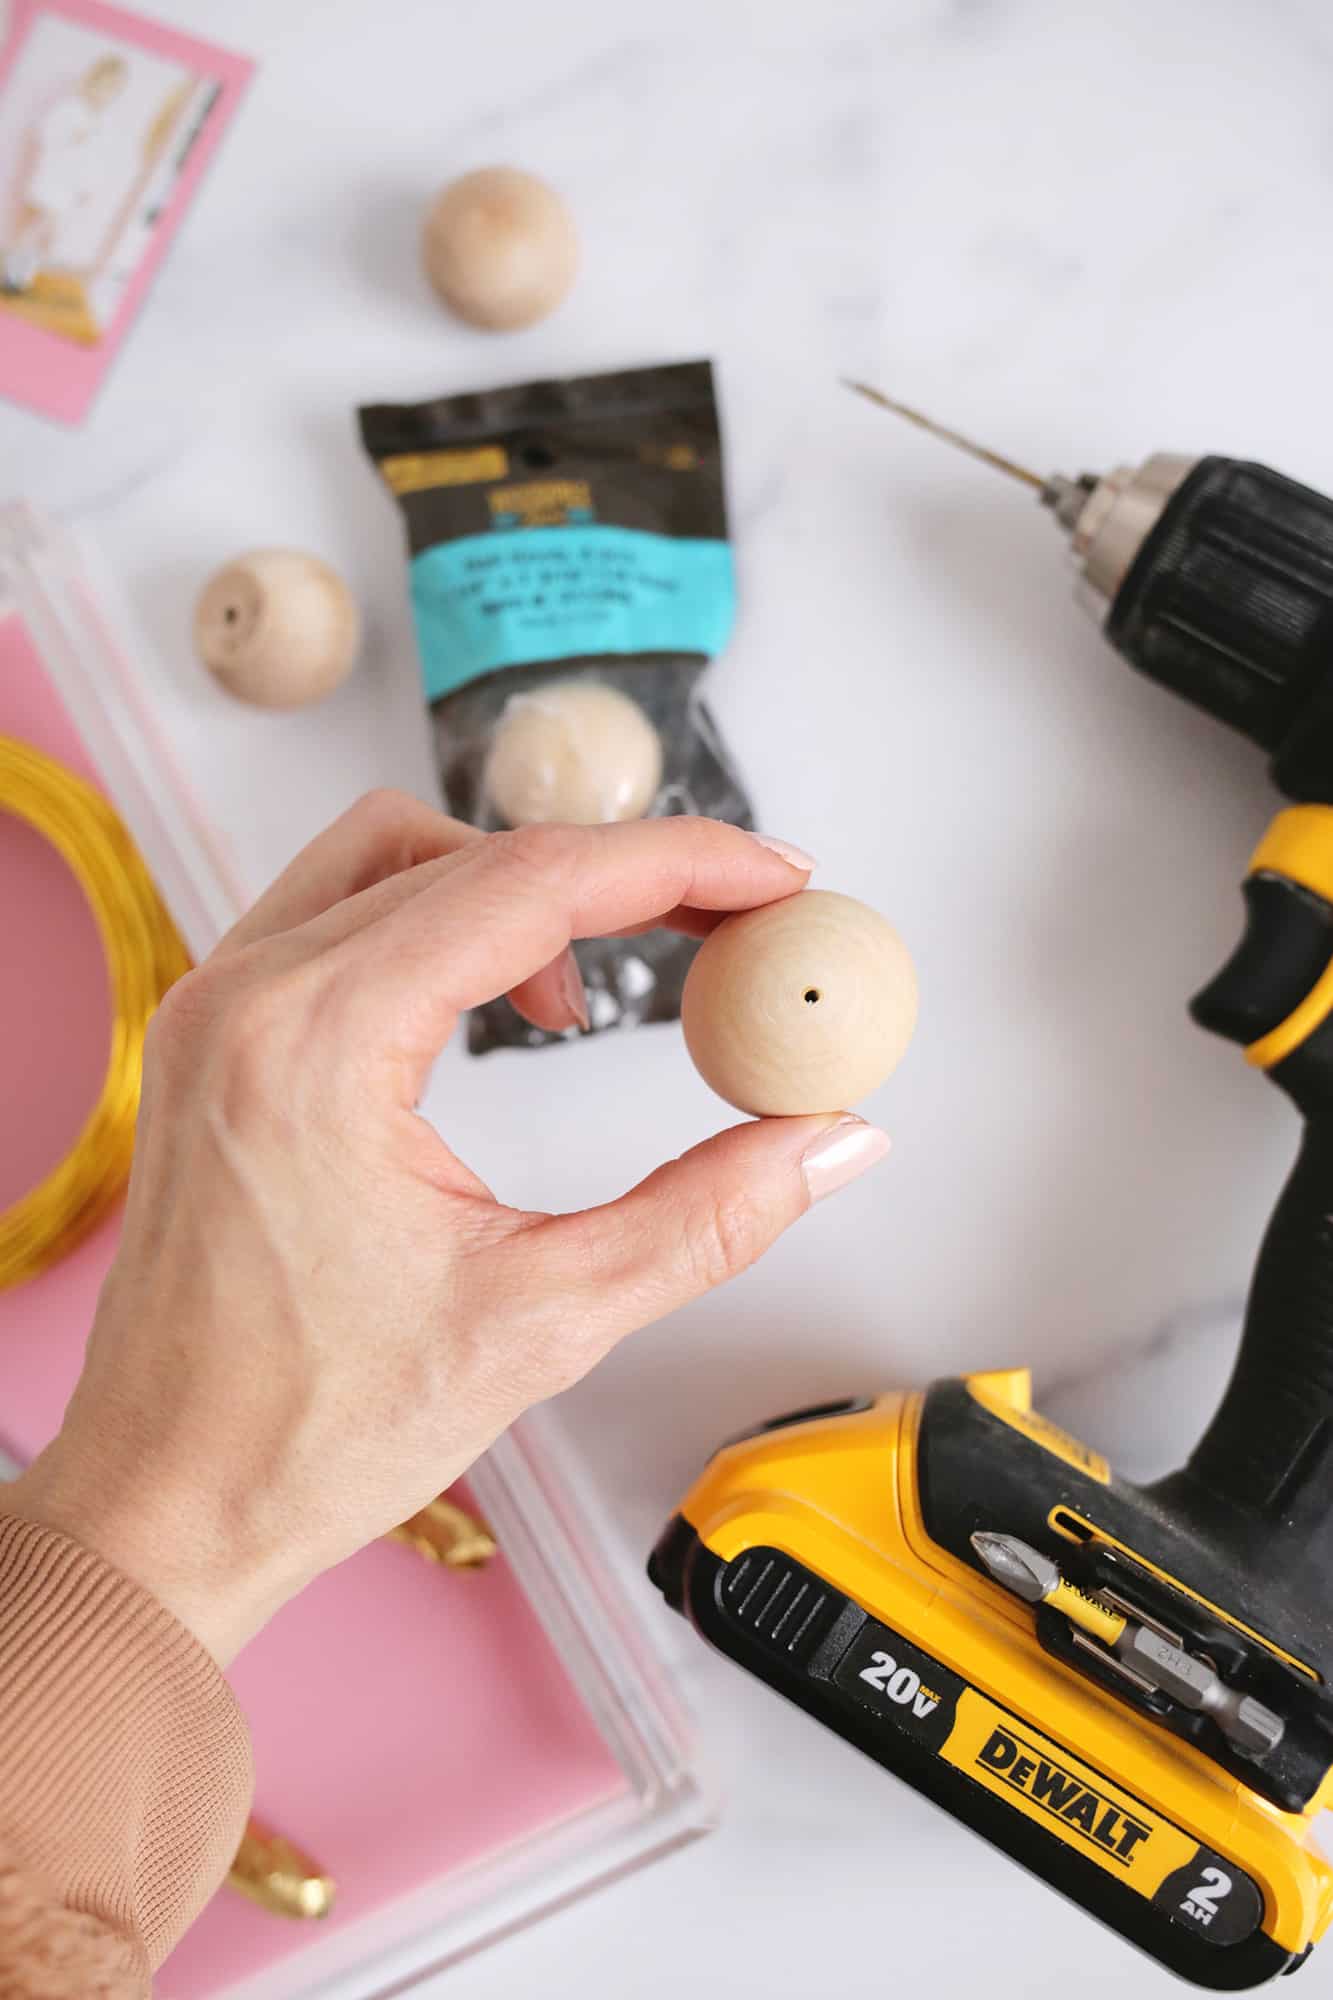 First, you’ll drill a hole into the top of your wooden ball (the rounded part, not the flat part that already has a hole). Then, you’ll want to decide how tall you want your photo holder to be. I made 3 different heights so they could be in a little grouping together, but you’ll measure up from the table how high you want the holder part to be and then add another 1″ to bend the top into a coil to hold your photo.
 Cut your wire to the desired length with wire cutters (you may be able to get away with cutting it with scissors, but it will dull your scissors so use wire cutters if you have them). Put a few drops of glue into the hole you drilled and place your wire into the hole (you may want to do this on some wax paper in case any glue drips out the bottom).
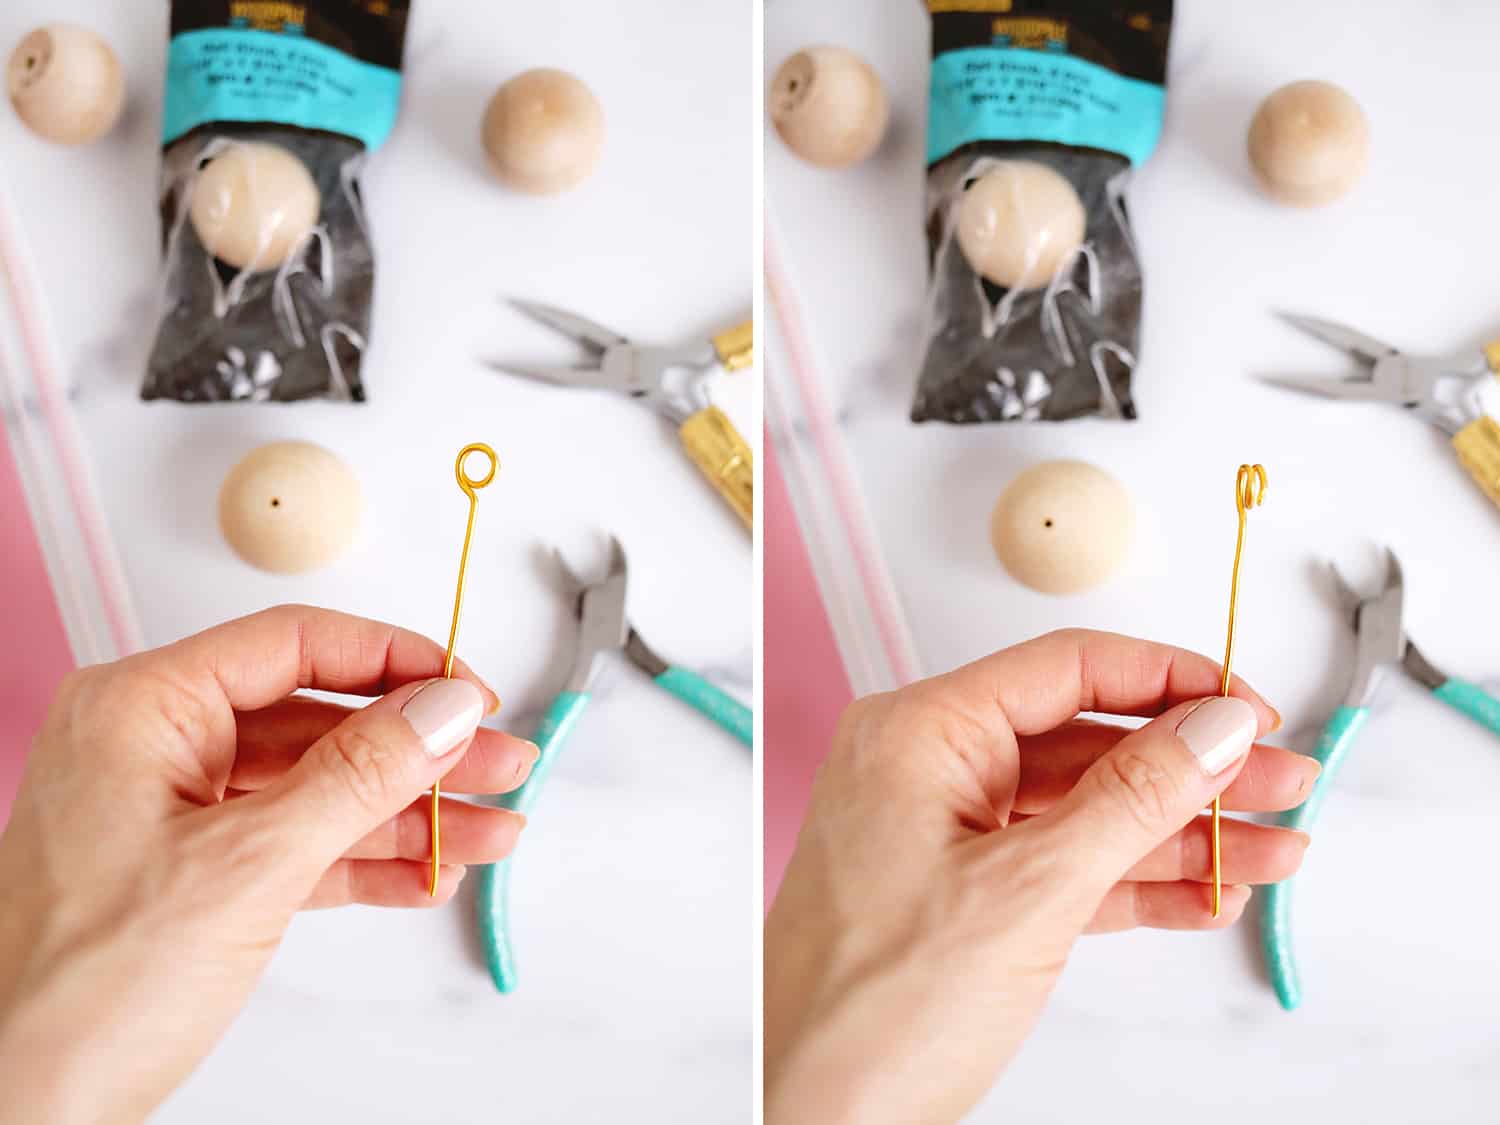 Allow the glue to set for a minute and then use the needle nose pliers to bend the top into a coiled circle so you have what looks like a little lollipop at the end of your wire. I realized doing some more of these later that you can also coil the wire around a pencil as well and then slide it off if you have a pencil handy.
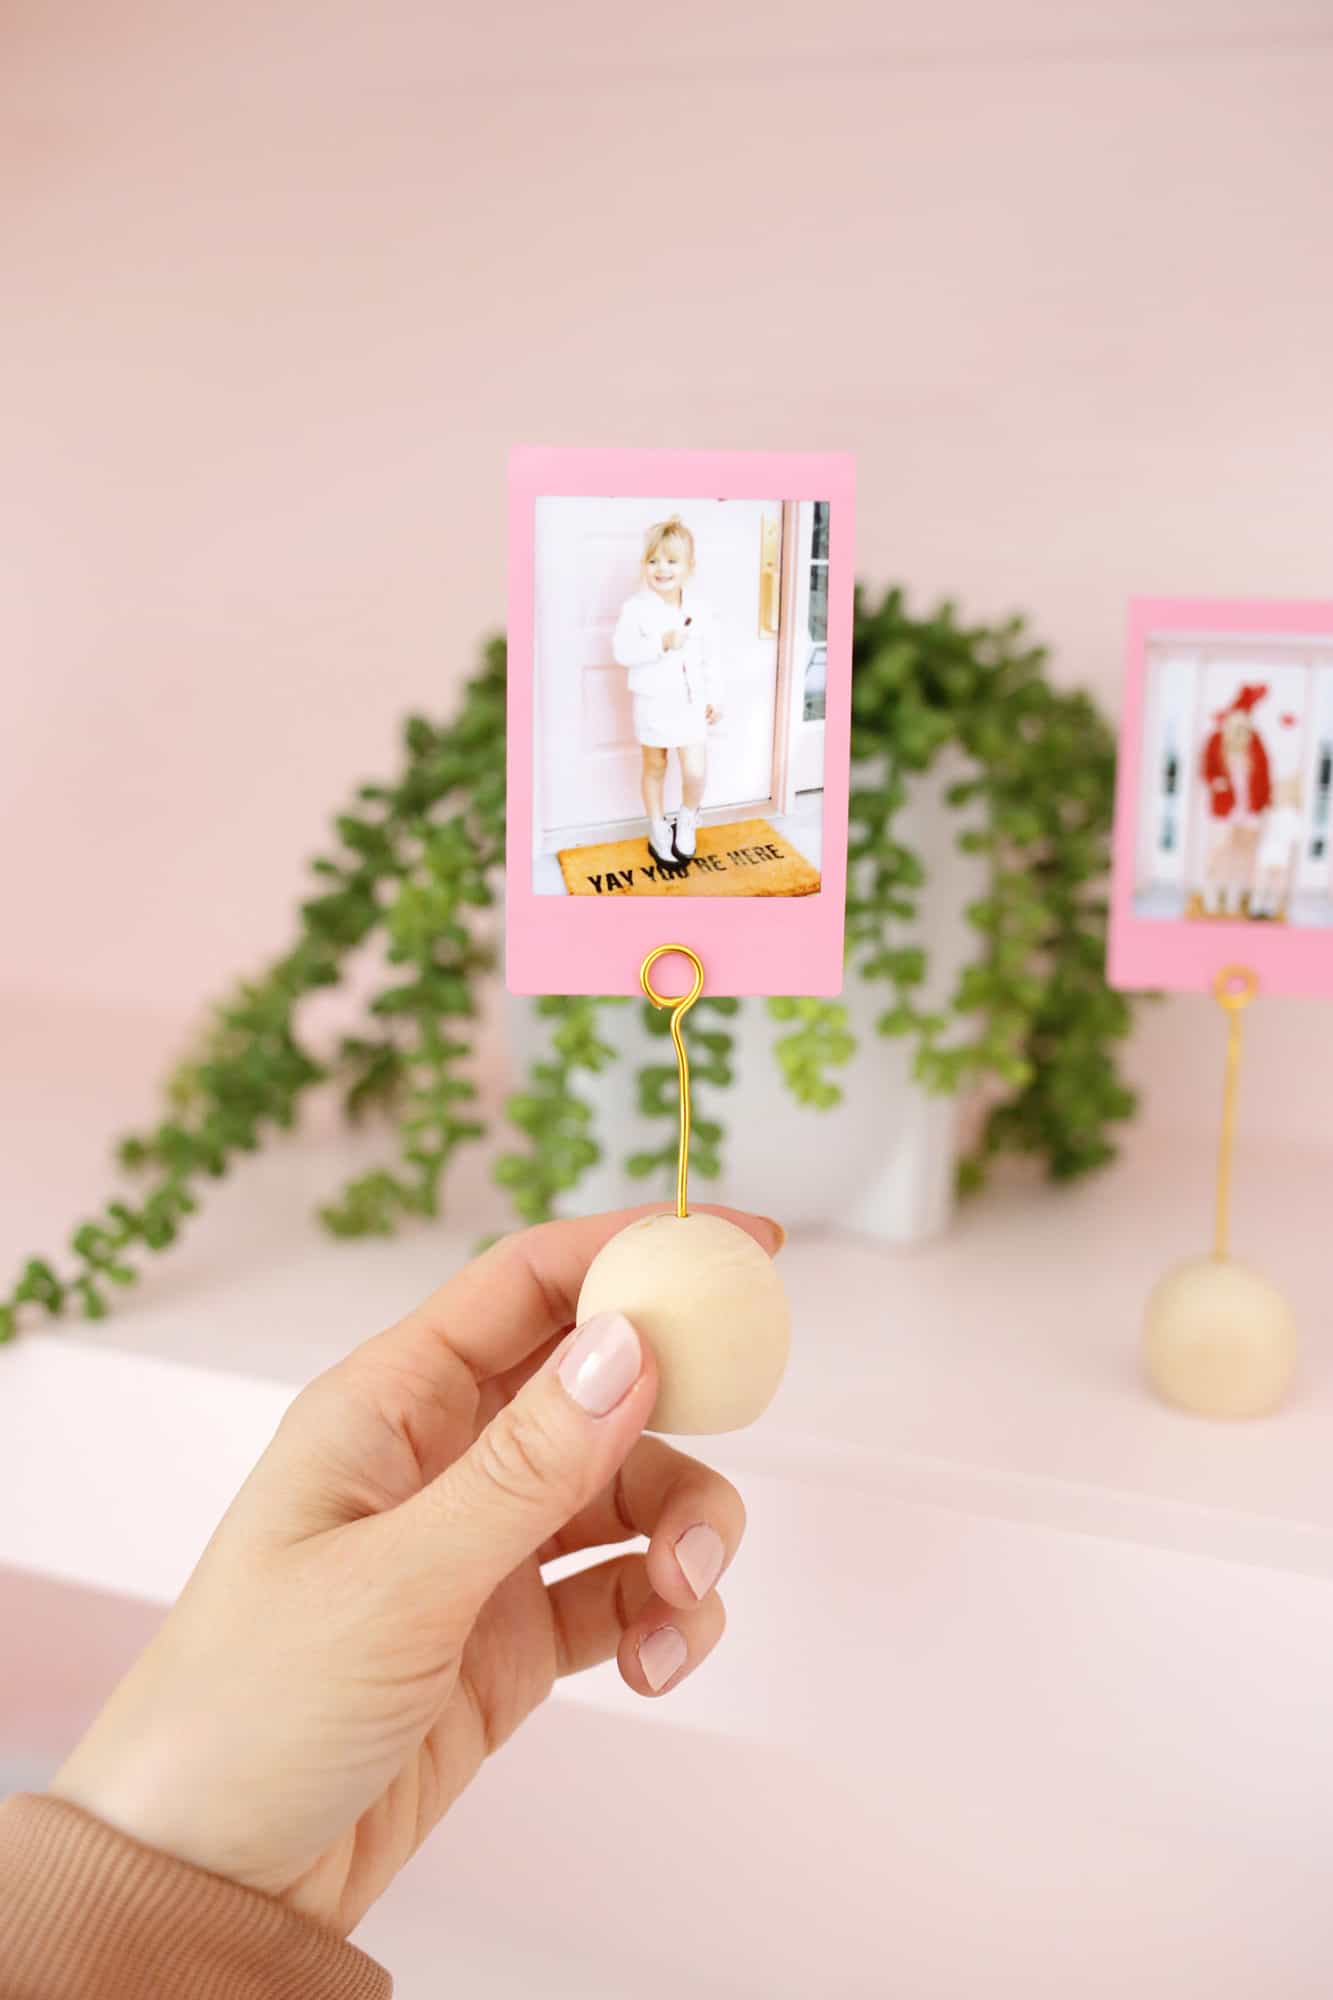
 Once your wire is coiled, it’s time to add your photo and you’re ready to display your picture!

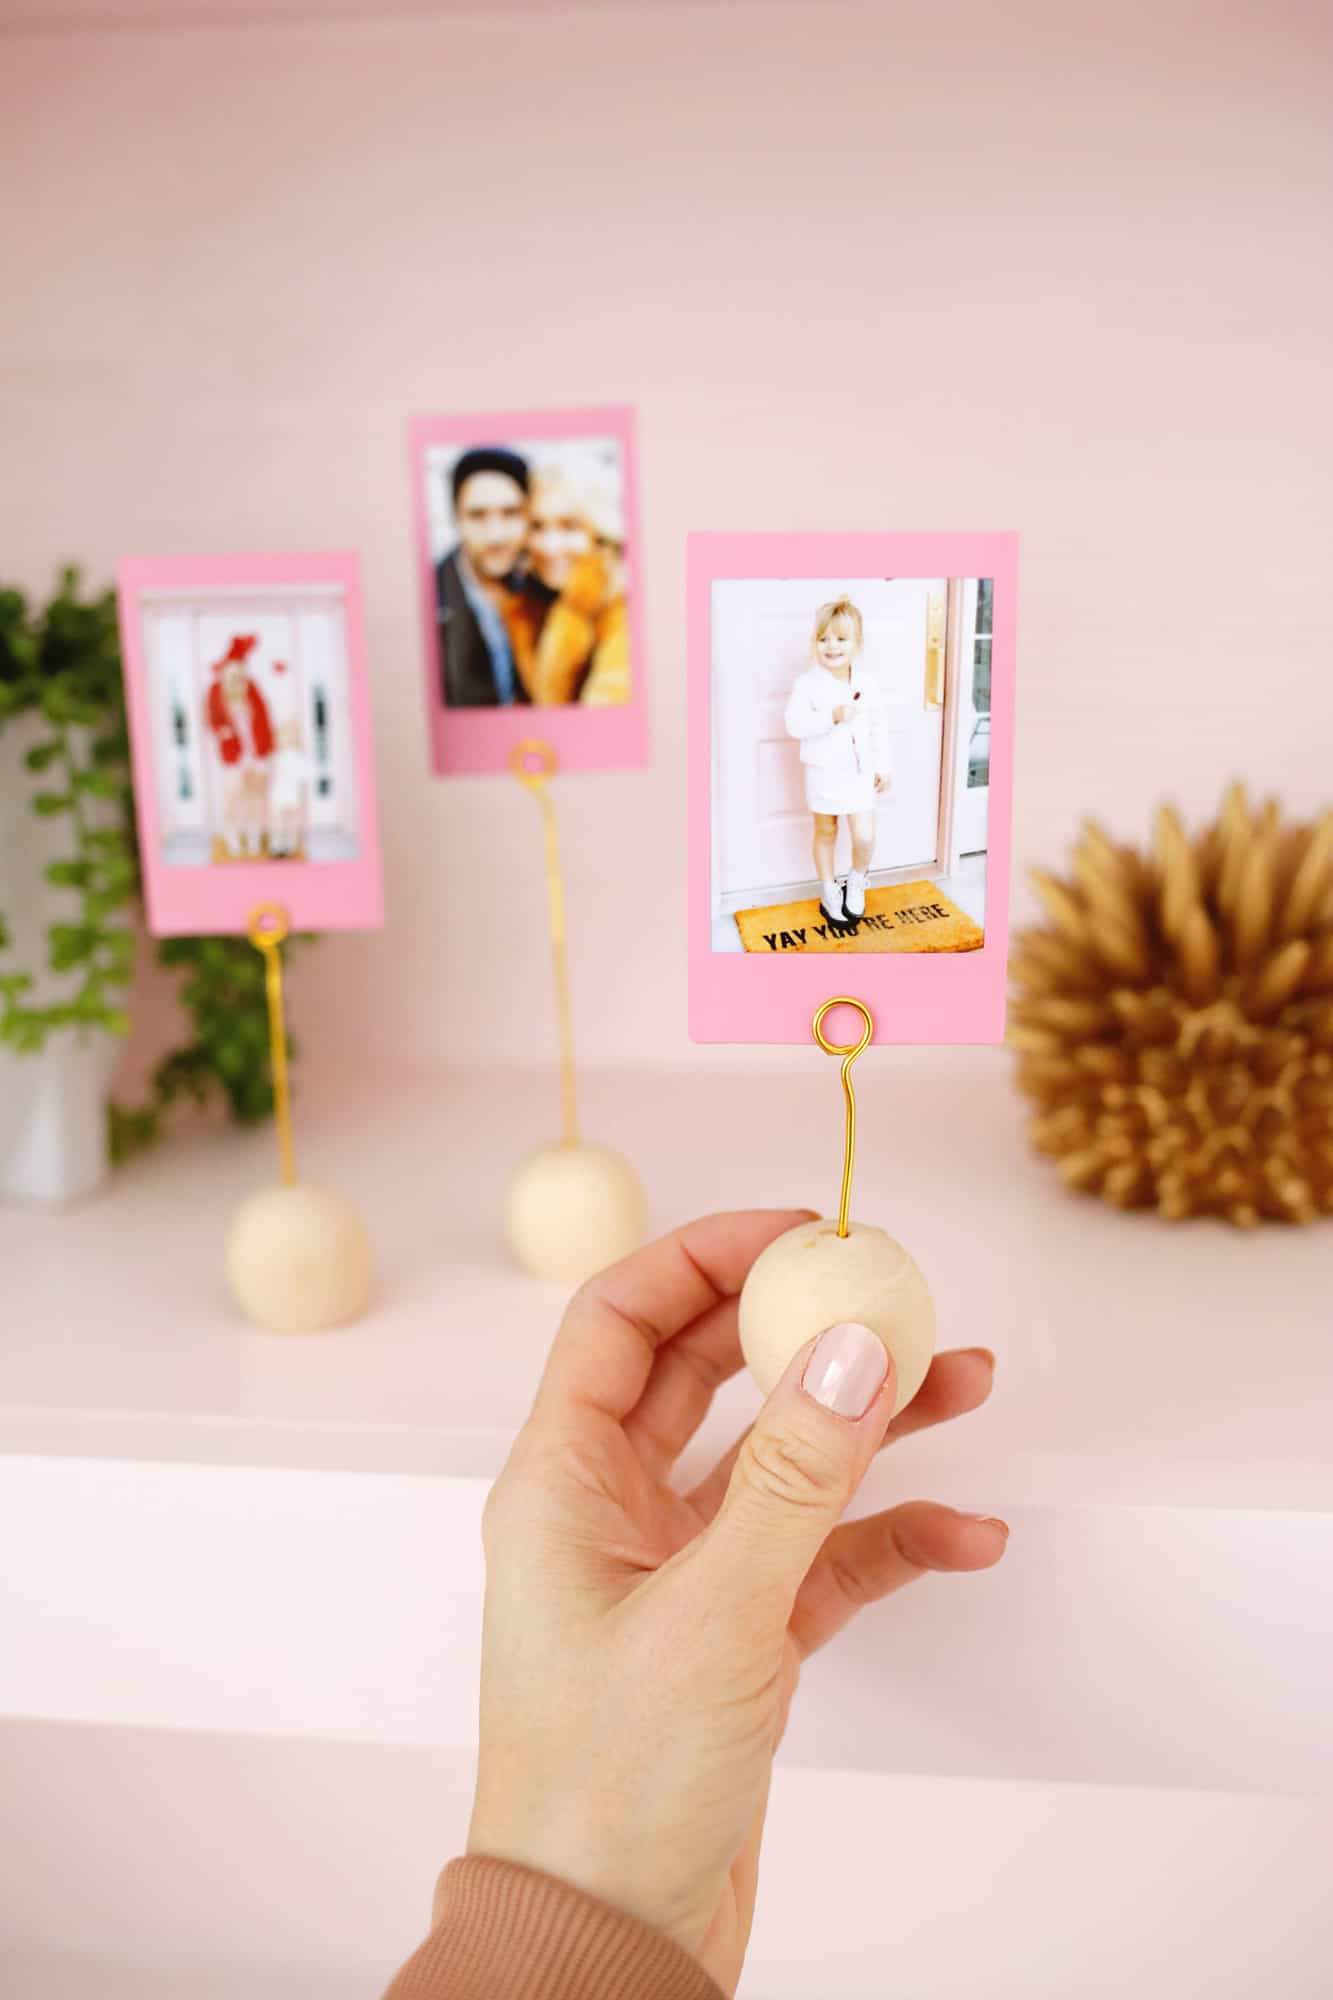
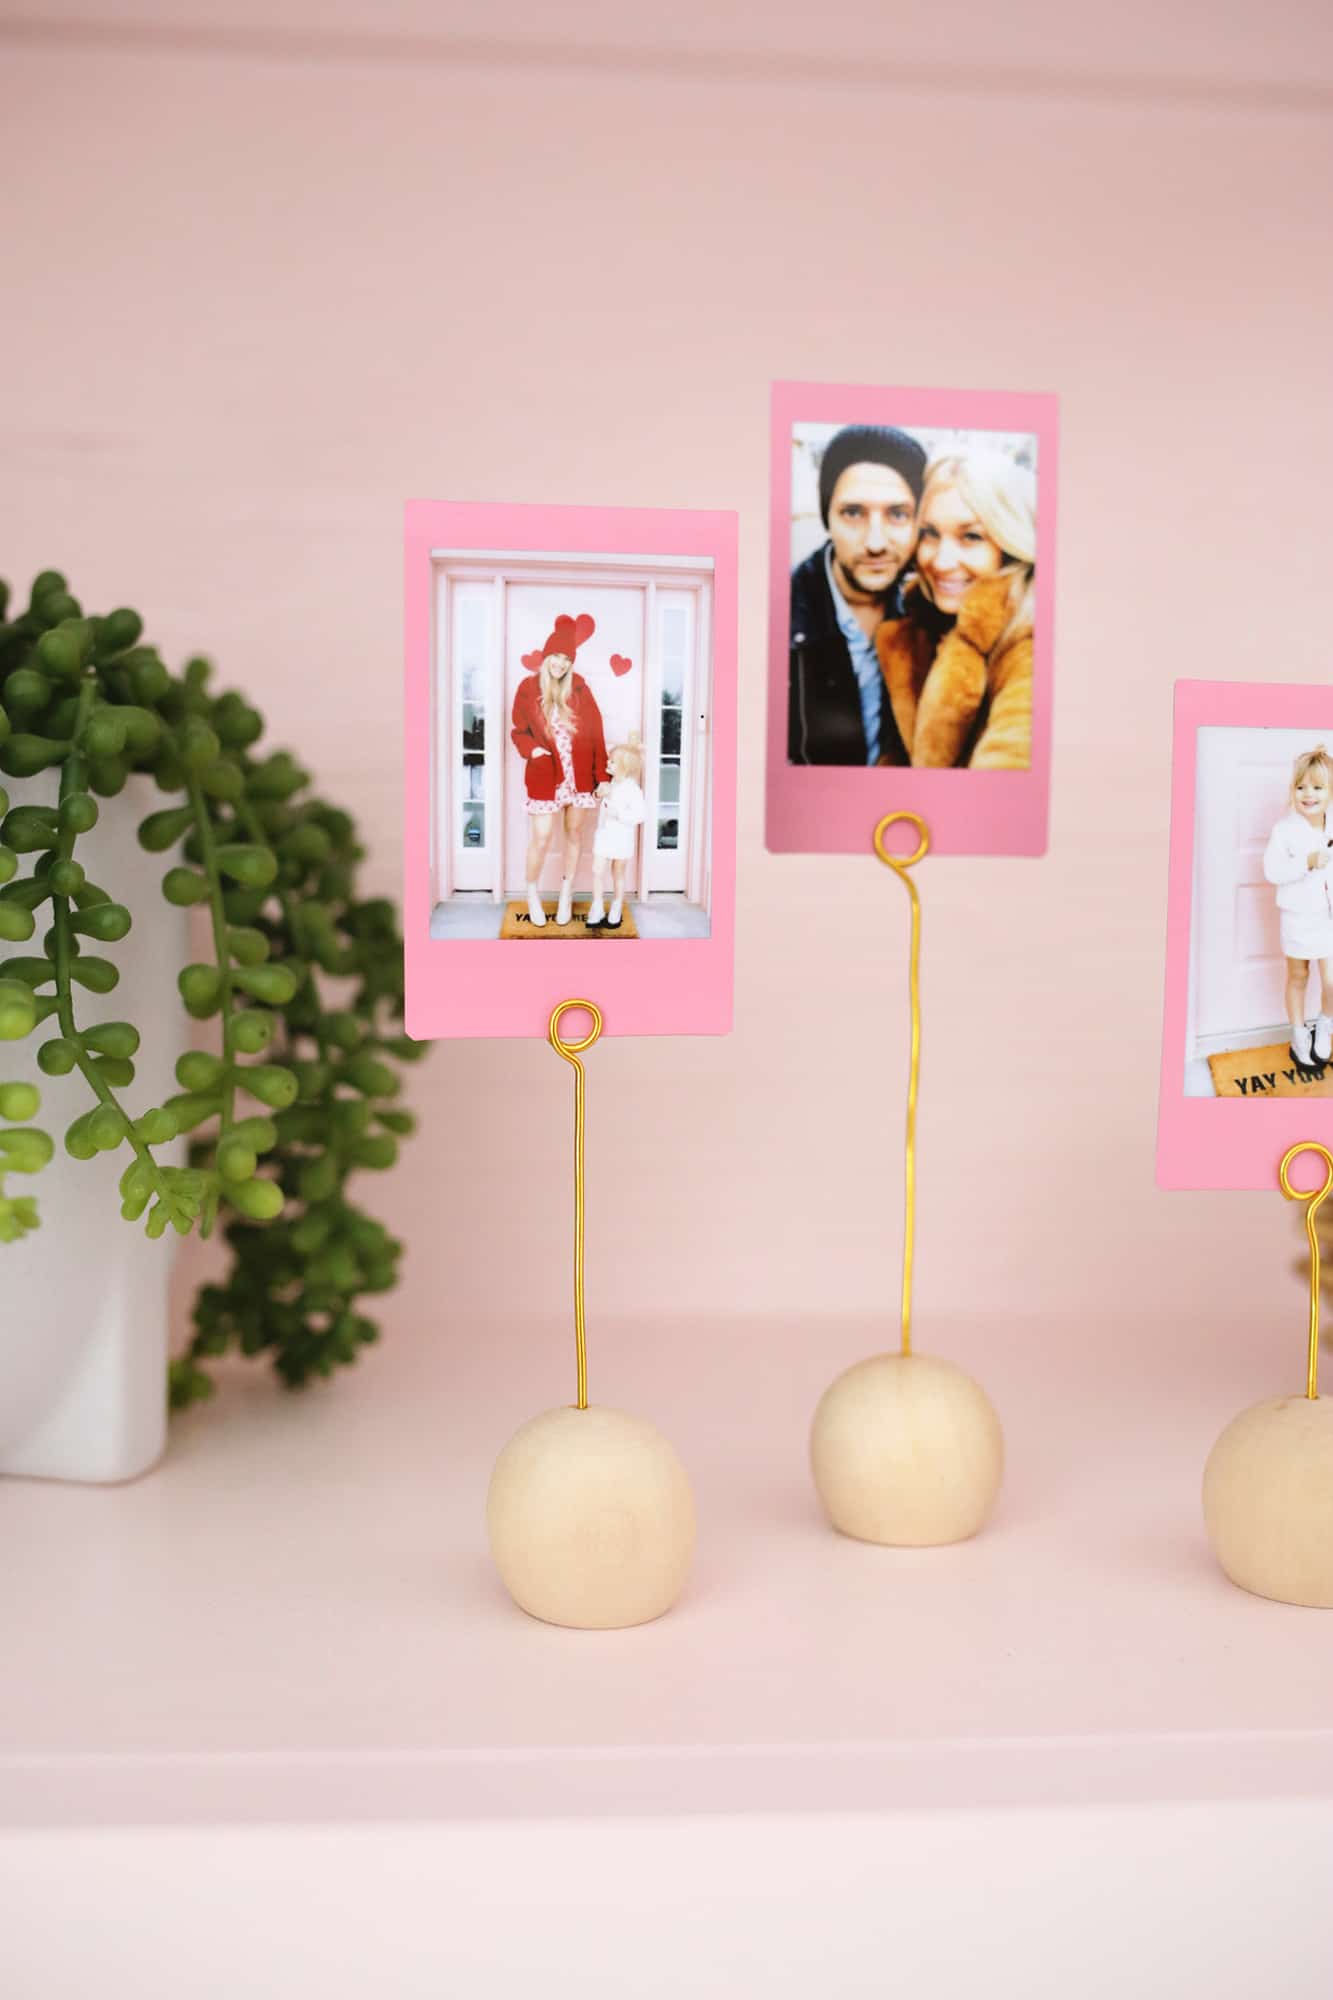 Aren’t those simple but cute? And that pink Instax film I bought for my Instax camera is soooo pretty in the holders too. I had bought a few iridescent Instax albums to hold some of my photos, but it’s great to also have these holders to rotate and display my favorites throughout the year. These would also be perfect as place cards for a dinner party or event and you can paint the wooden balls a color first if you want a different look than the wood tones (or you could stain the wood too!). If you don’t want to make your own you can also go for these or these for the same effect. If you’re also all for an easy cute DIY, I hope this finds its way into your home as well! xo. Laura

WOODEN BALL PHOTO HOLDER DIY (ONLY TAKES 5 MINUTES TO MAKE!)
Ingredients
- 1.5 mm bendable craft wire
- wooden ball knobs (I used 1 1/4″ wide but you can use whatever size you want)
- quick set super glue
- jewelry wire cutters and needle nose pliers
- pencil (optional)
- drill and 1/16″ drill bit
Instructions
-
First you’ll drill a hole into the top of your wooden ball (the rounded part, not the flat part that already has a hole). Then you’ll want to decide how tall you want your photo holder to be. I made 3 different heights so they could be in a little grouping together, but you’ll measure up from the table how high you want the holder part to be and then add another 1″ to bend the top into a coil to hold your photo.
-
Cut your wire to the desired length with wire cutters (you may be able to get away with cutting it with scissors, but it will dull your scissors so use wire cutters if you have them). Put a few drops of glue into the hole you drilled and place your wire into the hole (you may want to do this on some wax paper in case any glue drips out the bottom).
-
Allow the glue to set for a minute and then use the needle nose pliers to bend the top into a coiled circle so you have what looks like a little lollipop at the end of your wire. I realized doing some more of these later that you can also coil the wire around a pencil as well and then slide it off if you have a pencil handy.
-
Once your wire is coiled, it’s time to add your photo and you’re ready to display your picture!
Credits // Author and Photography: Laura Gummerman. Photos edited with A Color Story Desktop.
from A Beautiful Mess https://ift.tt/3c6zCiT
via IFTTT