 Is there anything more summer than a little slip and slide action?! I definitely slid down my fair share of slip and slides as a kid, but a few summers ago my husband and I decided to take advantage of our sloped backyard and got all the ingredients for a giant adult-and-kid-friendly version of an old classic! It’s pretty quick to set up and while some slope in a yard is super helpful, you can also do this on a flat surface as well since you’ll be running and sliding into the slip zone. The other great thing is that you can reuse the main items year after year and even use them for other things as well! We brought ours with us in our move from Nashville and set it up again in our front yard here in Pittsburgh.
And just a very clear safety warning, you can totally injure yourself on a slip and slide when being too energetic or reckless, so please go easy and be careful! Slip and slides can be a family-friendly afternoon of fun for everyone when enjoyed safely at appropriate speeds, but I think everyone has also heard a slide-related injury story, so be smart and use good judgment—especially when kids are present. One person at a time is the safest way to slide as well.
OK, here’s how we made ours!
 Supplies:
-box of pool noodles (you’ll want about 30-35 noodles)
–100-foot plastic sheet (6 mil thick)
-additional 6 ml sheet for splash zone (optional)
–6″ lawn pins
-4-6 hay bales
-hose or sprinkler for water source at top
-liquid soap (optional, something natural like this is a good idea so it won’t hurt your lawn)
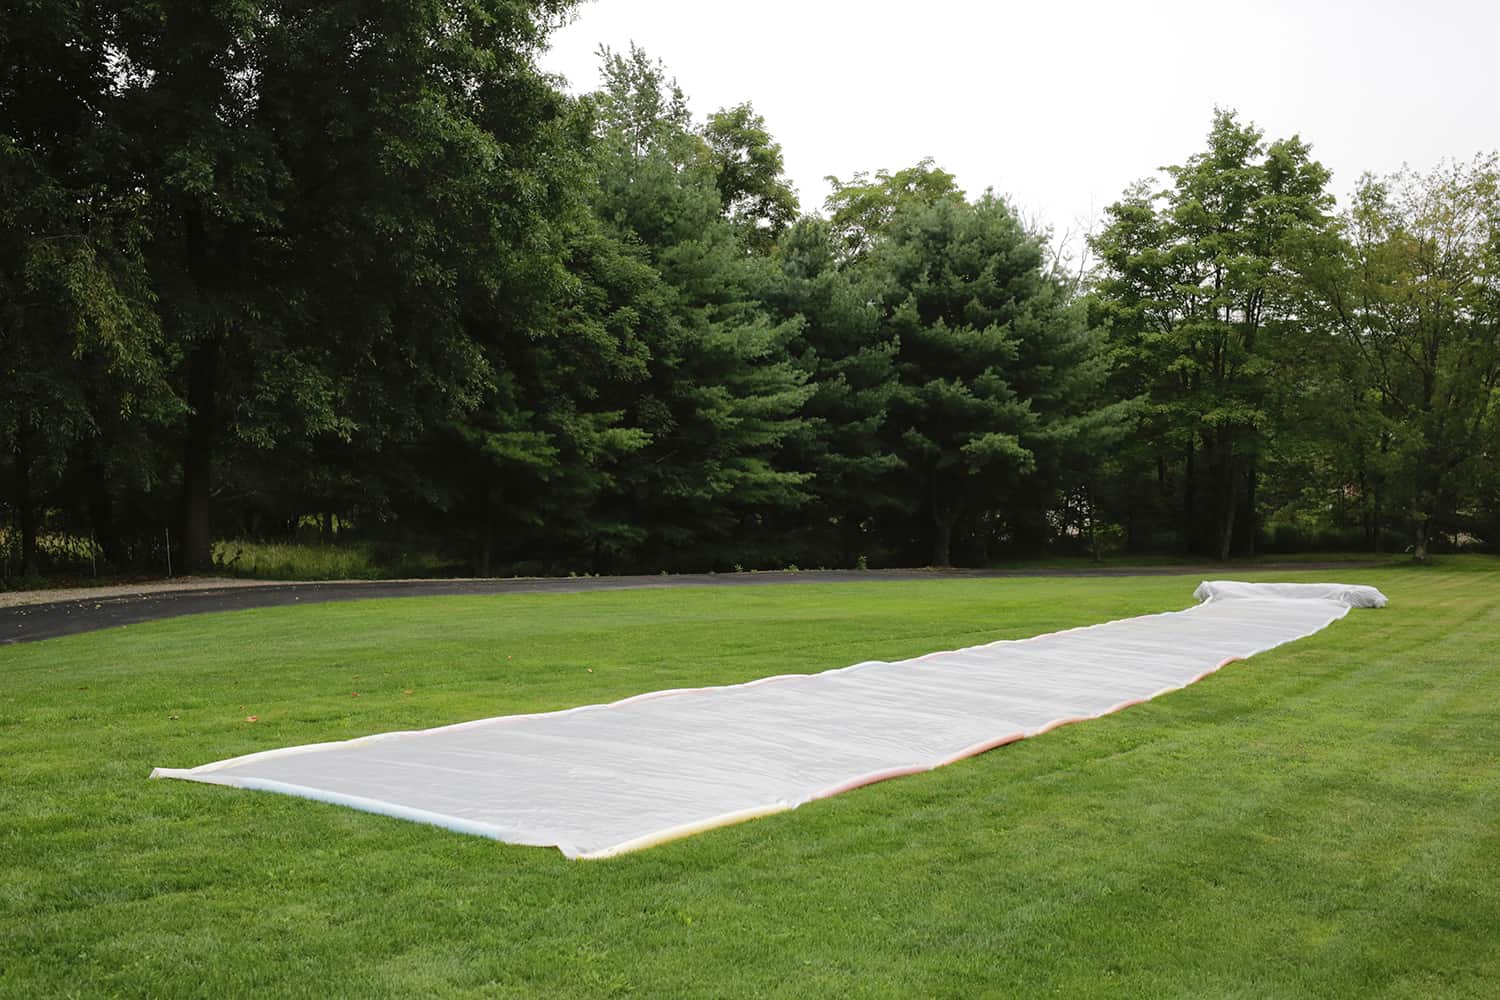
OK, first we lay out our 100-foot sheet down the yard. Lay out your pool noodles on each side of the sheet, saving one or two for the very top of the slide. Ideally, you want your noodles to lay end to end down the sides, but we are down a few noodles over the years, so there was a little space between them and it still worked out fine.
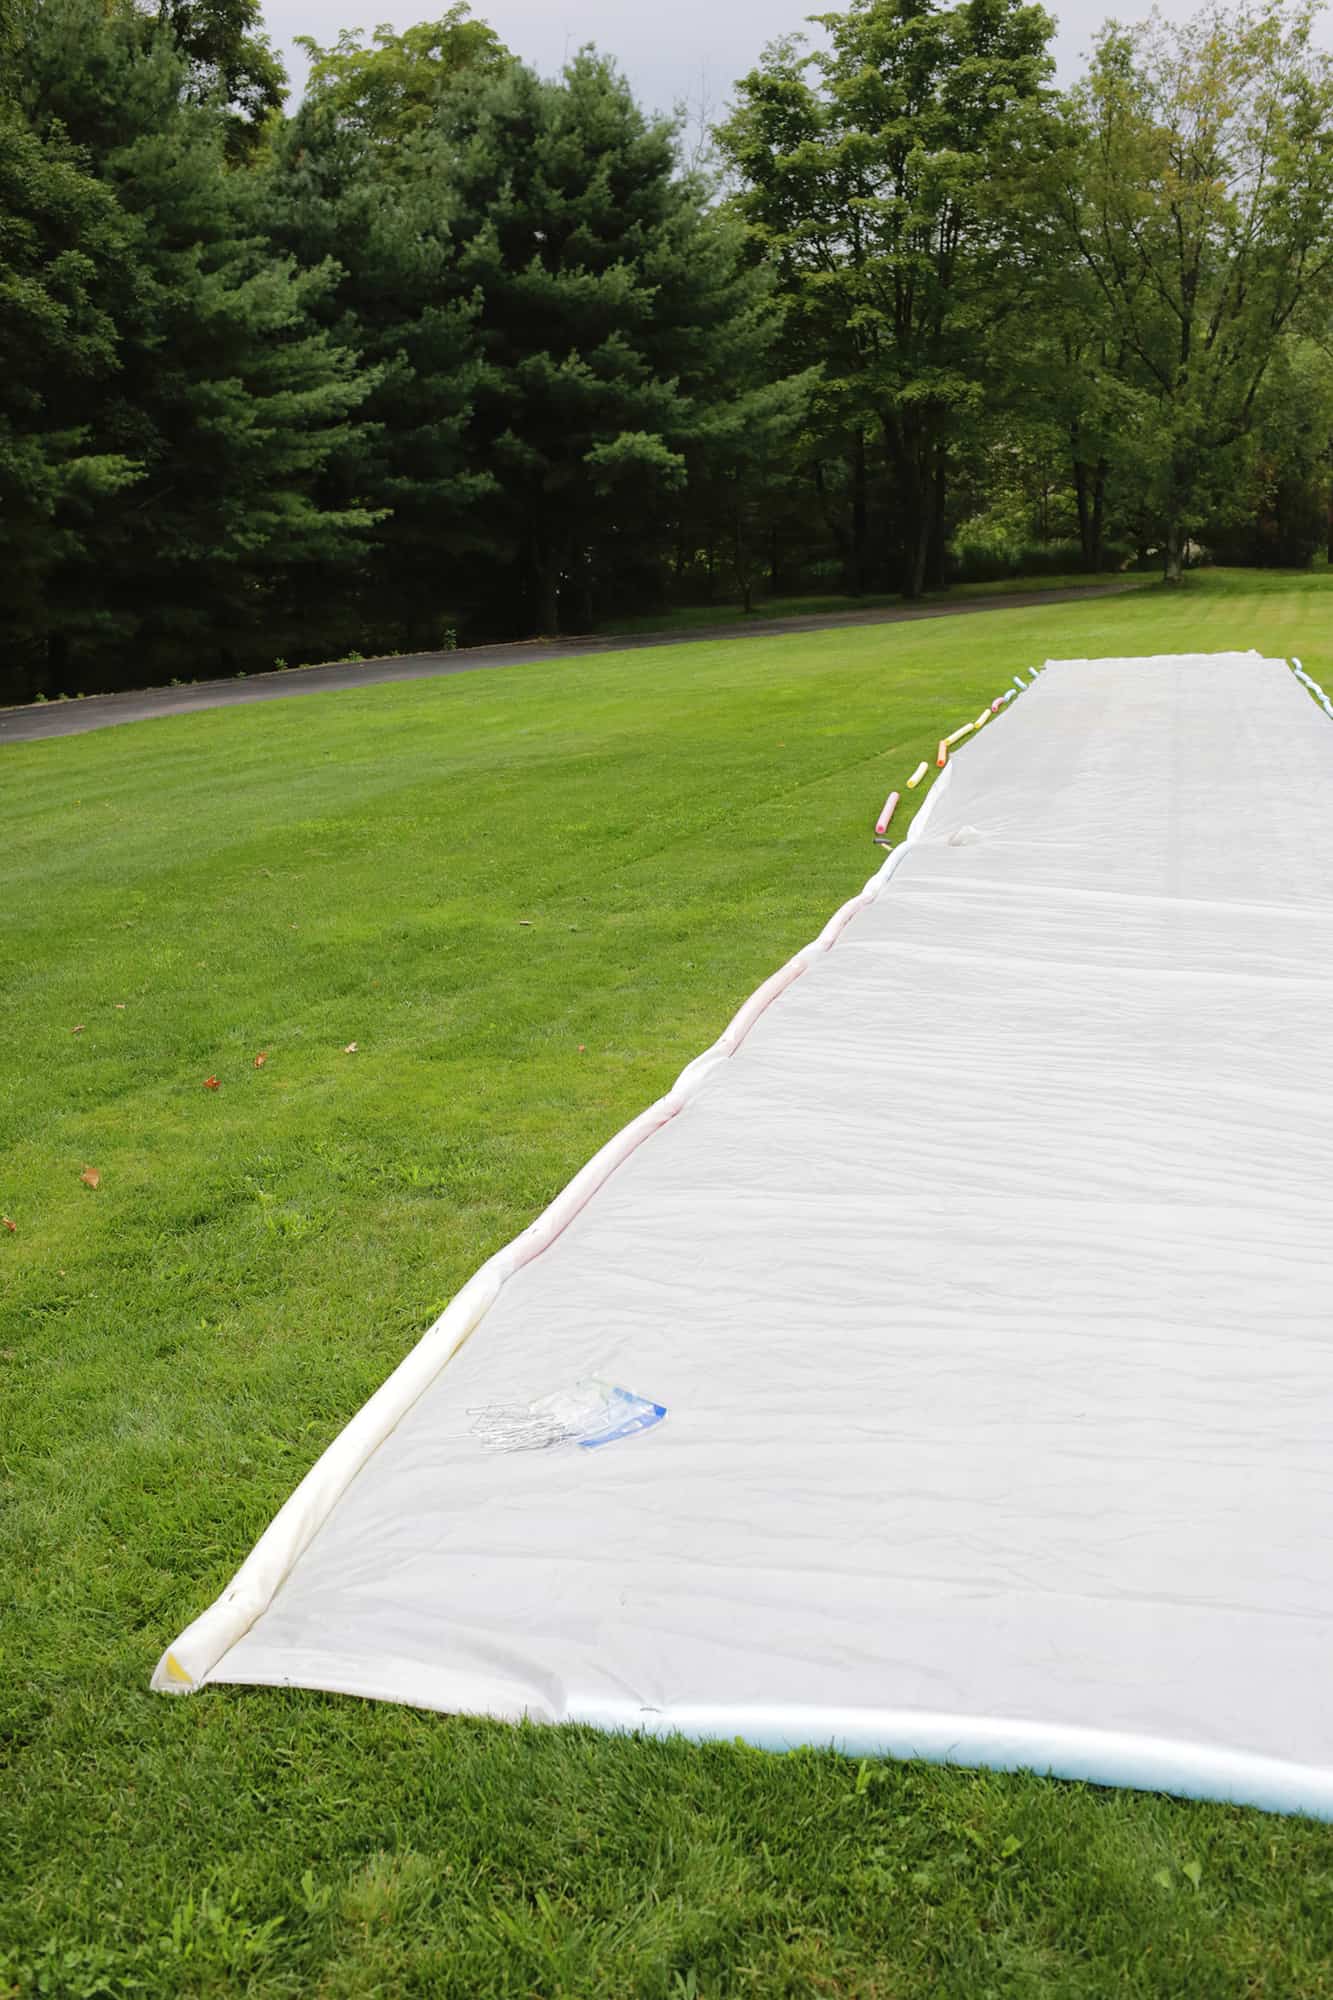 With one person working each side of the slide, roll your pool noodles into the plastic so that the noodle is a little more than fully wrapped in the plastic sheet. Use your 6″ lawn pins to keep your noodles in place (you’ll want at least two per noodle) and you may want a rubber mallet to fully hit them into the ground. Move onto the next noodle and work your way down the slide as someone rolls and pins the opposite side as you go.
Once all your noodles are in, roll a noodle into the top of the plastic as well and pin it in place so the top is secured.
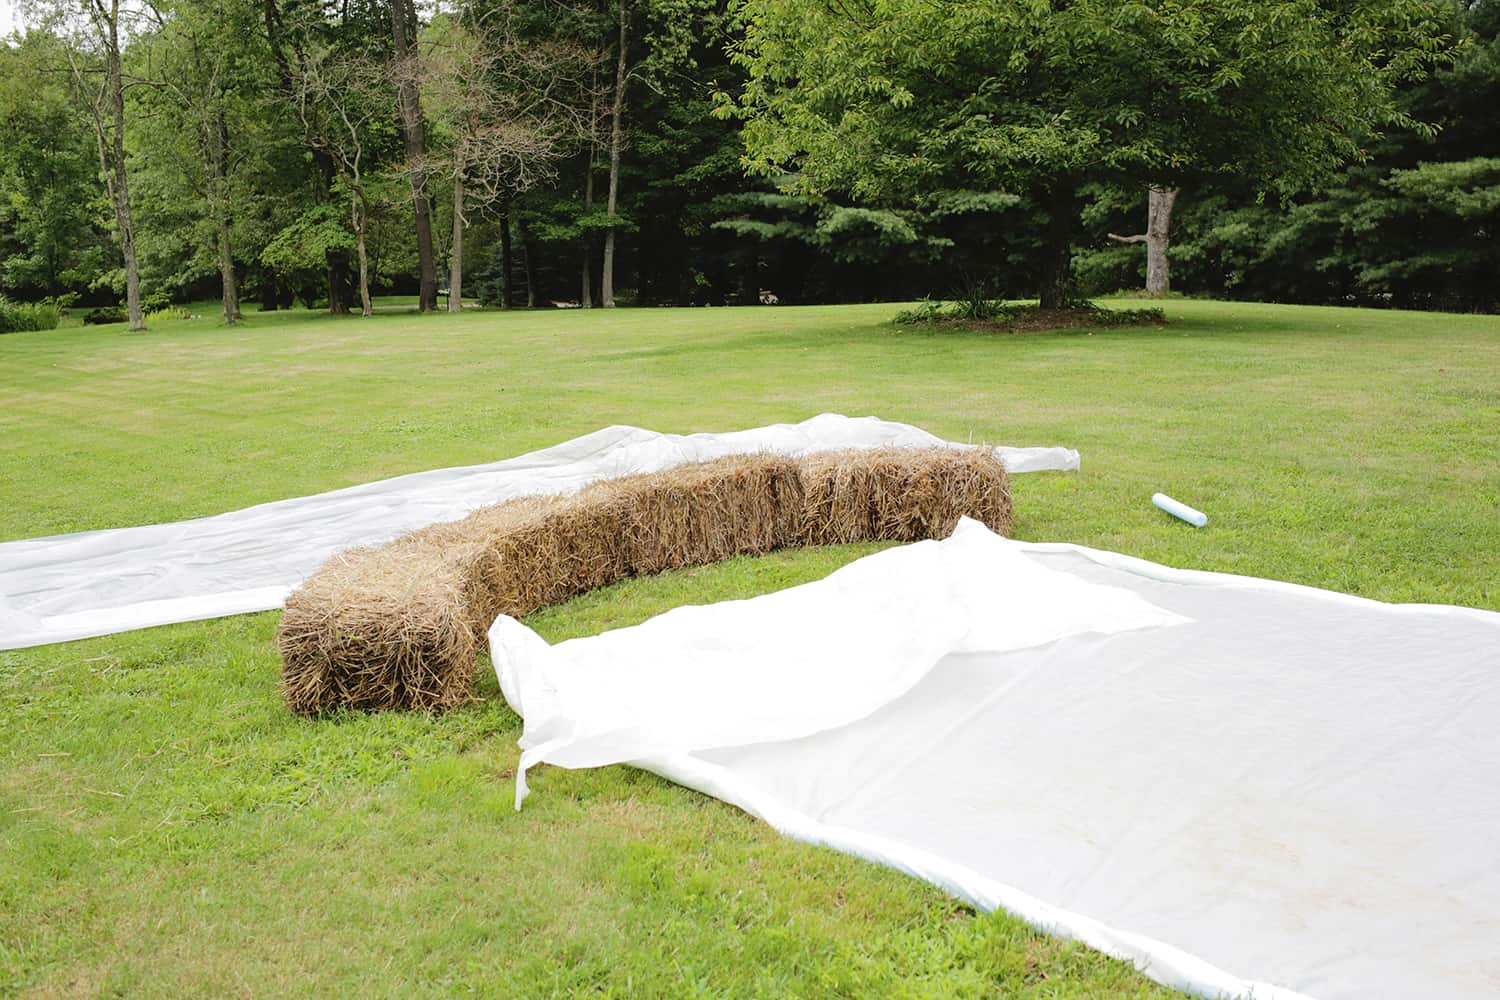
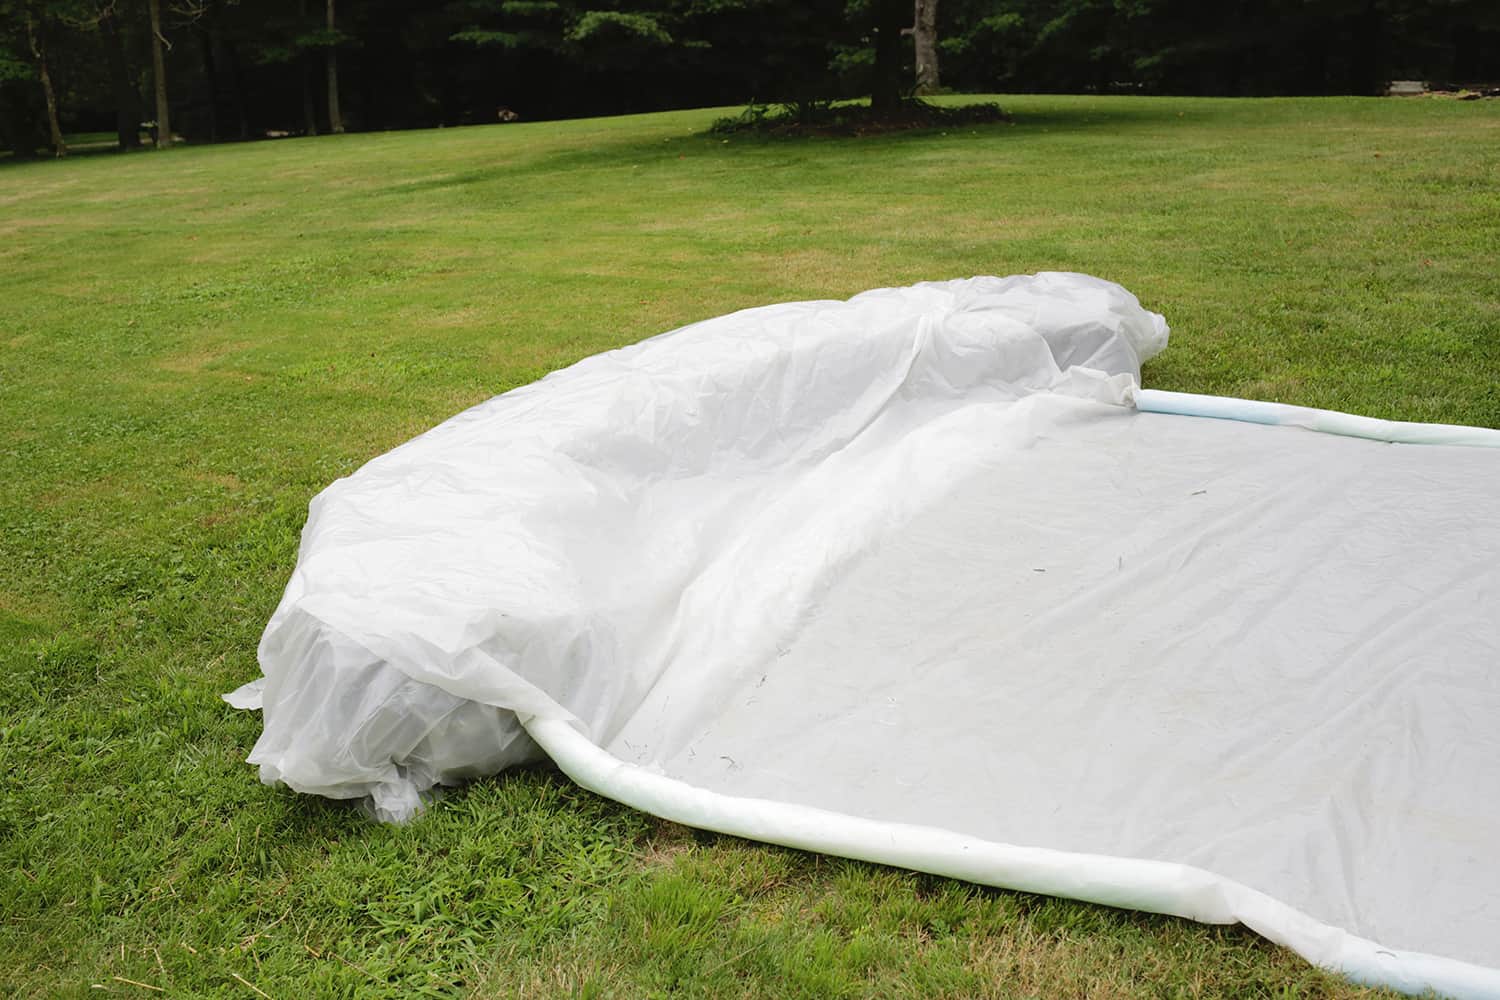 We found that hay bales are a great way to make a little stopping point at the end of your slide since they are solid but forgiving if you hit into them at the end. They also make a little splash zone at the end, which is kind of fun! Set your hay bales up in a semi-circle at the end of your slide and either pull the bottom of your long plastic sheet up and over the bales and secure with pins on the other side (you can go into the bottom back of the hay bales or the ground) or you can use a separate piece of plastic if you have another tarp and cover over the whole thing first, tucking all the extra under the bales. Then pull up the bottom of your long plastic sheet up and over. The extra sheets tends to keep the bales in place and covers over all the hay, which can be a little scratchy to hit into with your bare skin.

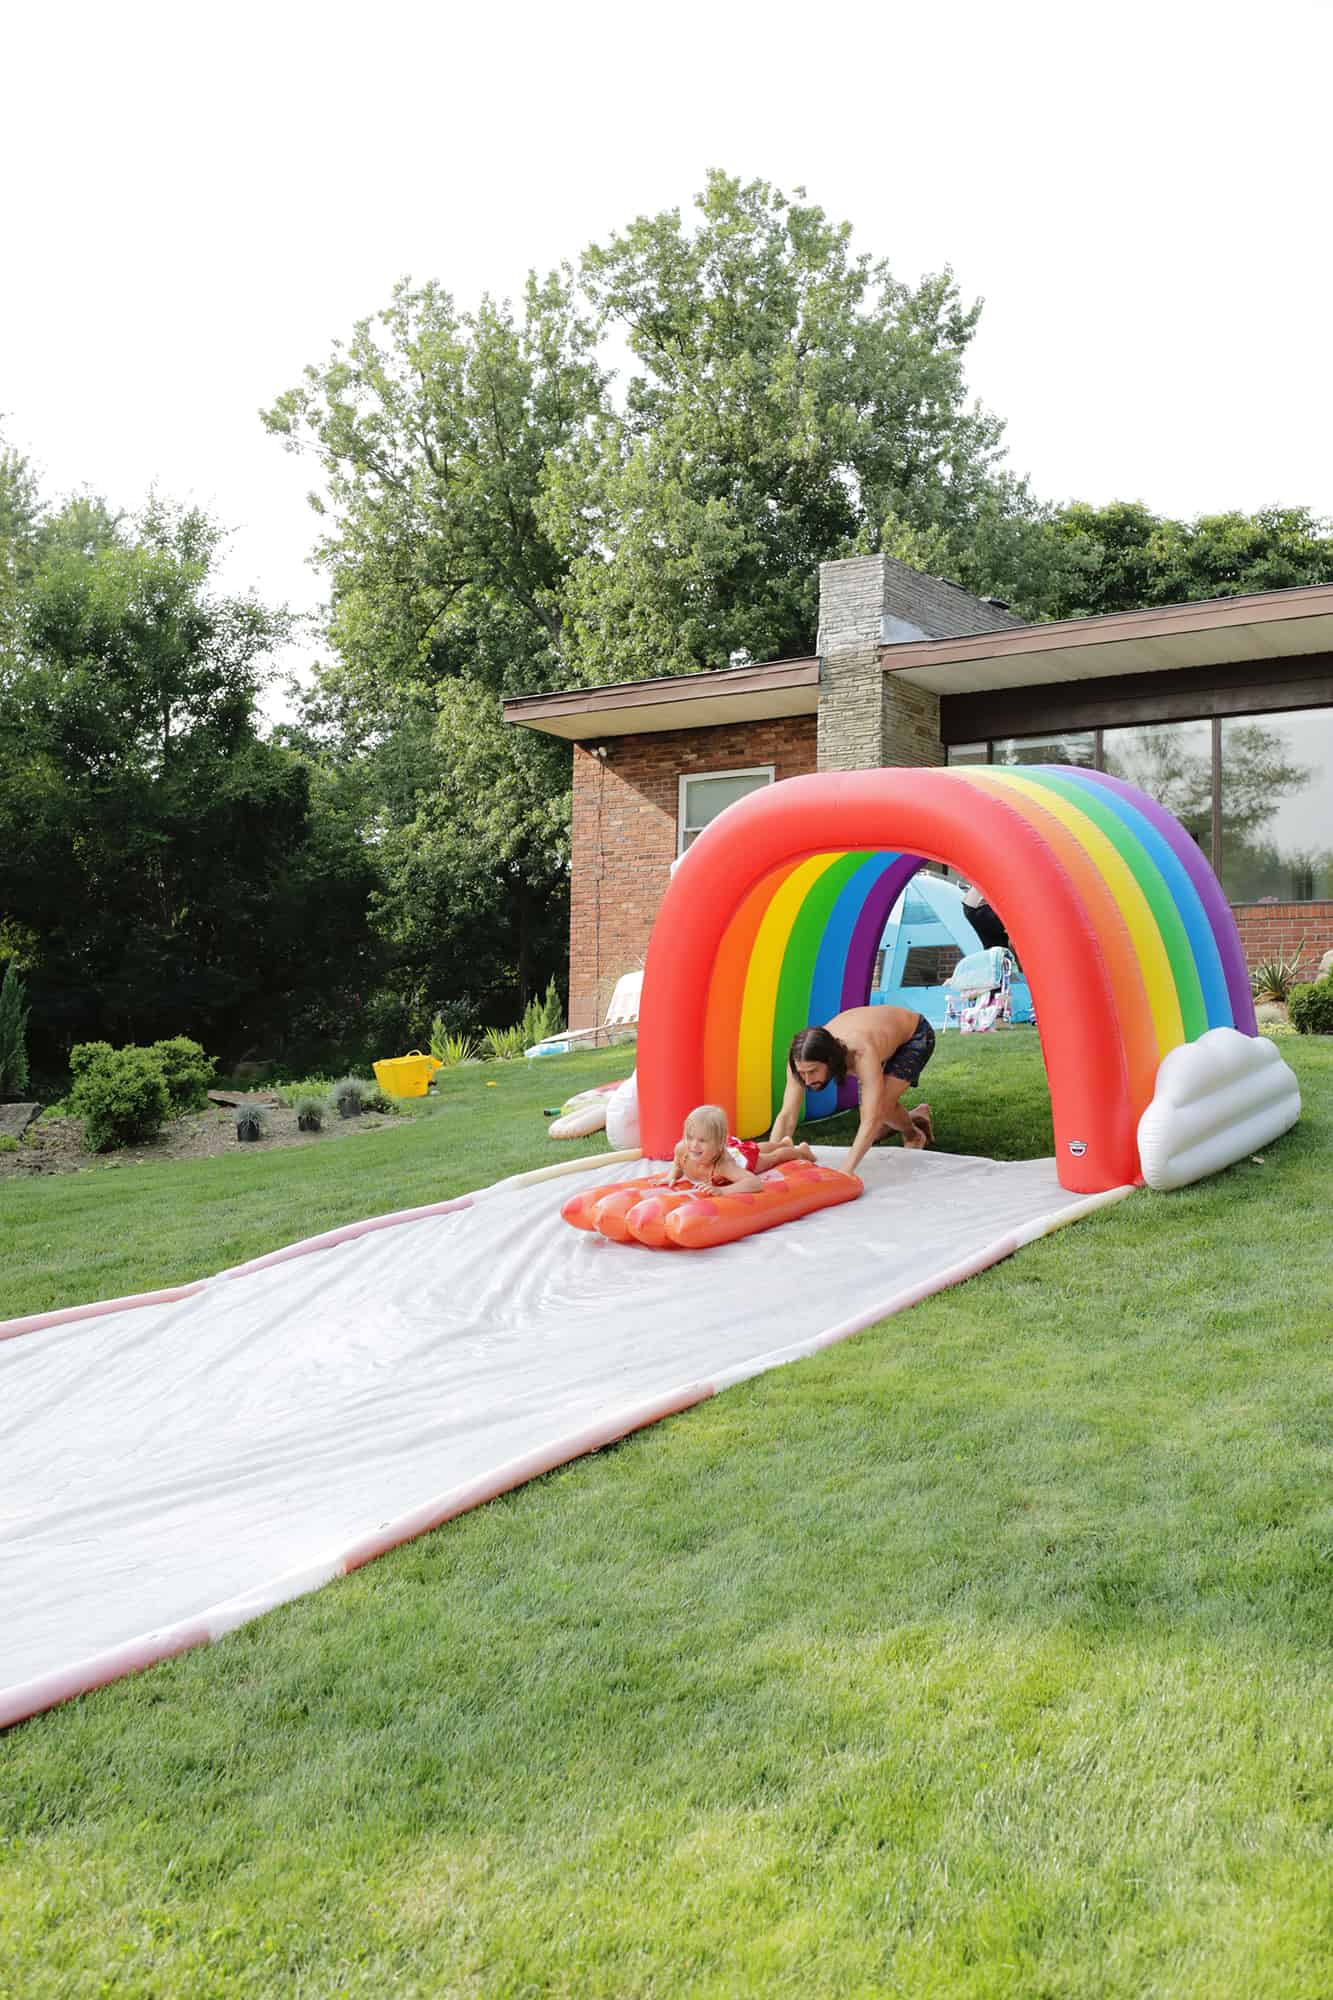
 Once your slip and slide is in place, it’s time to add water and slide! We just set up a hose nozzle on a shower setting and laid it at the top of our slide for our water source. You really don’t need a lot of water to get going on the slide so find the lowest setting that still allows you to have enough to slide on. Putting down a little soap on your body, a raft, or the slide can also help, but don’t go crazy—you just need a little bit! Make sure to turn off the water if no one is sliding or if you take a snack break to conserve use. Blowing up your pool rafts is also a fun way to go down the slide that can give you a little more cushion and kids love to ride down them as well.
I strongly suggest using the 6″ long pins and not shorter ones since they are much less likely to come out and be a safety hazard as they are well in the ground. But I did go around with a rubber mallet halfway through the party and hit back down any pins that were trying to come up at all, just to be safe.
When it’s time to tear down the slide, pull out all the pins and unwrap the pool noodles. Let the noodles fully air dry before putting them away back in their box. The hardest part of the slip and slide process is drying out your long slide before putting it away. You’ll want to get it up off the ground so both sides are dry before you put it away. That way you don’t pull out a gross moldy tarp the next time you go to use it. You can hang it over porch railings, outdoor chairs, fences, whatever you have, but you really want it to be pretty dry before putting it away (you can towel off areas as needed).
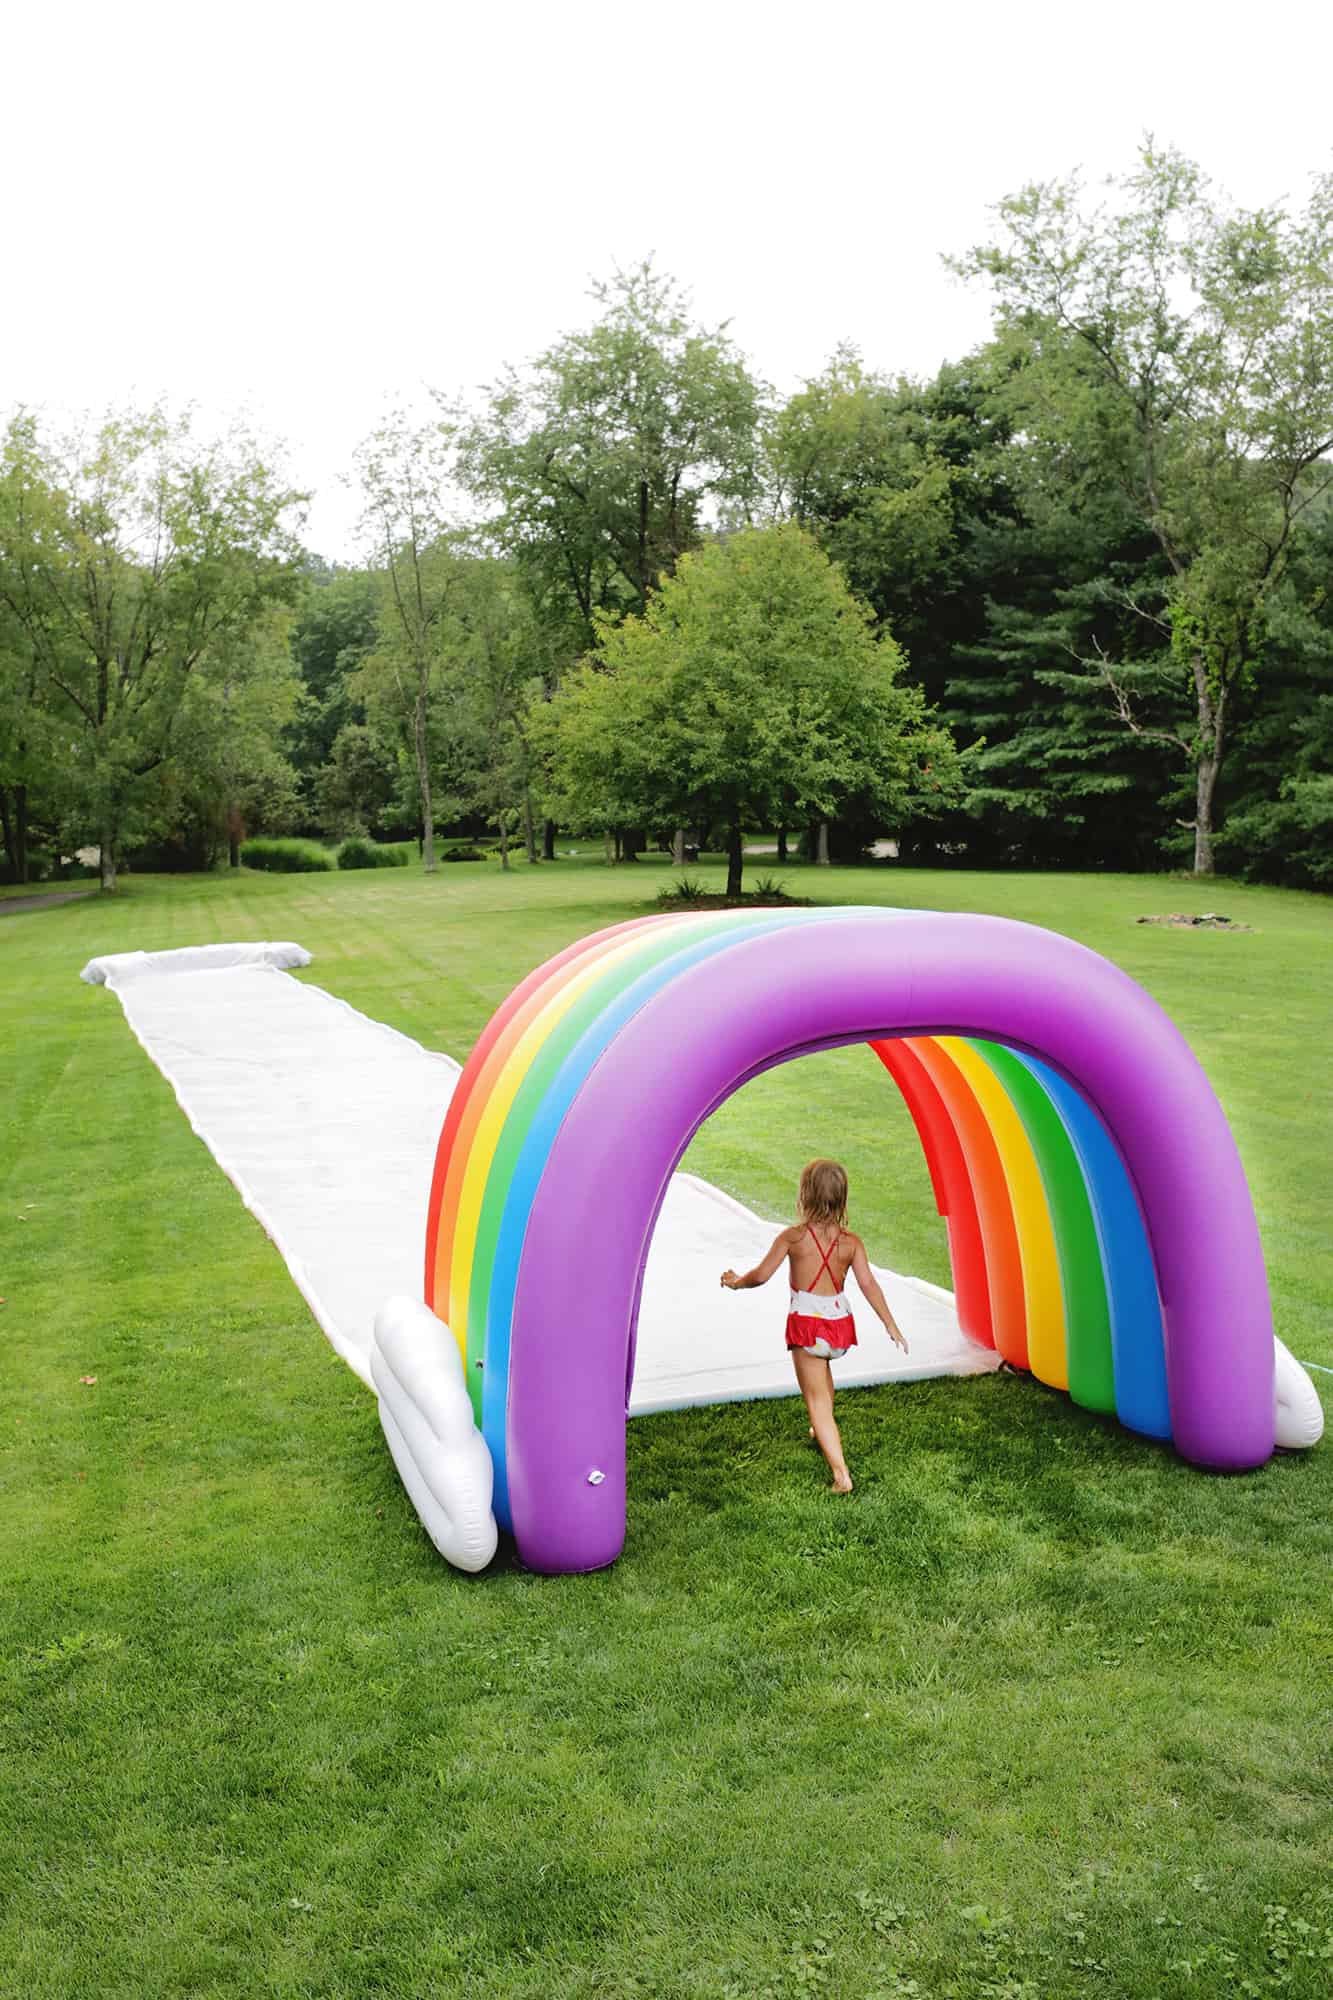
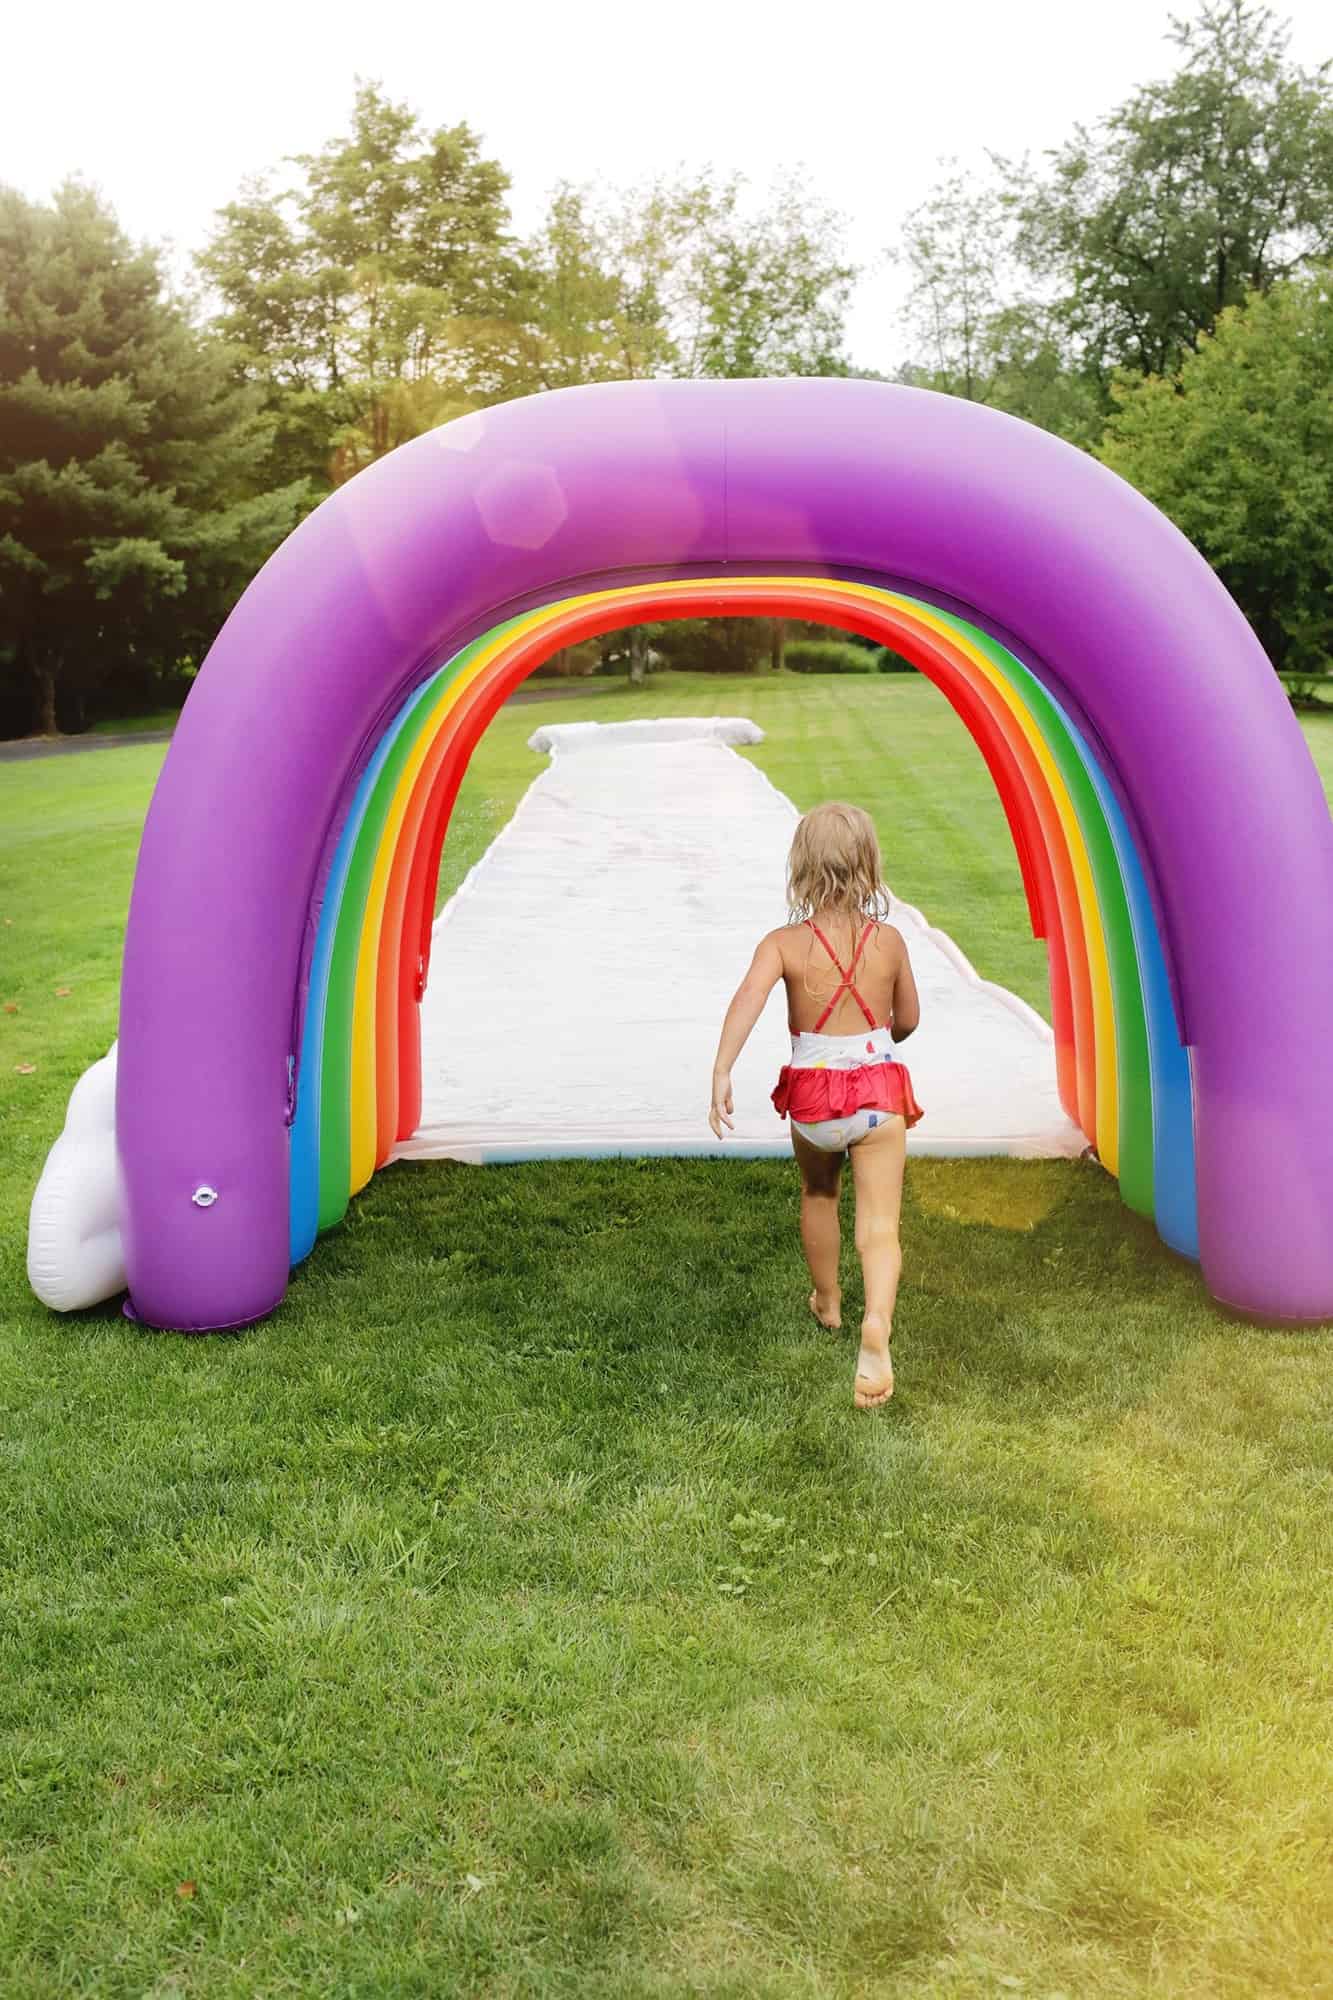
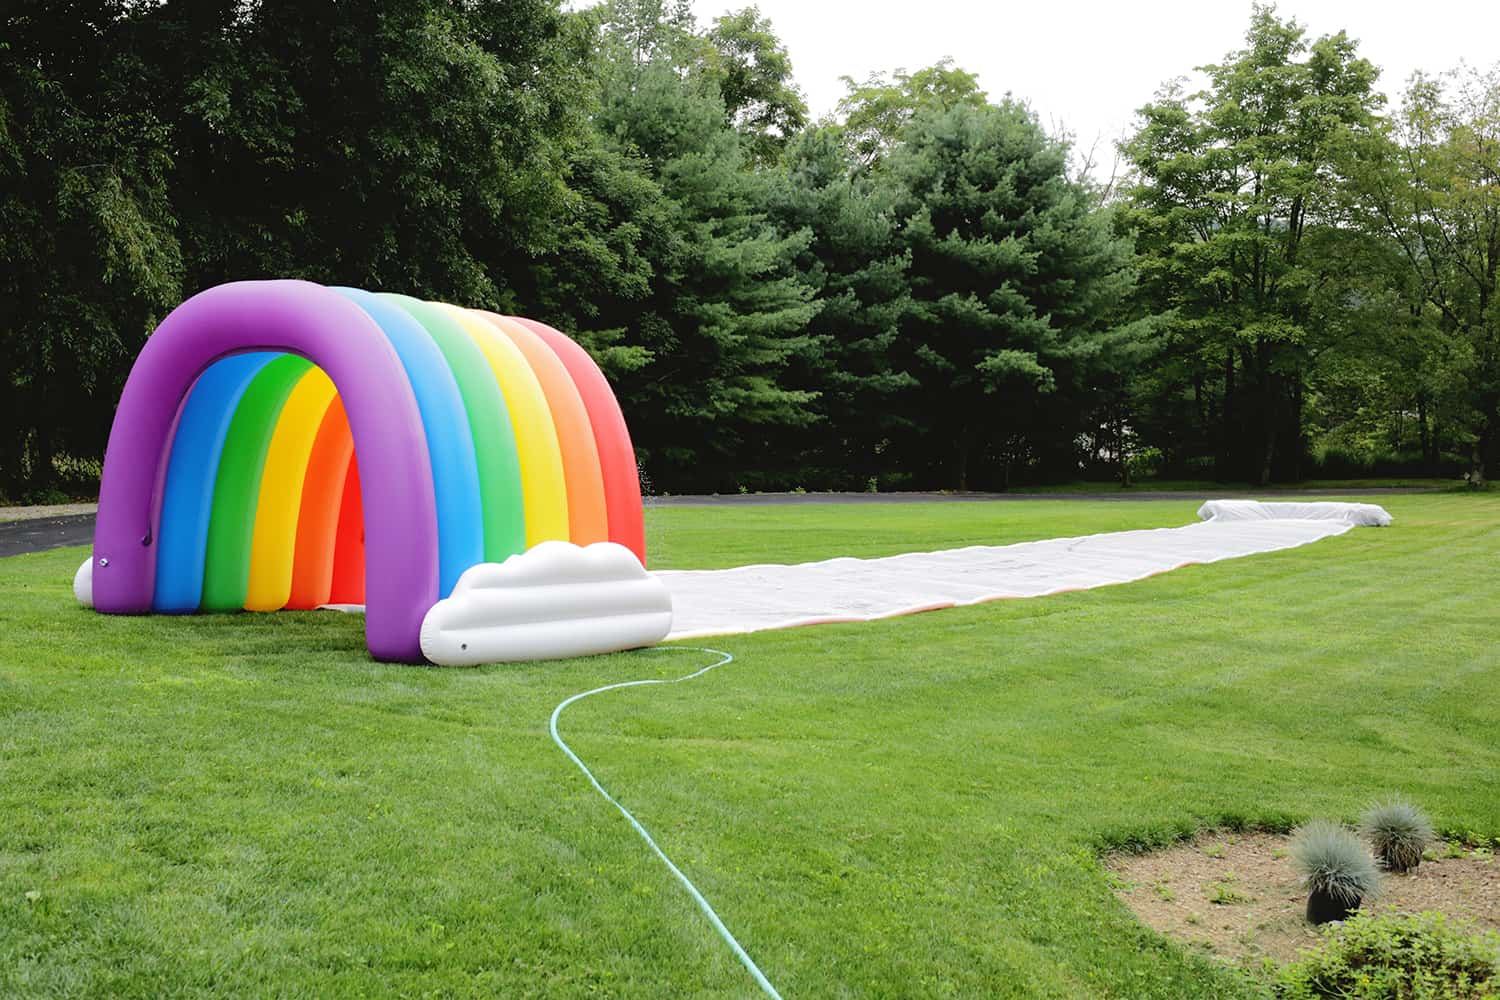
 This was such a fun summer afternoon for us and our friends! And I’m so happy we blew up our rainbow sprinkler for the top as the entry point—we used it more for looks that day, but a sprinkler like that can also be a great water source for the top of your slide!
Also, this is definitely not a DIY kit that every person needs to own. This is more like something that one friend in a friend group has and everyone uses theirs or just comes over to slide when it’s set up. We are also in the middle of a home renovation so having tarps and coverings around is something we’ve used a lot this year for other purposes and I’ve also used the pool noodles for other projects as well (from DIY giant wreaths at Christmas time to protecting furniture to pool use in the summer). The hay bales can be used in the yard for landscaping purposes (we’ve been growing grass and reseeding patches constantly) or you can use them for bonfire seating or fall decor as it gets later in the season! Hope you enjoyed seeing one of our favorite summer traditions! xo. Laura

Giant 100 Foot Slip and Slide DIY
Ingredients
- box of pool noodles (you’ll want about 30-35 noodles)
- 100-foot plastic sheet (6 mil thick)
- additional 6 ml sheet for splash zone (optional)
- 6″ lawn pins
- 4-6 hay bales
- hose or sprinkler for water source at top
- liquid soap (optional, something natural like this is a good idea so it won’t hurt your lawn)
Instructions
-
OK, first lay out your 100-foot sheet down the yard. Lay out your pool noodles on each side of the sheet, saving one or two for the very top of the slide. Ideally you want your noodles to lay end to end down the sides, but we are down a few noodles over the years so there was a little space between them and it still worked out fine.
-
With one person working each side of the slide, roll your pool noodles into the plastic so that the noodle is a little more than fully wrapped in the plastic sheet. Use your 6″ lawn pins to keep your noodles in place (you’ll want at least two per noodle) and you may want a rubber mallet to fully hit them into the ground. Move onto the next noodle and work your way down the slide as someone rolls and pins the opposite side as you go. Once all your noodles are in, roll a noodle into the top of the plastic as well and pin it in place so the top is secured.
-
We found that hay bales are a great way to make a little stopping point at the end of your slide since they are solid but forgiving if you hit into them at the end. They also make a little splash zone at the end, which is also kind of fun! Set your hay bales up in a semi-circle at the end of your slide and either pull the bottom of your long plastic sheet up and over the bales and secure with pins on the other side (you can go into the bottom back of the hay bales or the ground) or you can use a separate piece of plastic if you have another tarp and cover over the whole thing first, tucking all the extra under the bales. Then pull up the bottom of your long plastic sheet up and over. The extra sheets tends to keep the bales in place and covers over all the hay, which can be a little scratchy to hit into with your bare skin.
-
Once your slip and slide is in place, it’s time to add water and slide! We just set up a hose nozzle on a shower setting and laid it at the top of our slide for our water source. You really don’t need a lot of water to get going on the slide, so find the lowest setting that still allows you to have enough to slide on. Putting down a little soap on your body, a raft, or the slide can also help, but don’t go crazy—you just need a little bit! Make sure to turn off the water if no one is sliding or if you take a snack break to conserve use. Blowing up your pool rafts is also a fun way to go down the slide that can give you a little more cushion and kids love to ride down them as well.
-
I strongly suggest using the 6″ long pins and not shorter ones since they are much less likely to come out and be a safety hazard as they are well in the ground. But I did go around with a rubber mallet halfway through the party and hit back down any pins that were trying to come up at all, just to be safe.
-
When it’s time to tear down the slide, pull out all the pins and unwrap the pool noodles. Let the noodles fully air dry before putting them away back in their box. The hardest part of the slip and slide process is drying out your long slide before putting it away. You’ll want to get it up off the ground so both sides are dry before you put it away. Thay way you don’t pull out a gross moldy tarp the next time you go to use it. You can hang it over porch railings, outdoor chairs, fences, whatever you have, but you really want it to be pretty dry before putting it away (you can towel off areas as needed).
Credits // Author and Photography: Laura Gummerman.
from A Beautiful Mess https://ift.tt/3zRP39c
via IFTTT