 After five years of living in Nashville, Tennessee, we are moving! There were a lot of things that went into making that choice, but we decided to move back to where I grew up in Pittsburgh, Pennsylvania, to be closer to family—it all happened really fast once we started going that direction. We basically decided to move on a Sunday, bought a house there on Friday, and prepped our house to sell in one weekend. Since buying our new home was contingent on selling this current one, we needed to move fast and basically get everything done during the weekend to be ready for showings. It was a crazy few days but we did it, so I thought I’d share our plan of attack with you in case you ever need to do the same! And we made some printables for you so you can keep track of all there is to do …
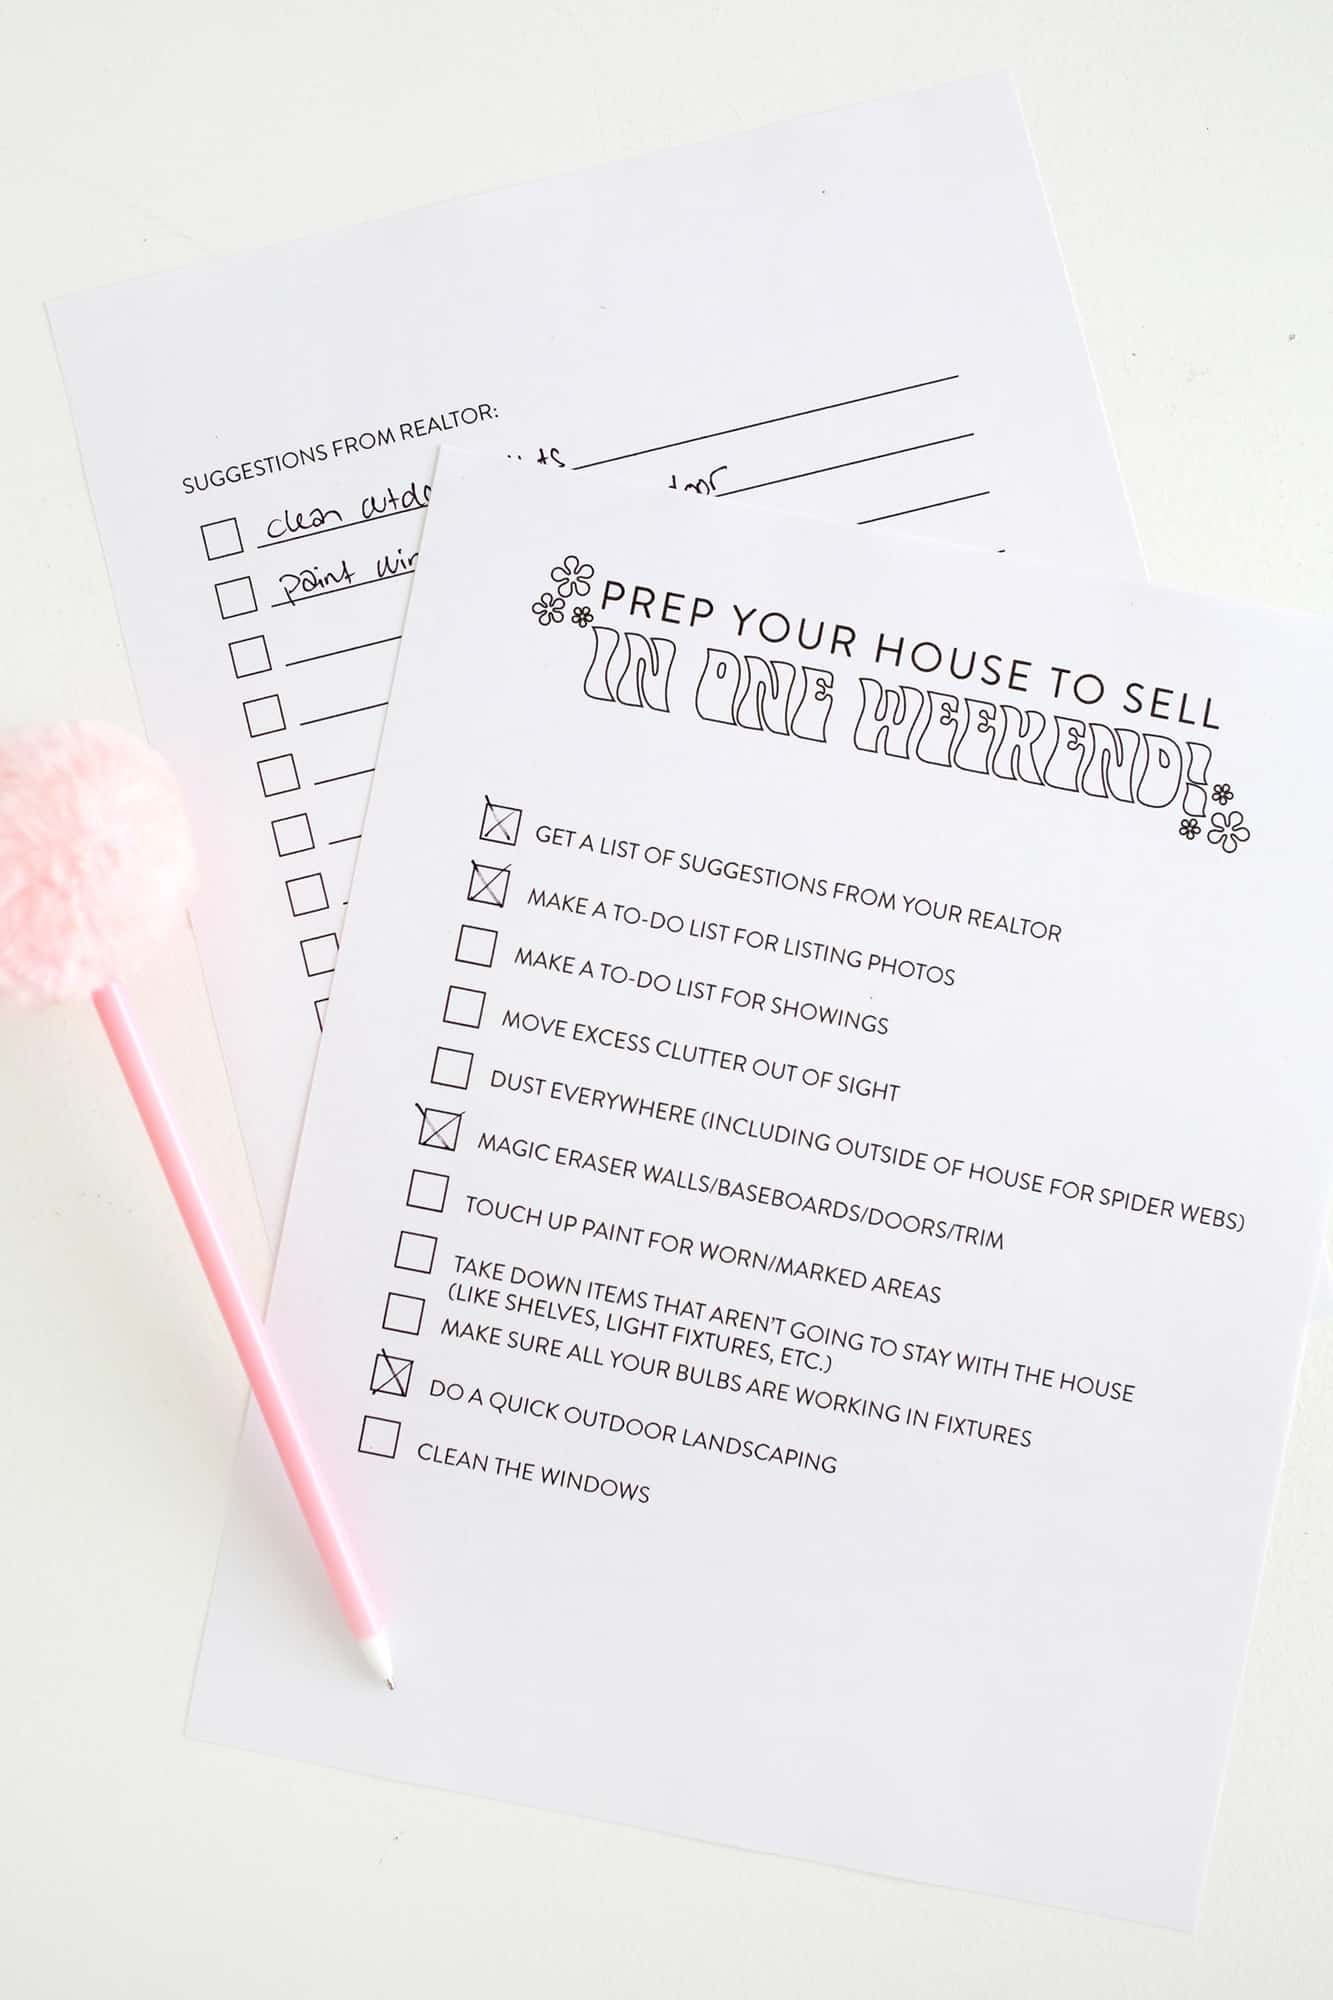 Get a list of suggestions from your realtor: We had our realtor come to the house and do a walkthrough inside and out on Friday before he started to show us where he thought we needed to focus our attention. It can really help to have a second pair of eyes on your home as you may miss things just because you’re used to seeing them all the time. And they show houses all the time, so they know what will (and won’t) stand out to people coming to look.
Make a to-do list for the listing photos (another to-do list for the showings): Now that you and your realtor have gone around the house, make a to-do list! Since you’ll take your listing photos/videos before you show the home in person, star the items that will need to be done before you do pictures and focus on those first. Smaller things like baseboard touch-ups won’t show up in the photos, but if you have a fuchsia pink bathroom your realtor suggested you paint a neutral color, as that definitely will. Once you get that list done, you can move on to the other items that will make the home feel better when people are there in person. If you have a couple of days between your photos and listing like we did, you can keep chipping away at that list up until the showings. But at least you’ll know you got the main bigger items done already.
Move excess clutter out of sight: Have you ever been in a house that’s so full of stuff it’s hard to tell how big a room is or what areas of the room look like? You want your house to feel open and not too stuffed, so now is a good time to move excess clutter to a storage room or even box it up and pack it into a storage pod (hey, you’re moving anyway so you may as well get started packing!). During our crazy weekend, we threw up a few big things that we didn’t want to keep on Craigslist and gave deals to people that could come get them right away—that way they were out of the house and we made some money to put towards getting the house ready to sell!
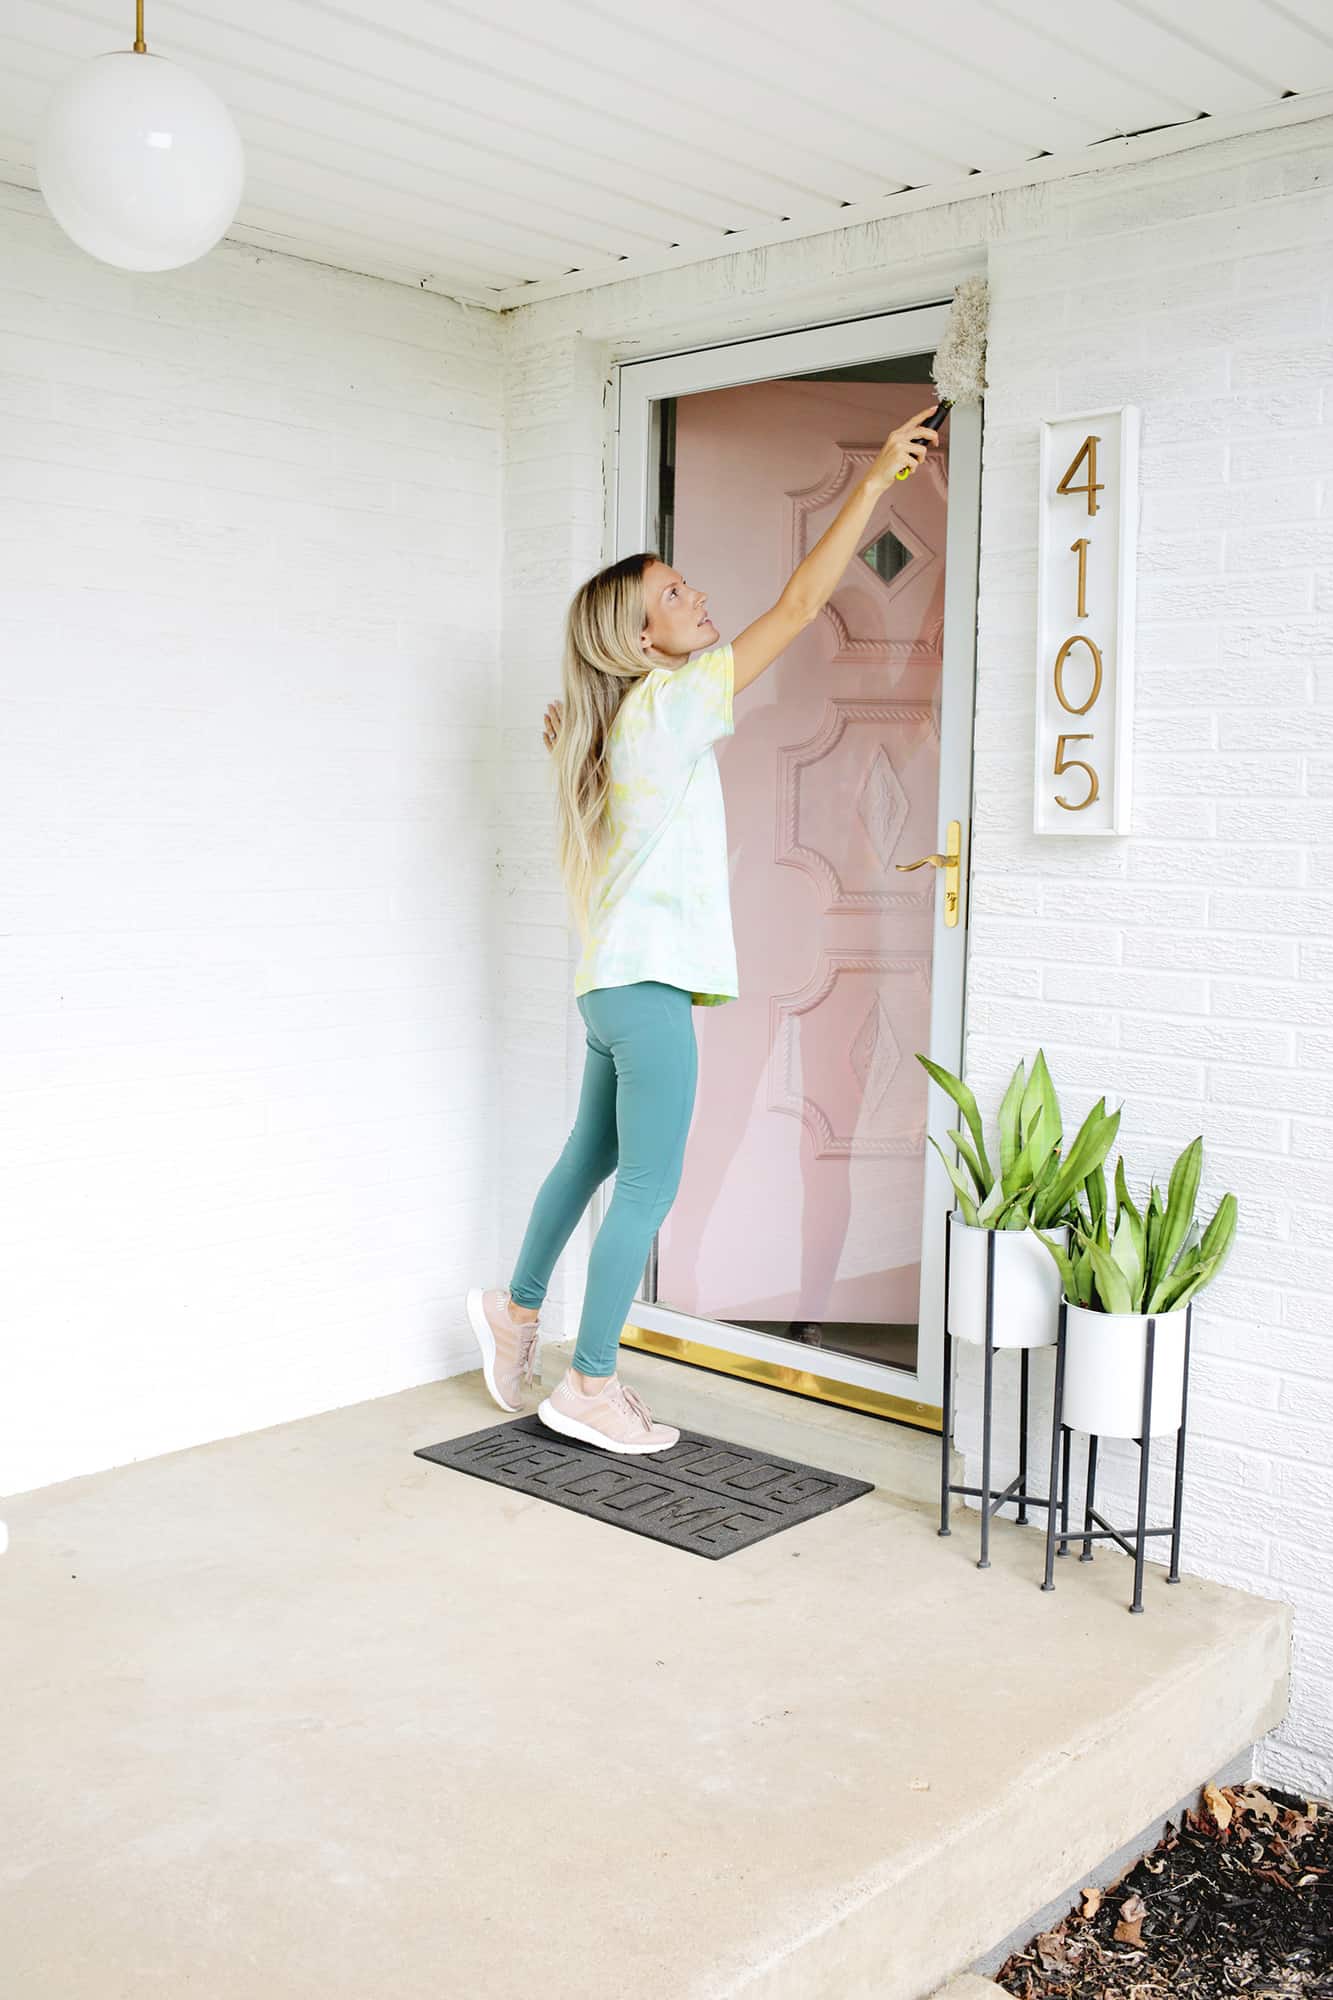
Dust everywhere (including outside of house for spider webs): Have you ever looked at a house that wasn’t super clean? It’s definitely a turn off to tour a dirty house, so first grab some damp rags and wipe off all the baseboards, doors, tops of furniture, etc., so that the house feels clean. And, it’s also prepping the surfaces for any touch up paint that you’ll need to do since you don’t want to paint over a thick layer of dust (it won’t adhere well and will look bumpy instead of smooth). You’ll also want to clean up in the corners of ceilings to grab any spider webs or dust bunnies up there, so use a broom to reach. Same goes for the outside of the house! Wipe down any windowsills that look super dirty and broom away cobwebs (especially in entryway areas).
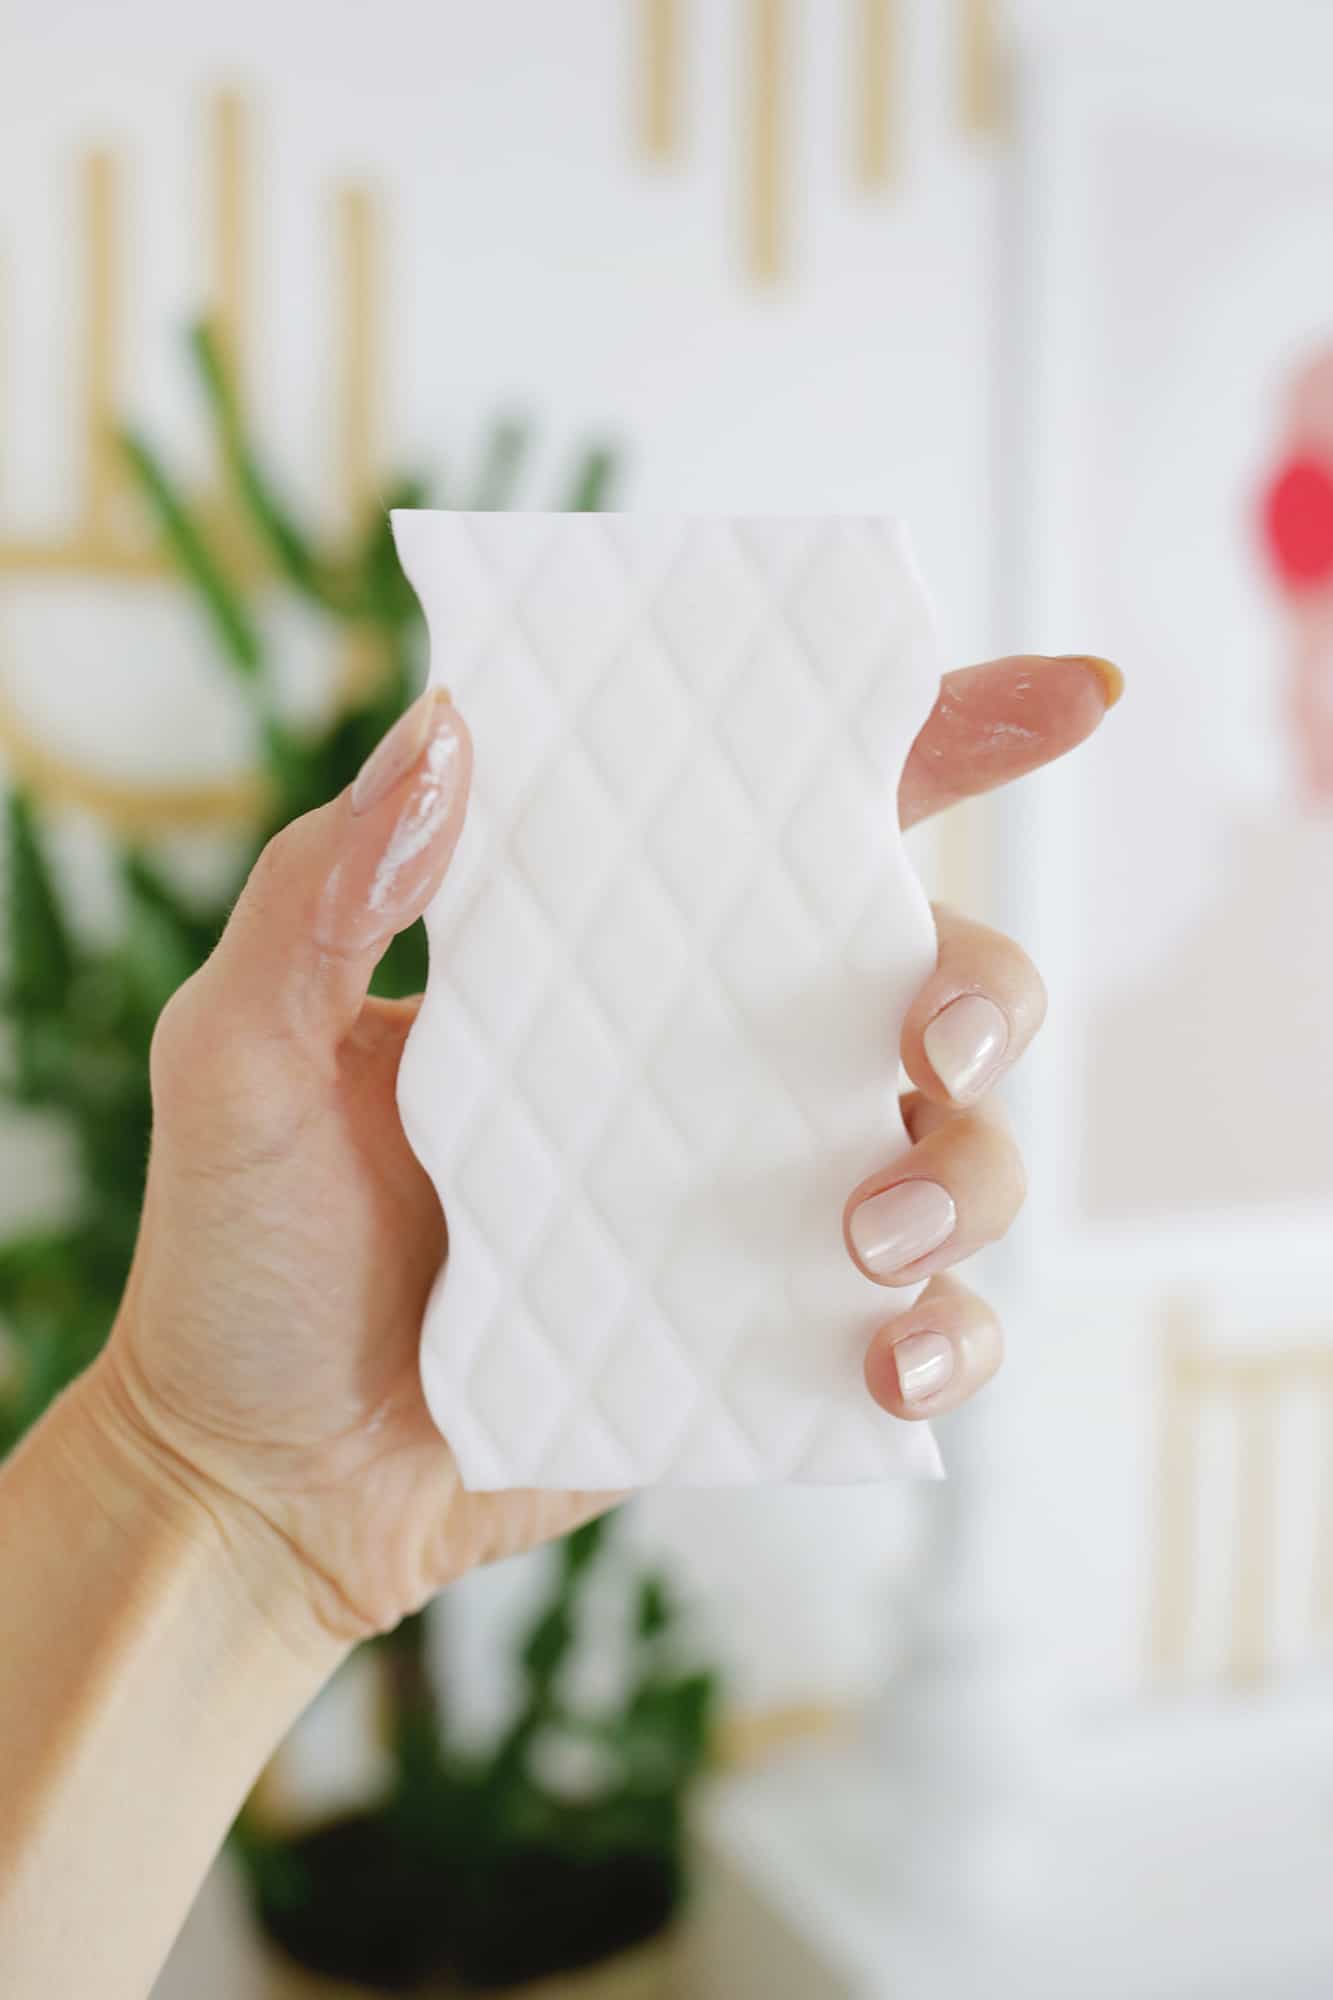 Magic Eraser walls/baseboards/doors/trim: Next on the list is to go around with a magic eraser and clean off any grimy looking areas on doors, trim, walls, and especially by light switches. There may be other places that will benefit from the eraser, but touch points near handles and light switches get a lot of finger grease, so focus on those first.
Take down items that aren’t going to stay with the house: When knowing what stays and what doesn’t with a home, the rule of thumb is that things that are mounted in place stay and things that are easily hung can move with you. So, shelving that is mounted to the wall with screws and brackets stay, but that photo you hung of you and your dog on a nail can go with you. If there are shelves or other mounted things that you want to take with you, remove those items before you take the listing photos and repair any wall damage from the screws, etc. I left the shelves in the bathrooms and kitchen, but there were a few picture shelves that I wanted, so I took those down and replaced them with a piece of hanging art so that area didn’t feel empty in the photos. Make sure to switch out any light fixtures you want to take to the next house before your photos as well!
Make sure all your bulbs are working in fixtures: A lot of realtors like to have all the lights on for open houses and people will turn them off and on as they go through for individual showings, so make sure to check that all your lights are working and no bulbs are burnt out!
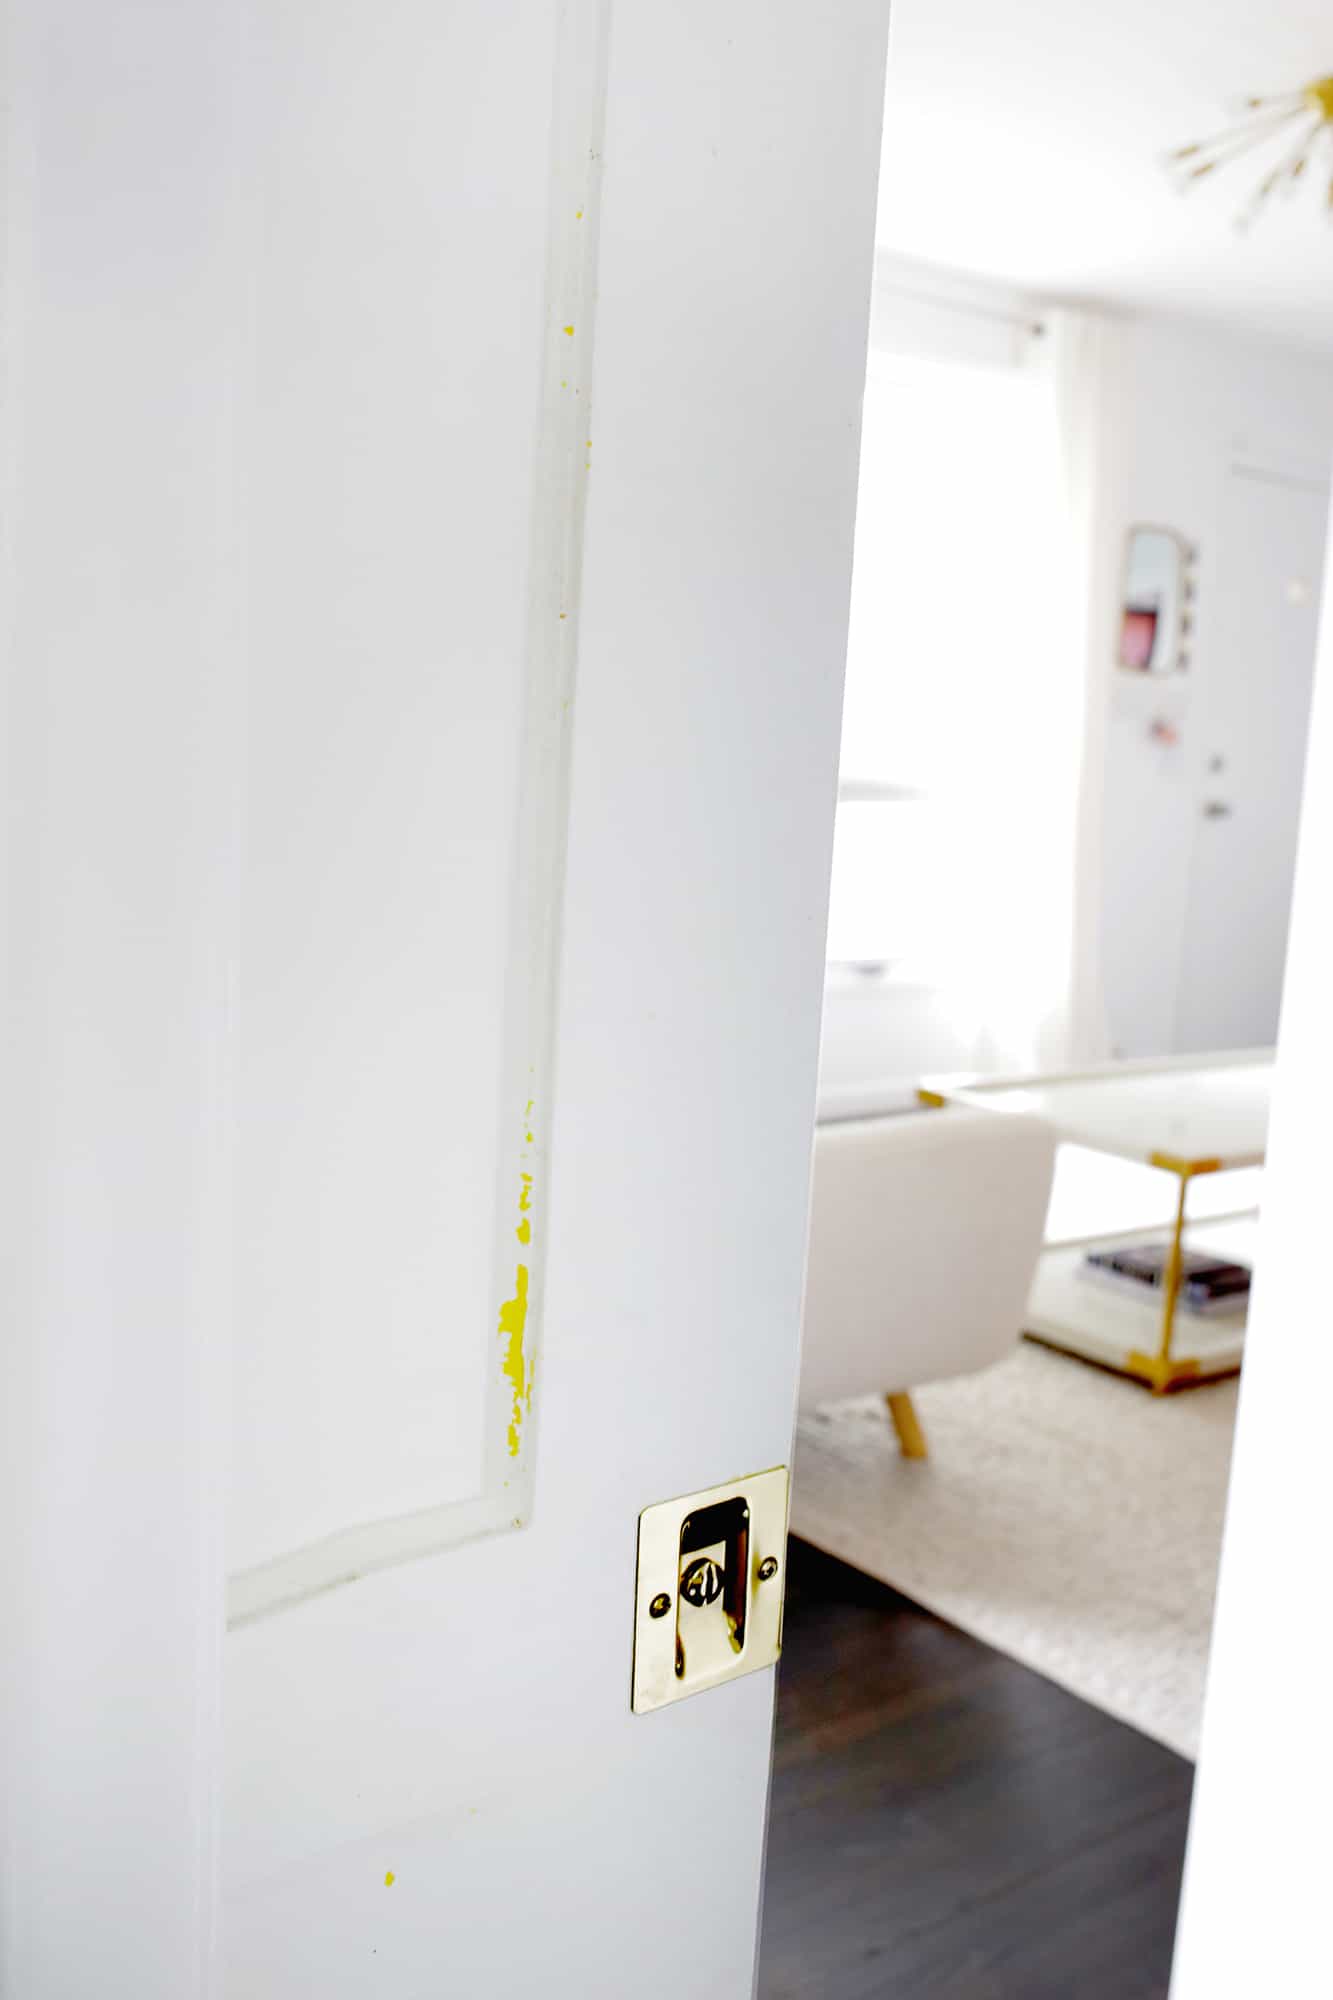 Touch up paint for worn/marked areas: Now it’s time to get out your brushes! If you’re doing it yourself, you probably won’t have time to fully paint more than one room, so I would fully paint over the worst offending room if needed and then focus the rest on touching up existing paint colors. You don’t want the house to feel worn and dingy, so getting all big nicks and marks really helps the home feel fresher. It’s also a good time to paint over things that may have been a problem in the past but have been fixed. We had a few water stains on a ceiling from a leak, but the leak had been fixed a few years ago, so I painted over the stains so that it didn’t look like we still had a leaking ceiling when we didn’t.
Do a quick outdoor landscaping: You don’t have a ton of time to plant a row of new trees during your weekend, but pulling a few weeds in the entryway/front of house and pulling out dead plants is a good idea. If you’re selling in the warmer months and don’t have time to plant flowers to add some curb appeal, you can add some large flower pots to your porch to make a good first impression. I had some plants in the front yard that needed dead leaves clipped away so I spent most of my time outdoors doing that. If you have a power washer (or can rent or borrow one), that’s also a quick way to clean a house/flower beds and it made a big difference when we did that.
Clean the windows: This is one thing that is a little more subconscious for a home buyer. They may not notice that the windows are super clean, but they will notice if they aren’t. Again, you want the house to feel as bright and clean as possible, so making sure your windows are clean will add a lot to that overall impression. You especially want to do this if you have large windows with any sort of a view as dirty windows will be really obvious then.
Ask for help where you can: I’m writing this post while Covid is happening, so the situation may be different by the time you read this if it’s a while from now. But since we needed to do things “Covid-style,” we couldn’t quite ask for or accept help in a way that we would normally have liked to. For example, we couldn’t ask friends to watch our toddler while we worked, so we had fully unlimited screen-time and snacks for a few days just to keep her busy (but hey, it worked!). If you do feel comfortable distancing and mask wearing indoors with others, you can have friends help in one room while you work in another, or have them help with outdoor things so they don’t have to come in the house if you aren’t doing that. Any little bit of help can go a long way when you only have a weekend to prepare!
Hire where you can: This is another option (and you can do whatever level of contact makes you comfortable) to get things done faster. Hire a lawn company to cut/trim the yard before the showing, have your windows or home professionally cleaned, hire a painter—whatever you can afford to make things easier and faster! Our house has large windows and an old style of design so that each window has separate glass panes you have take off to really clean them, so the thought of doing all those on top of everything else was overwhelming (it’s a big job just to do that). I realized I could quickly do another job I almost hired out for myself, so we took the money we saved from that and hired a window cleaner since that would take up way more time.
 Just as an FYI in full transparency, I’m the kind of personality that can’t stop touching things up until the test is officially over and all pencils must be put down (if you know what I mean), so you better believe that I went around the house doing every little thing I could until the showings took place after our marathon weekend between the photos and the actual showings. However, when our realtor came back on Monday to do the photos, he told us that we did a great job and if we showed the house that day we’d be totally good. So, if you’re the type of person that good enough is good enough, a solid weekend plan may be all you need and you can take a breather, but if you’re always going for the A++ then feel free to do as many extras as you have time for after the weekend is over. And just as a “duh,” this plan is more meant for houses that are in “normal lived-in condition,” so if you got halfway through flipping a total tear down house and need to sell, you may need to fix a few more things than this to get it listing ready.
In case you need a little organization, here are some printable lists for you to get you started off right! I know it sounds like a daunting task, but you can do it! Good luck! xo. Laura
Credits // Author and Photography: Laura Gummerman. Graphic Design: Keely Rust. Photos edited with A Color Story Desktop.
from A Beautiful Mess https://ift.tt/2XXnZVz
via IFTTT